


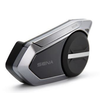
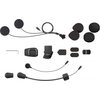


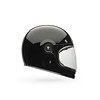
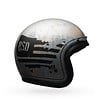
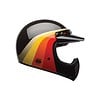


Installing the Sena 50R on the Bell Lithium helmet
The installation can be done in under 15 min, so grab a cup of hot coffee and let’s crack on!
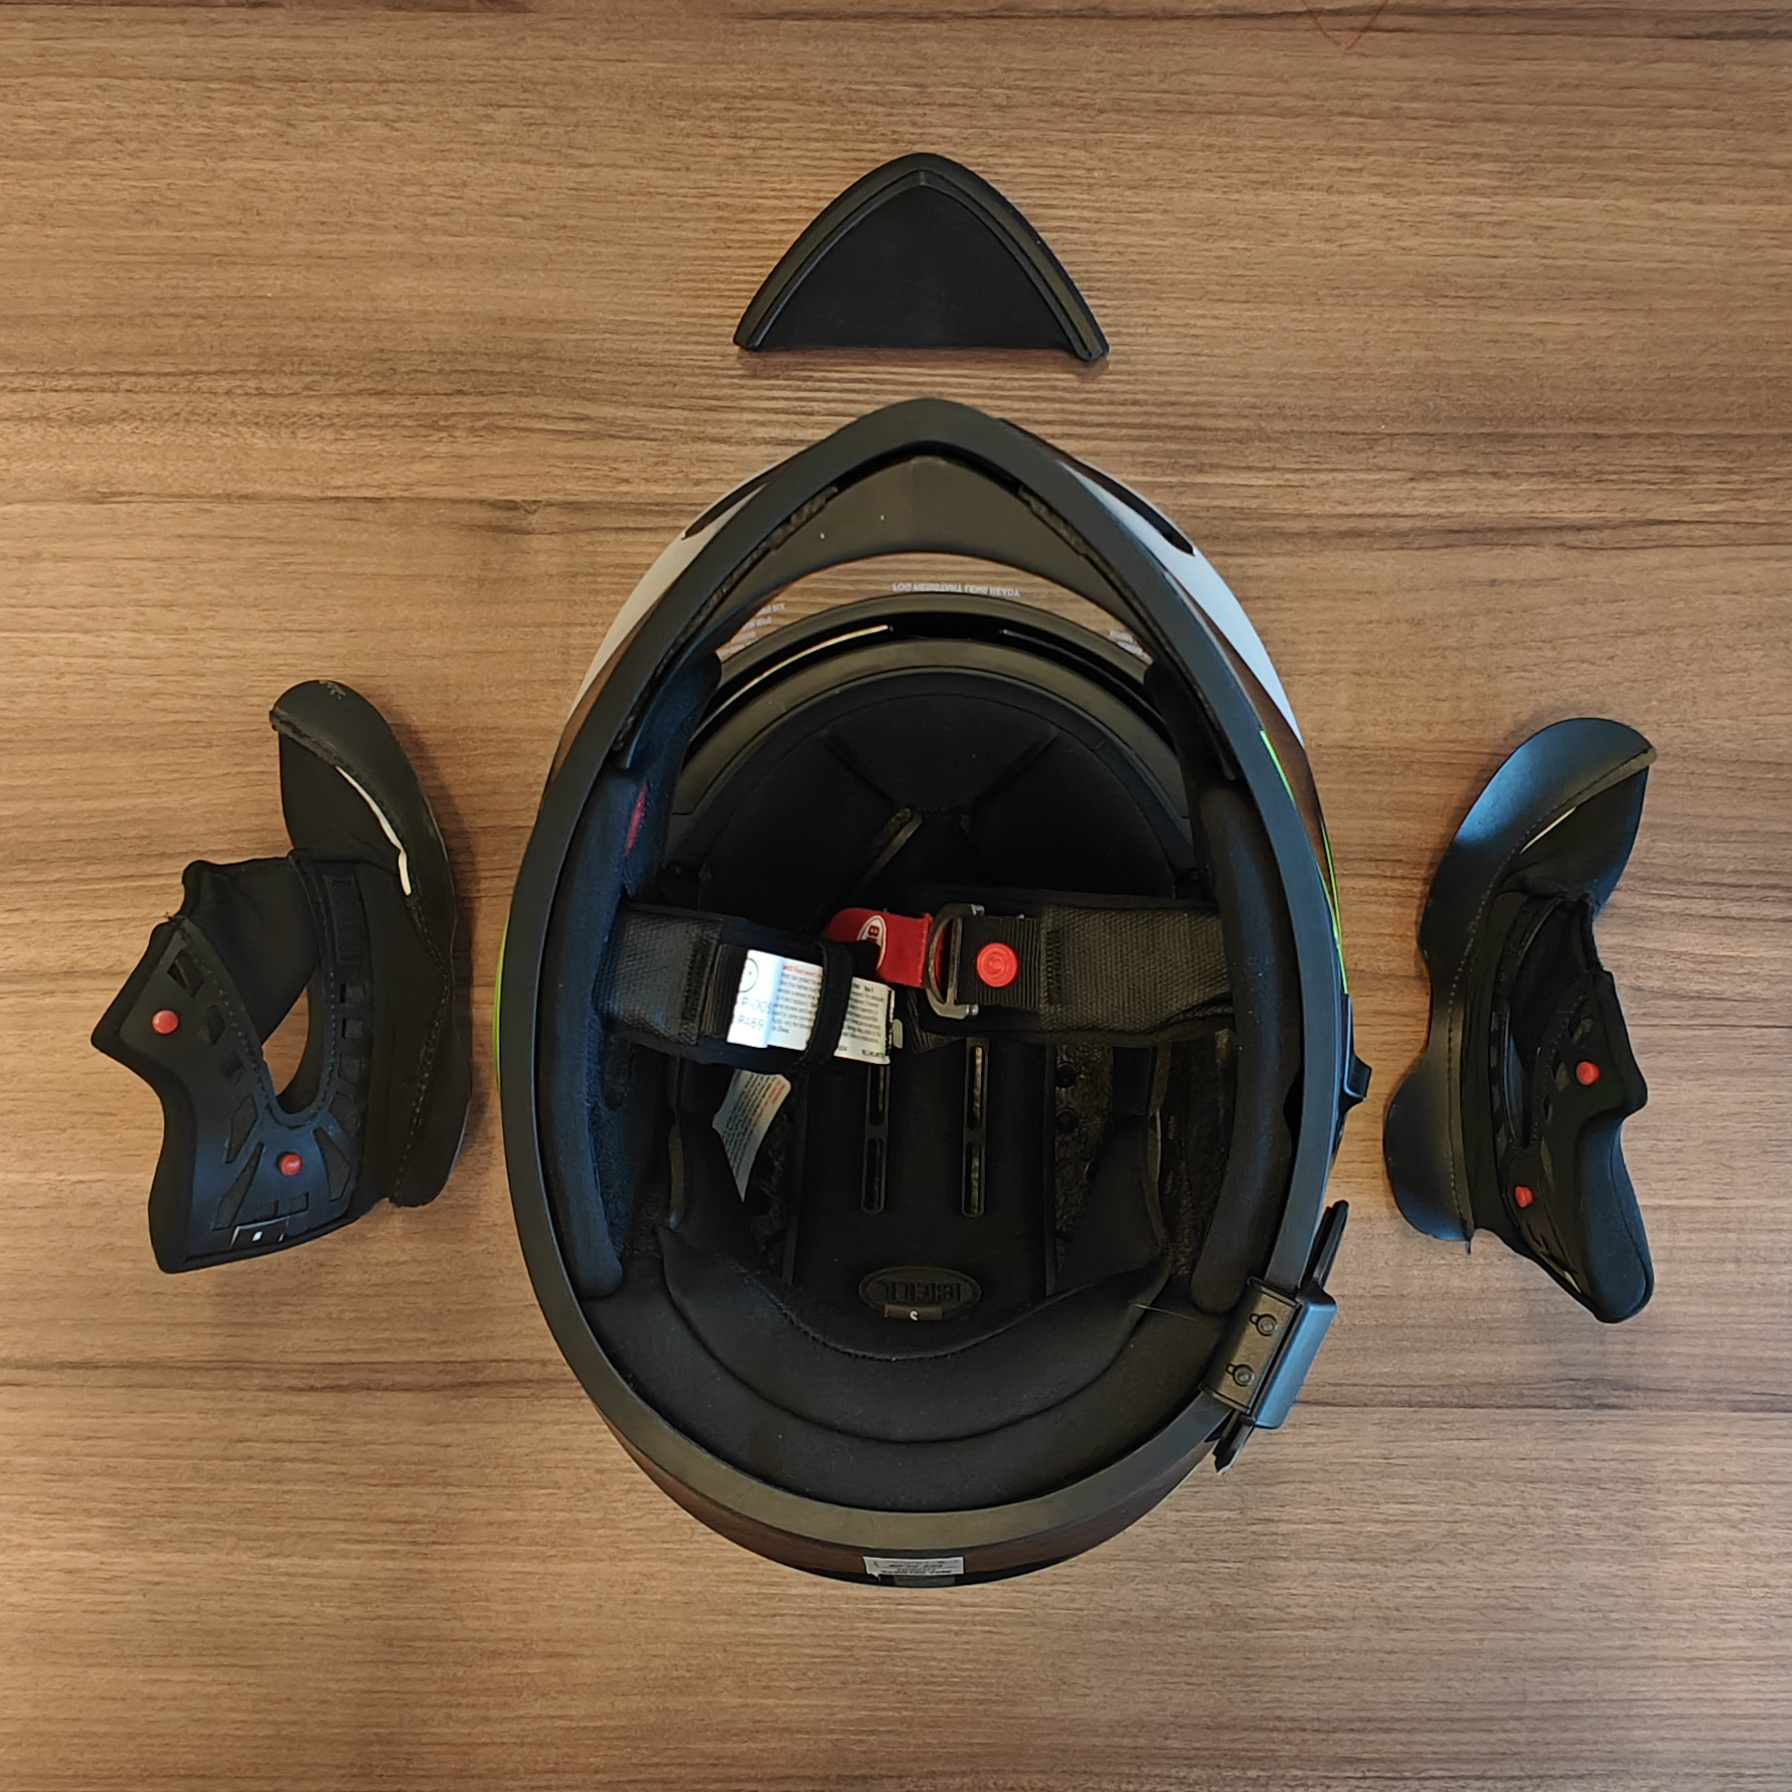
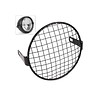
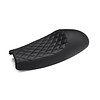
Step 1:Remove the inner lining of the helmet, these are just held in by some Velcro and press-fitted buttons. Make sure to be easy on pulling out the flaps which are stuck in the side of the helmet. |
|
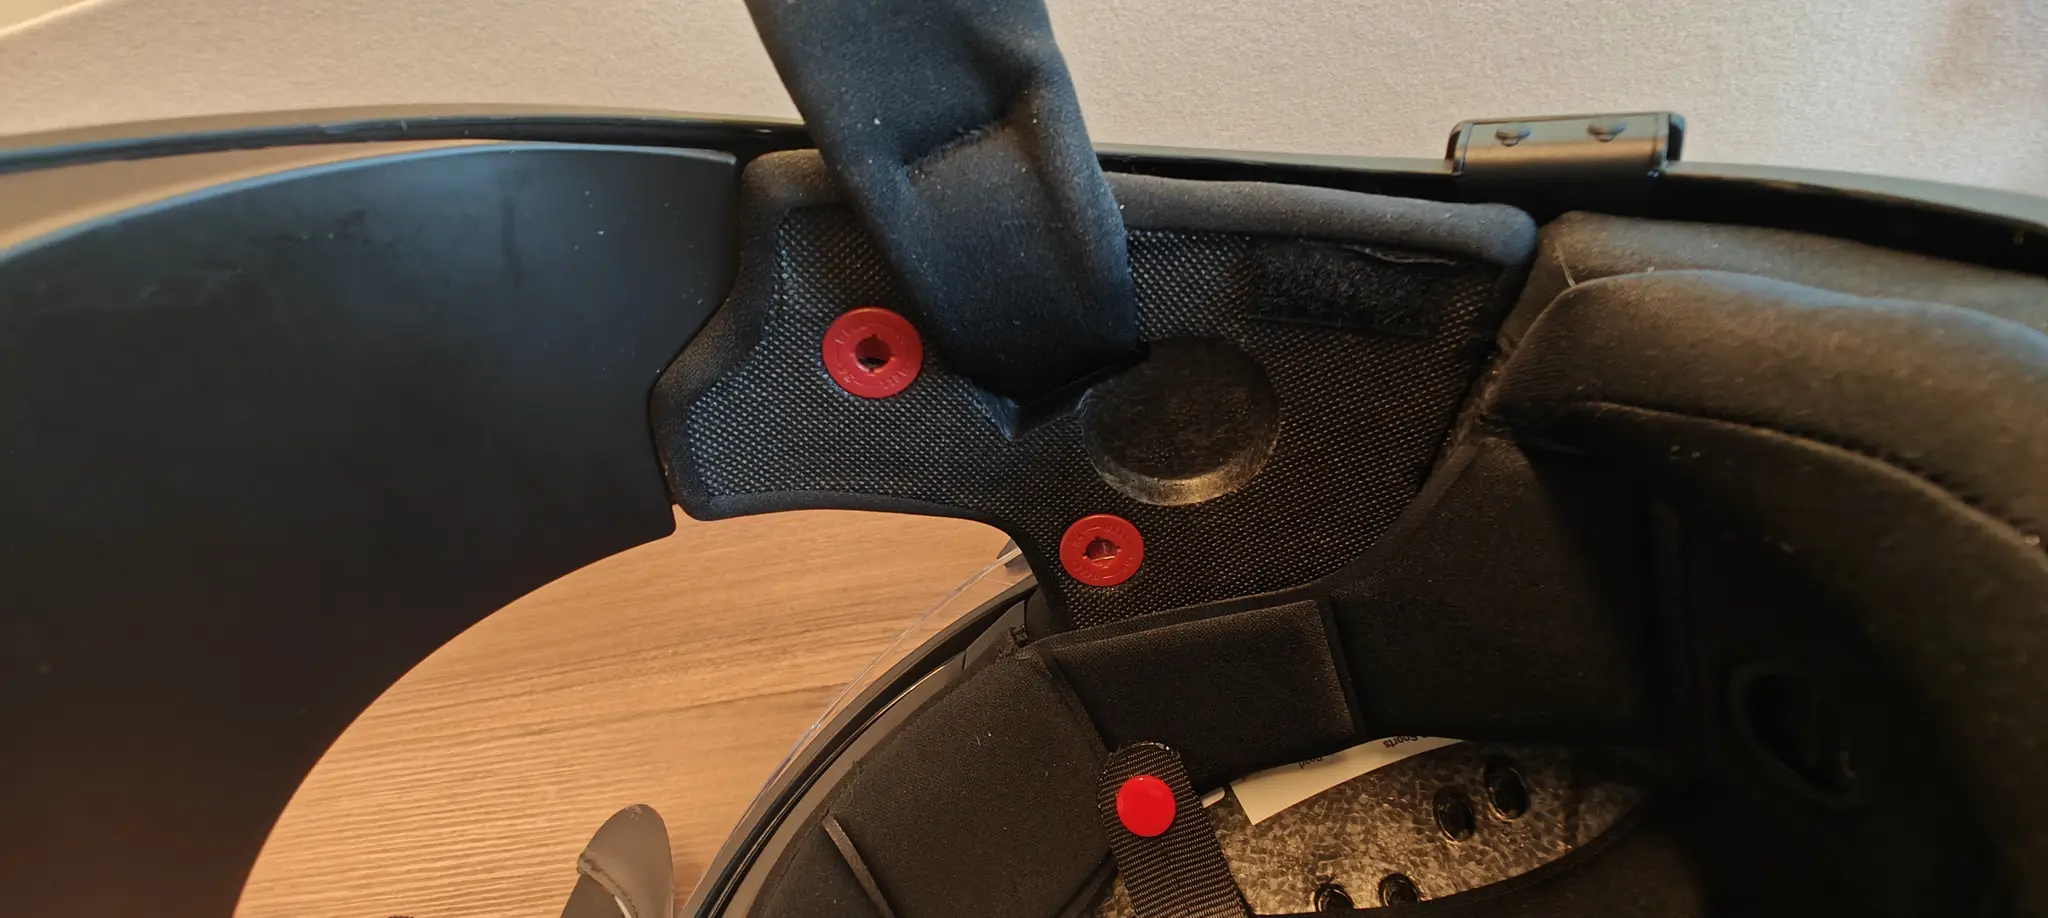
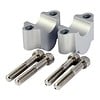
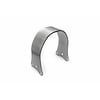
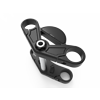
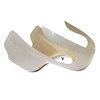
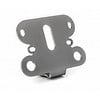
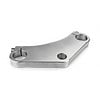
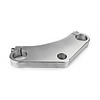
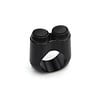
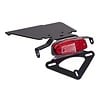
Step 2:Install the clip on the side of the helmet which the Sena intercom unit will sit on, this can be somewhat fiddly and needs to be in the correct position straight away, cause sliding it around didn’t really work for me. Check the picture to see the location I put it in. You could also go for a more definitive solution by sticking the unit onto the helmet itself. This gives you a lot more mounting possibilities and locations since you don't have to put it all the way down. This does mean that it is now stuck to your helmet, which is something i don't love, but hey, to each its own! |
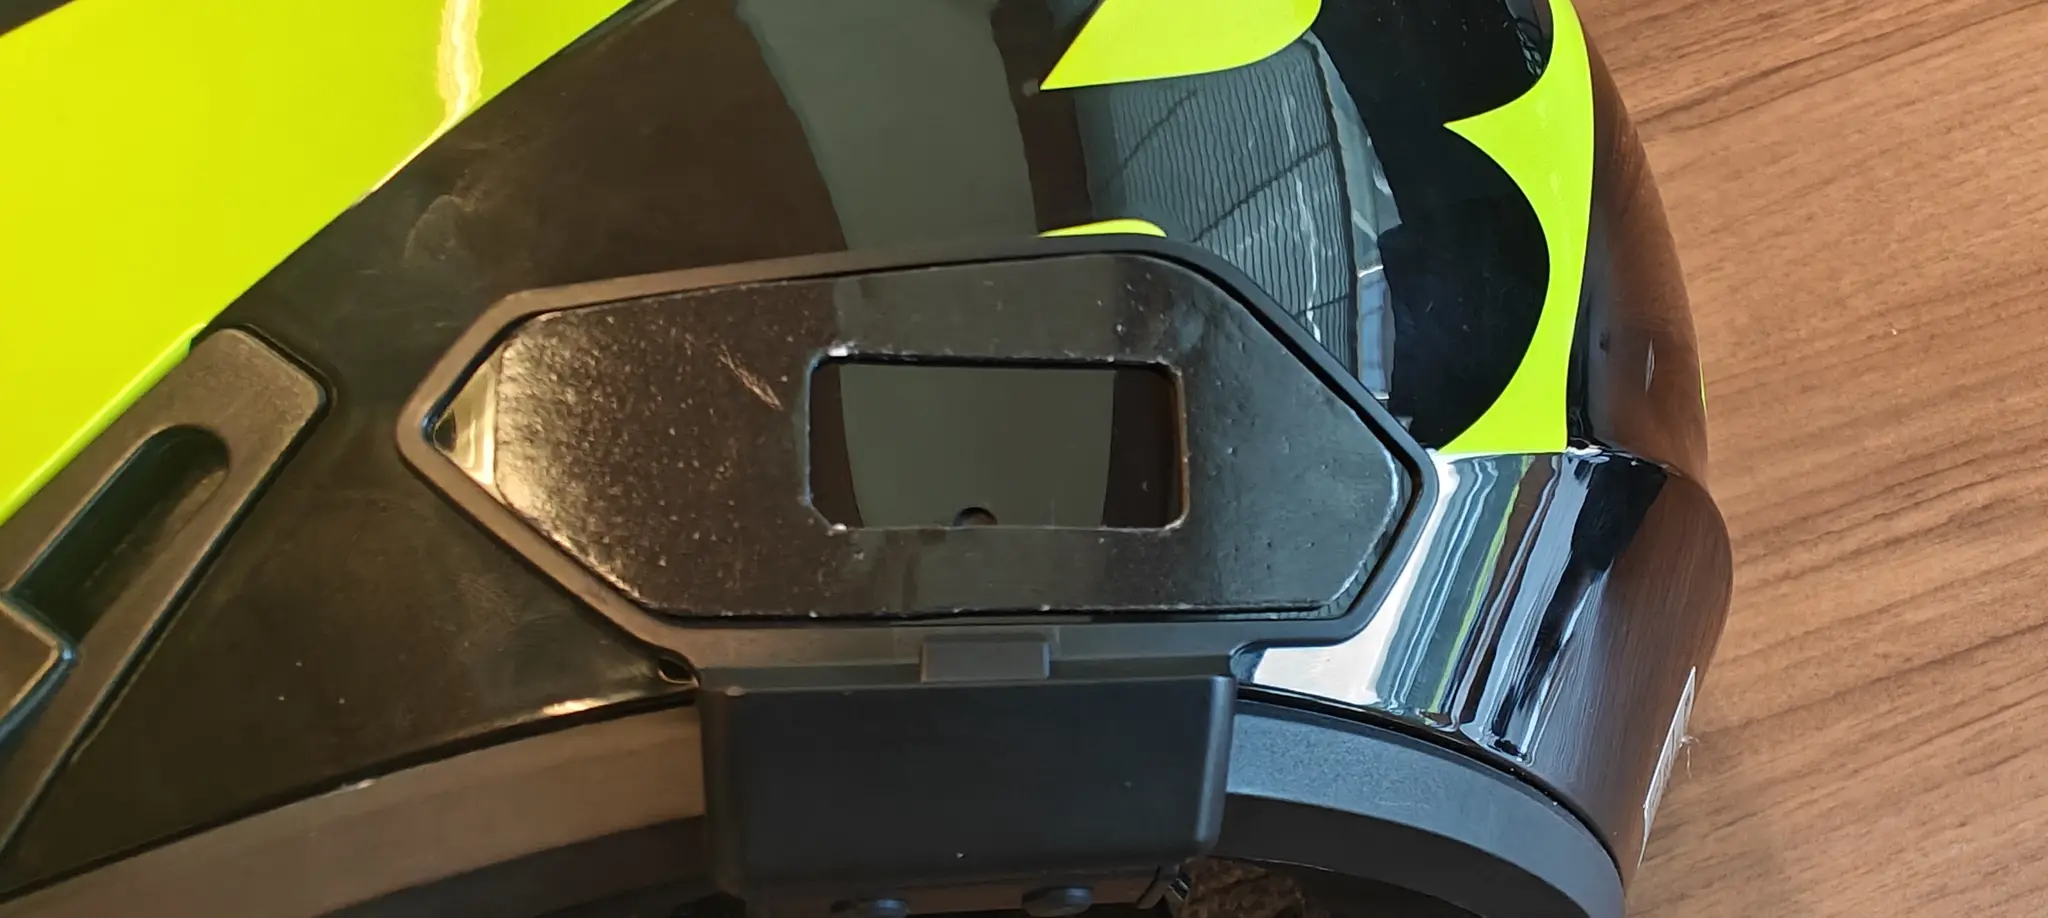 |
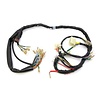
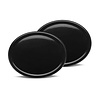
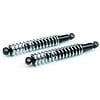
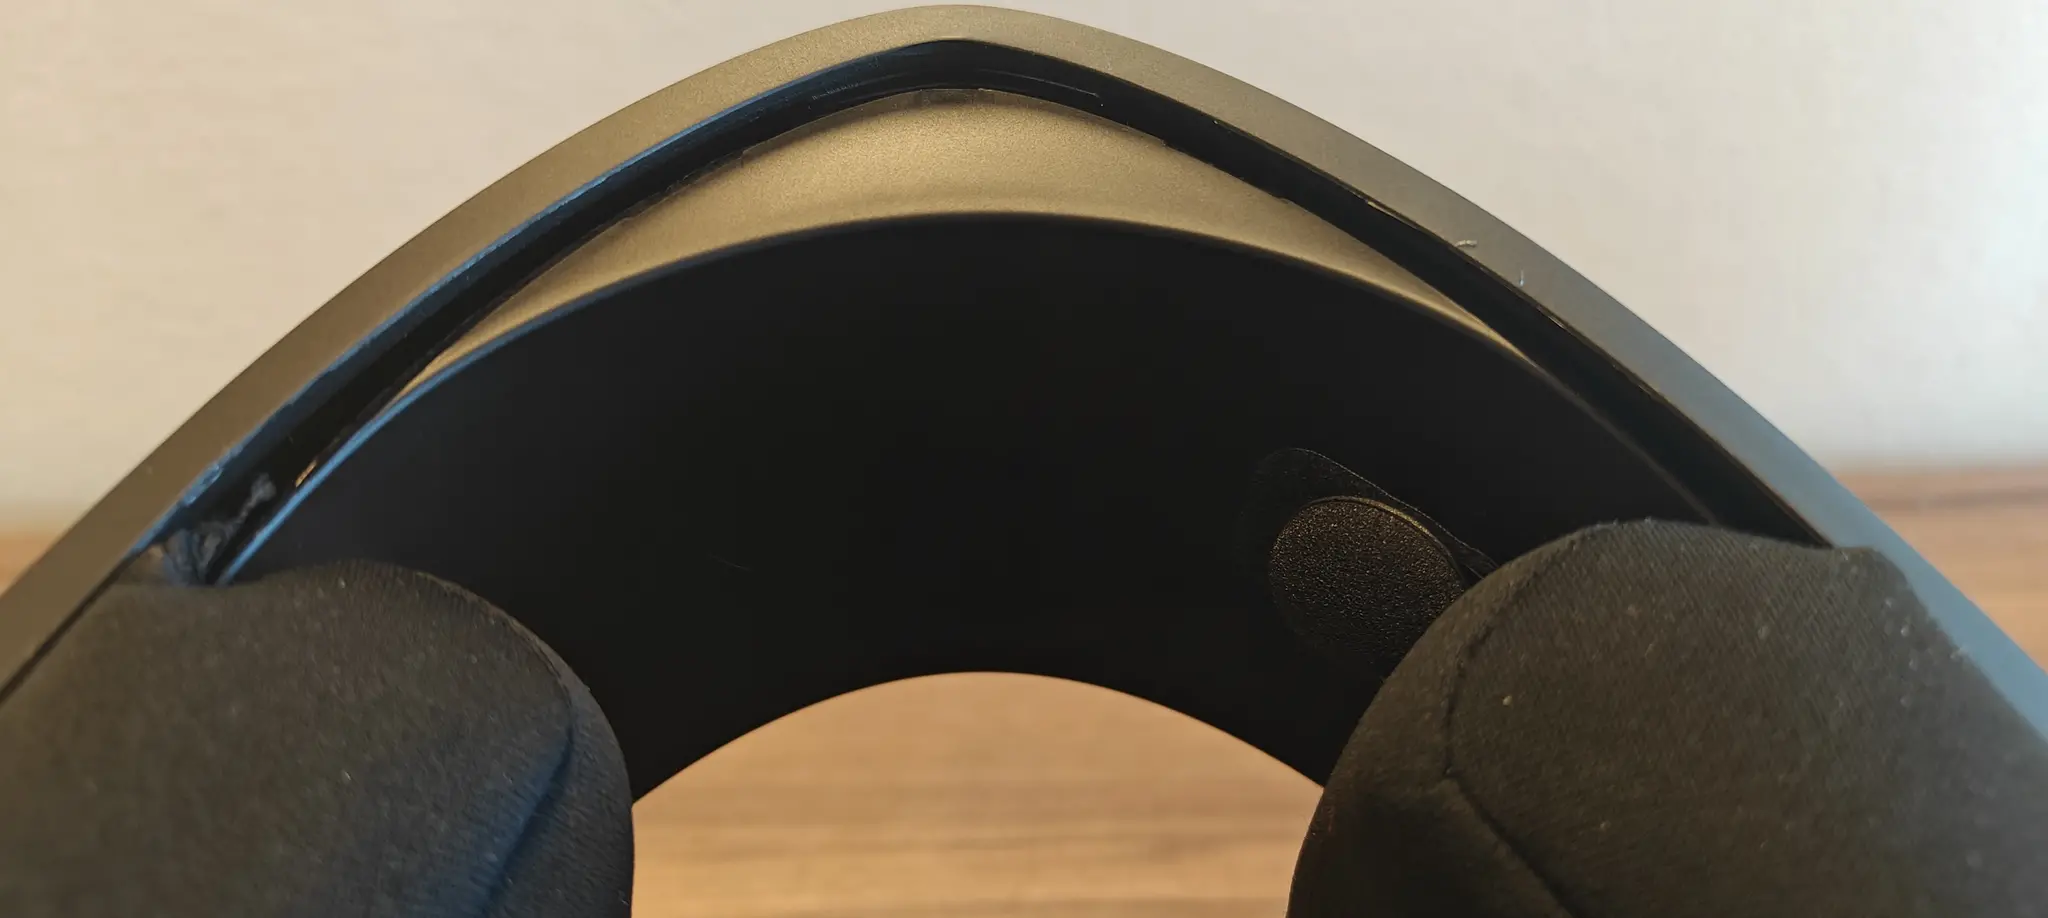
Step 3:Now take the speakers and the corresponding stickers and stick them in the speaker cutouts. Left and right doesn’t matter in this step, and you cant actually mess that up. You can now also set up the microphone in your desired spot. I chose to have it more to the side of the mouth piece, when I put it in the middle it was touching my lips, and no one is waiting to hear my breathing while cruising during a group ride. When put to the side the mic cables are very much hidden, which in its turn makes for a very neat install. |
|
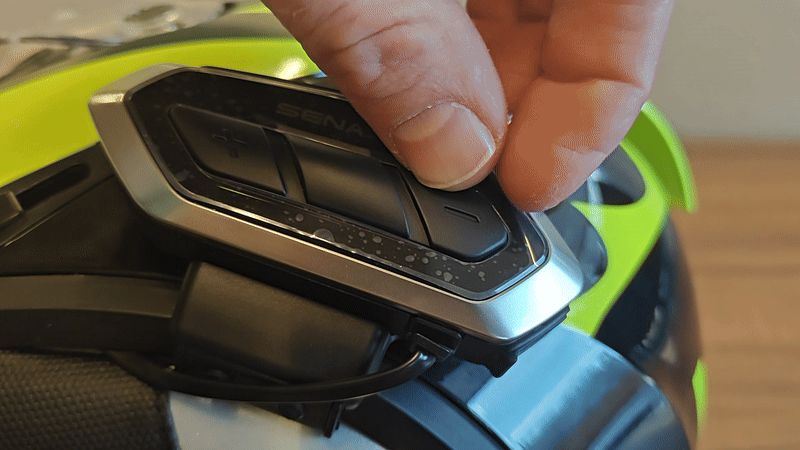
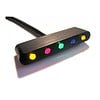
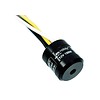
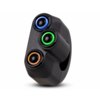
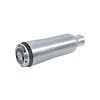
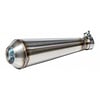
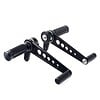
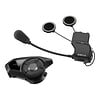
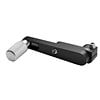
Step 4:Now install the Sena 50R unit on its helmet clamp with the supplied double-sided sticker. This can be a bit hard, I would stick the sticker on the unit itself first and then on the helmet mount. I did this the other way around and it turned out to be a bit harder to get it in its slot. So learn from my mistakes here. |
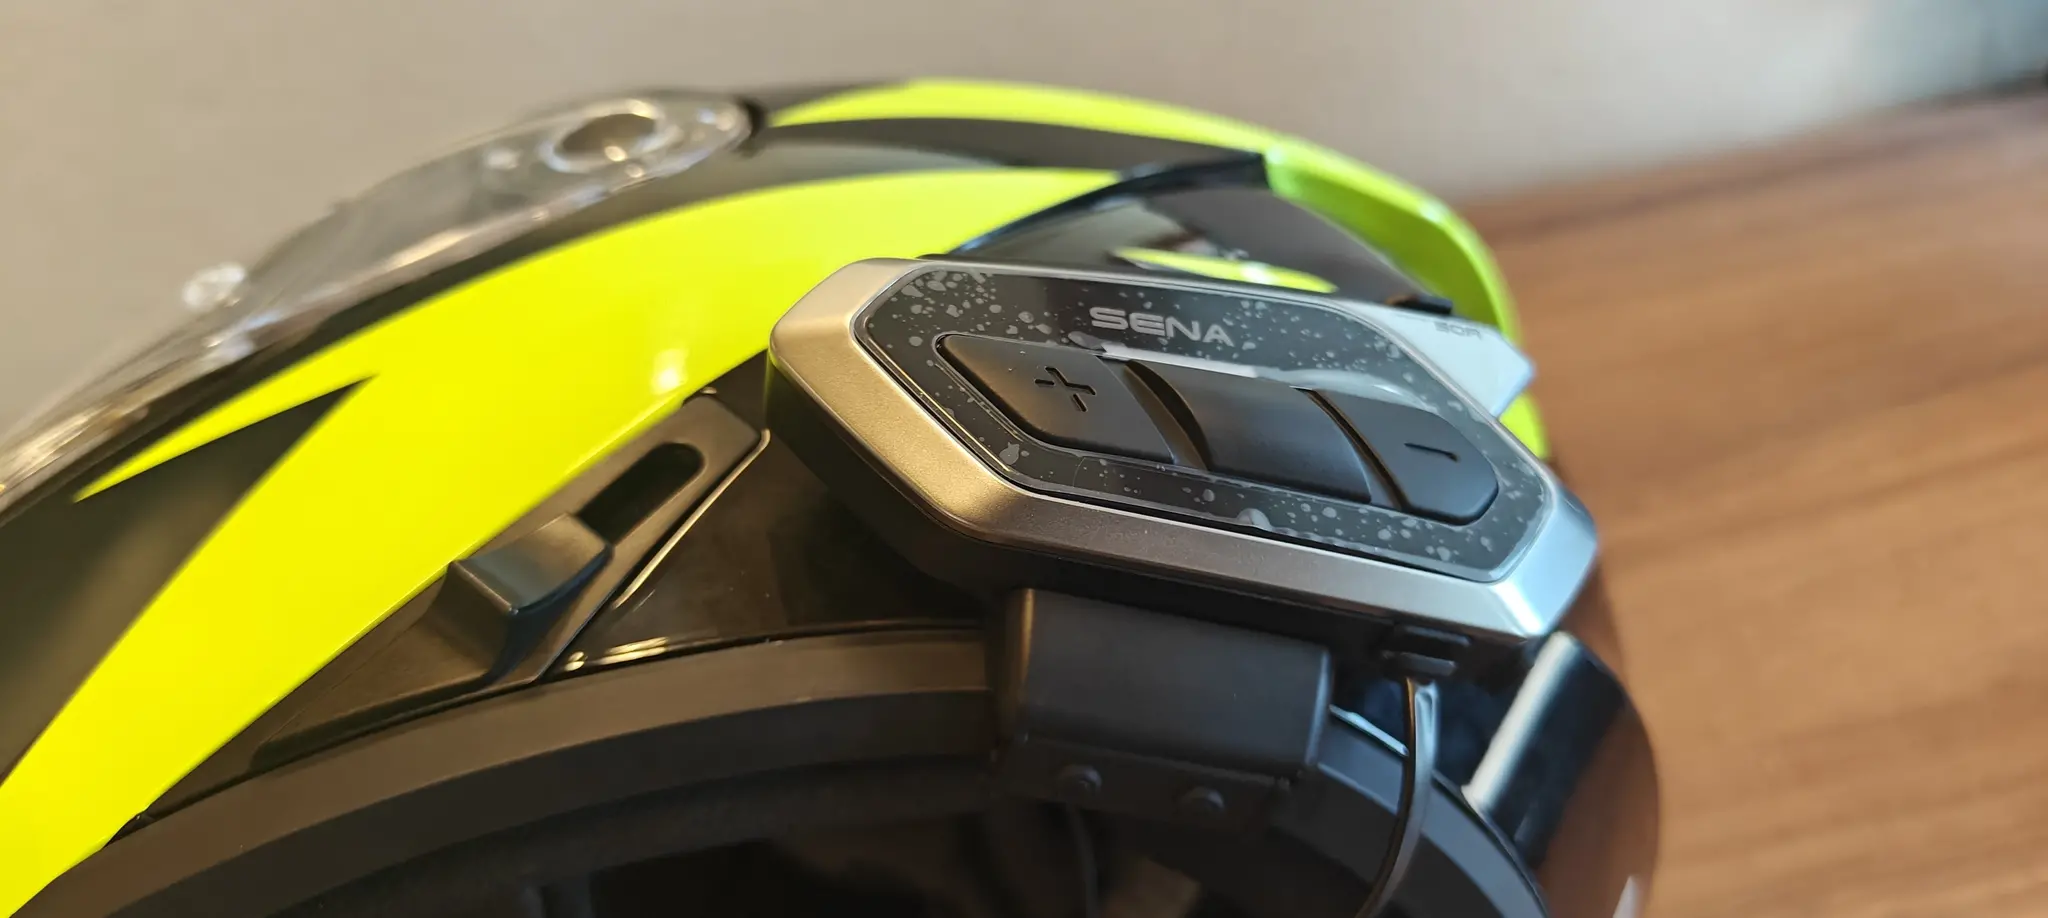 |
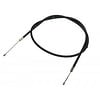
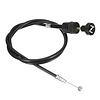
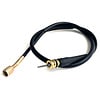
Step 5:Connect the microphone and speaker wires to the unit, the wire towards the right speaker is much longer, so you can't wire this incorrectly. If you got all connections plugged in you can start putting the inner liner back together while also tucking all the wires inside the helmet with them overlapping each other. This means that you won't feel any wires once all set up. |
 |
|
|
|