


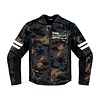


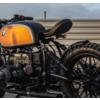


Most motorcycles start as standard production bikes, built for reliability, mass appeal and everyday use. However, in garages, workshops and small studios all over the world those bikes are used as the foundation for something quite different: a motorcycle shaped by the rider’s personality and vision.
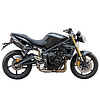
Every custom build, whether on a vintage base like the Honda CB750 or a modern naked bike like the Yamaha MT-07, has a similar journey. It’s a step by step process that starts with selecting the base bike and ends with improving even the smallest aesthetic features.
Understanding the lifecycle explains why motorcycle customising is as much about creativity and identity as it is about mechanics.
1. Finding the Right Base Bike
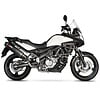
Every custom build starts with the foundation: the donor motorcycle. Builders frequently spend a surprising amount of time selecting the right platform, as the foundation of the bike impacts what a finished design might look like.
Some motorcycles are already ideal for customisation. The following factors make a bike desirable to builders:
- A simple frame design.
- Strong aftermarket part support.
- A reliable engine platform.
- A style that can adapt to multiple approaches.
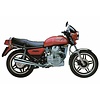
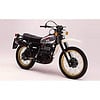
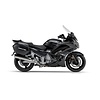
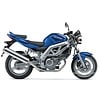
Classic motorcycles, such as the Honda CB750, became renowned in the custom scene thanks to their adaptability. Their simple design allowed builders to customize anything from the seat to the exhaust system.
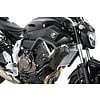
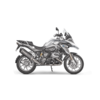
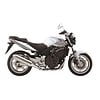
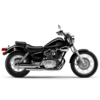
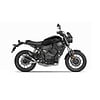
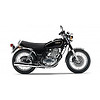
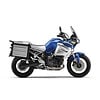
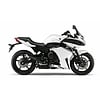
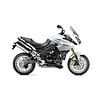
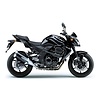
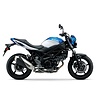
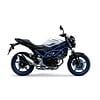
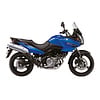
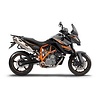
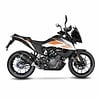
Modern motorcycles can also provide excellent foundations. Bikes like the Yamaha MT-07 have great performance and a minimalist design, making them suitable starting points for modern custom builds.
The appropriate foundation bike does not have to be unique or expensive. In reality, many of the most interesting custom motorcycles begin as low-cost, easily accessible models.
Things to check in the beginning:
- Engine compression and basic running conditions.
- Frame condition and possible rust
- Straightness of the forks and swingarm
- Electrical Wiring Condition
- Missing or damaged components.
2. Define the Build Vision
Before removing the first bolt, most builders spend time choosing the build's direction. This phase focuses more on imagination rather than tools.
The vision may come from:
- Influenced by other custom creations.
- A unique riding style.
- A certain aesthetic or era.
- Personality of the rider
Without a clear vision, builds can quickly become disorganised. When you’re trying to figure out the direction of your build, avoid the obvious trap of imitating what already exists. If you start by searching on Google for the bike model you are working on and a popular style, you will most likely find versions of the same build replicated over and over again.
A better way is to go beyond the typical search engines. Inspiration might come from unexpected places such as learning about motorcycle styles history or magazines, read seller guides and blogs, or custom bike communities in different countries such as Japan where builders experiment with entirely different proportions and ideas.
By learning the history behind custom evolution you remind yourself that motorcycles didn’t always stick to specific design rules. People used to improvise as they go through the custom process, experimenting with unusual layouts and bold concepts. That kind of curiosity is exactly what leads to a truly unique build.
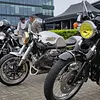
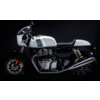
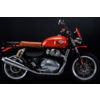
3. Choosing a Style Direction
As the build ideas come in, a clear style usually develops. Motorcycle customisation includes several well-known design styles that influence how a build advances.
We have published an in-depth blog about the five most popular styles which include the Café Racer Style, Scrambler, Tracker, Bobbers and Brat-style and which parts you need to recreate each style. To read the detailed description of each style CLICK HERE.
As a summary, the key concepts of each style are:
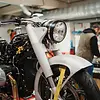
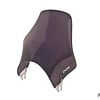
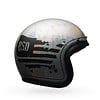
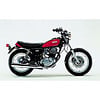
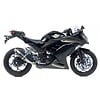
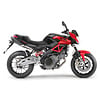
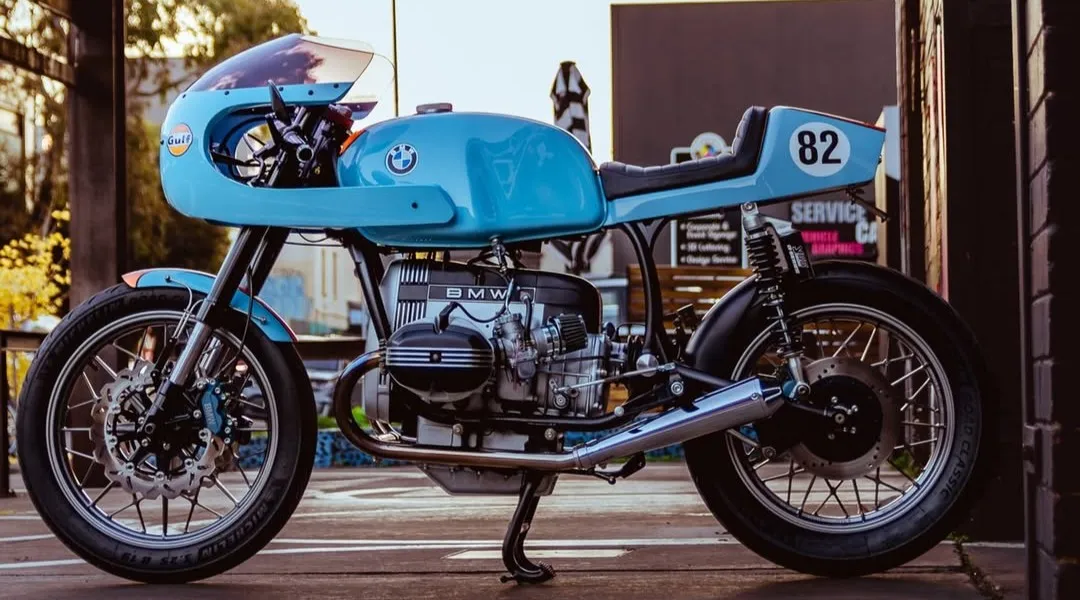
Café Racer Style: Café racers are bikes that are made to go fast and are easy to handle. They are designed to be very lightweight. This makes them easier to ride. Café racers have a riding position that's like a racing bike.
The handlebars on these bikes are low and the foot pegs are at the back of the bike. Café racers do not have a lot of bodywork, which helps to keep the weight of the café racers down and it also makes the café racers more aerodynamic. A lot of café racers were made from bikes like the Triumph Bonneville and the BSA Gold Star. The Triumph Bonneville and the BSA Gold Star were known for being really fast and having control and as mentioned earlier, café racers are all about being fast and easy to ride.
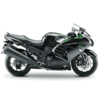
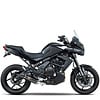
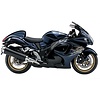
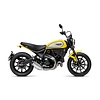
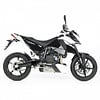
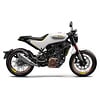
Scrambler: Scramblers are bikes that can handle both roads and rough terrain. They have features like high-mounted exhaust pipes, strong tires and suspension that can travel a long way which helps with control when riding off-road. The rider also sits in an upright position, which makes it easier to control the bike on rough terrain. A time ago scramblers were just regular city bikes that were modified but now there are bikes like the Ducati Scrambler that are made to be used both on and off the road.
.webp)
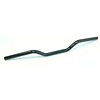
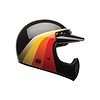
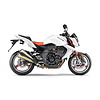
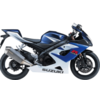
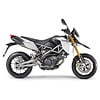
Tracker: Trackers were inspired by the bikes used in flat track racing, which takes place on oval dirt tracks. These bikes are all about having a design, smooth power and a lot of traction which makes it easy to turn. Street trackers are similar. They are designed to be used on regular roads with features like flat seats, upright handlebars and a lightweight body.
![]()
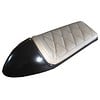
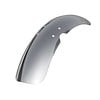
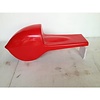
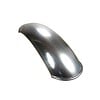
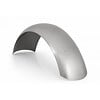
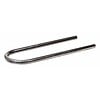
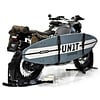
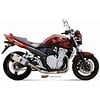
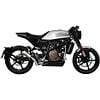
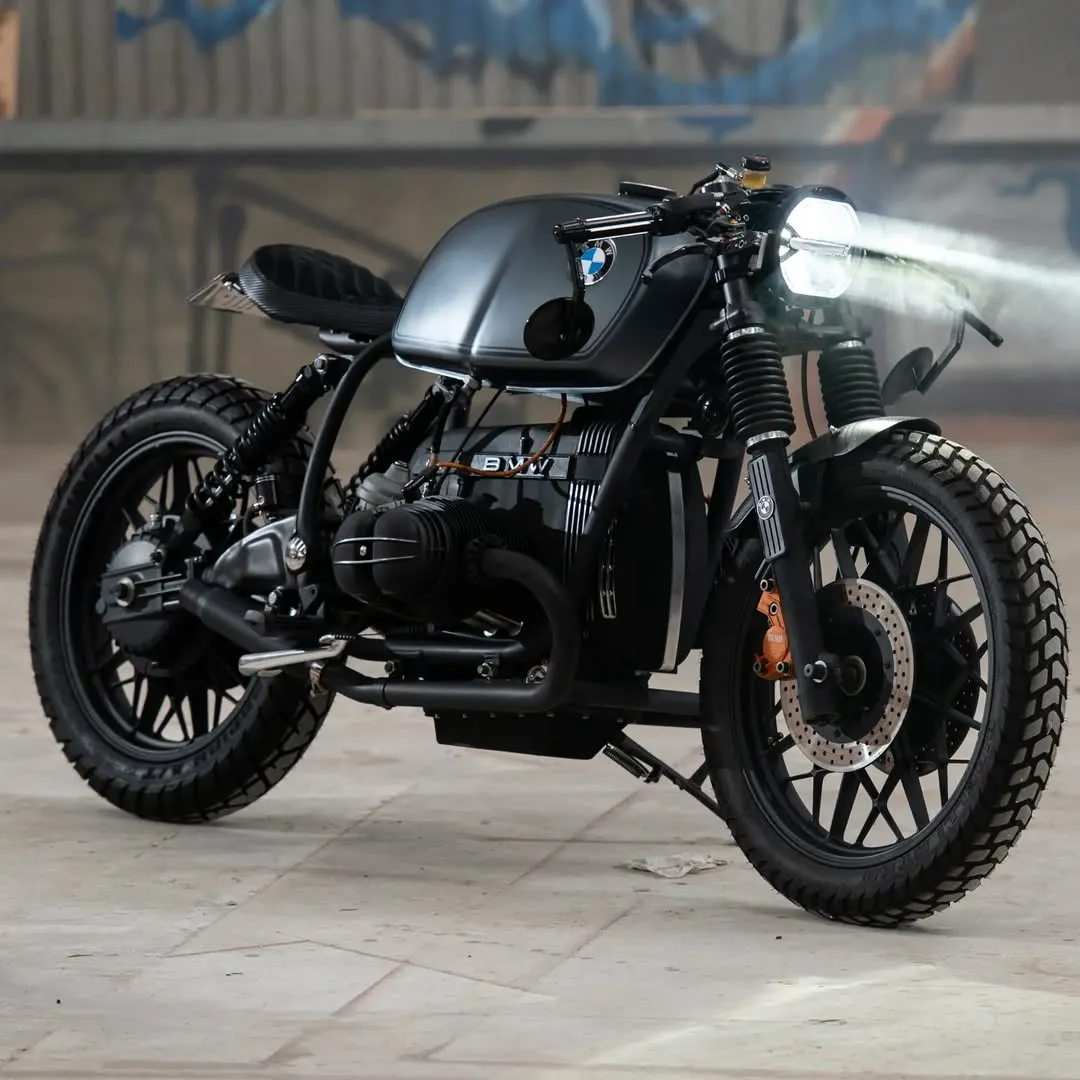
Bobbers: Bobbers are bikes that're all about keeping things simple and minimal. The people who build these bikes get rid of any parts that are not needed. They also shorten the fenders, which are the metal pieces over the wheels to make the bike look sleeker and weigh less. A lot of the bobbers were made from American bikes with V-twin engines like the ones made by Harley-Davidson and Indian Motorcycle.
Brat-style: Brat-style bikes are all about being comfortable, simple and easy to ride in the city. They have seats that are like benches handlebars that are not too high or too low and a riding position that is really comfortable. This style of bike was started by a company in Tokyo called Brat Style. It combines old-school custom bike elements with a clean and simple look that is perfect, for riding in the city.
Choosing a style influences decisions about parts, paint, and overall design.

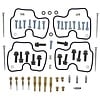
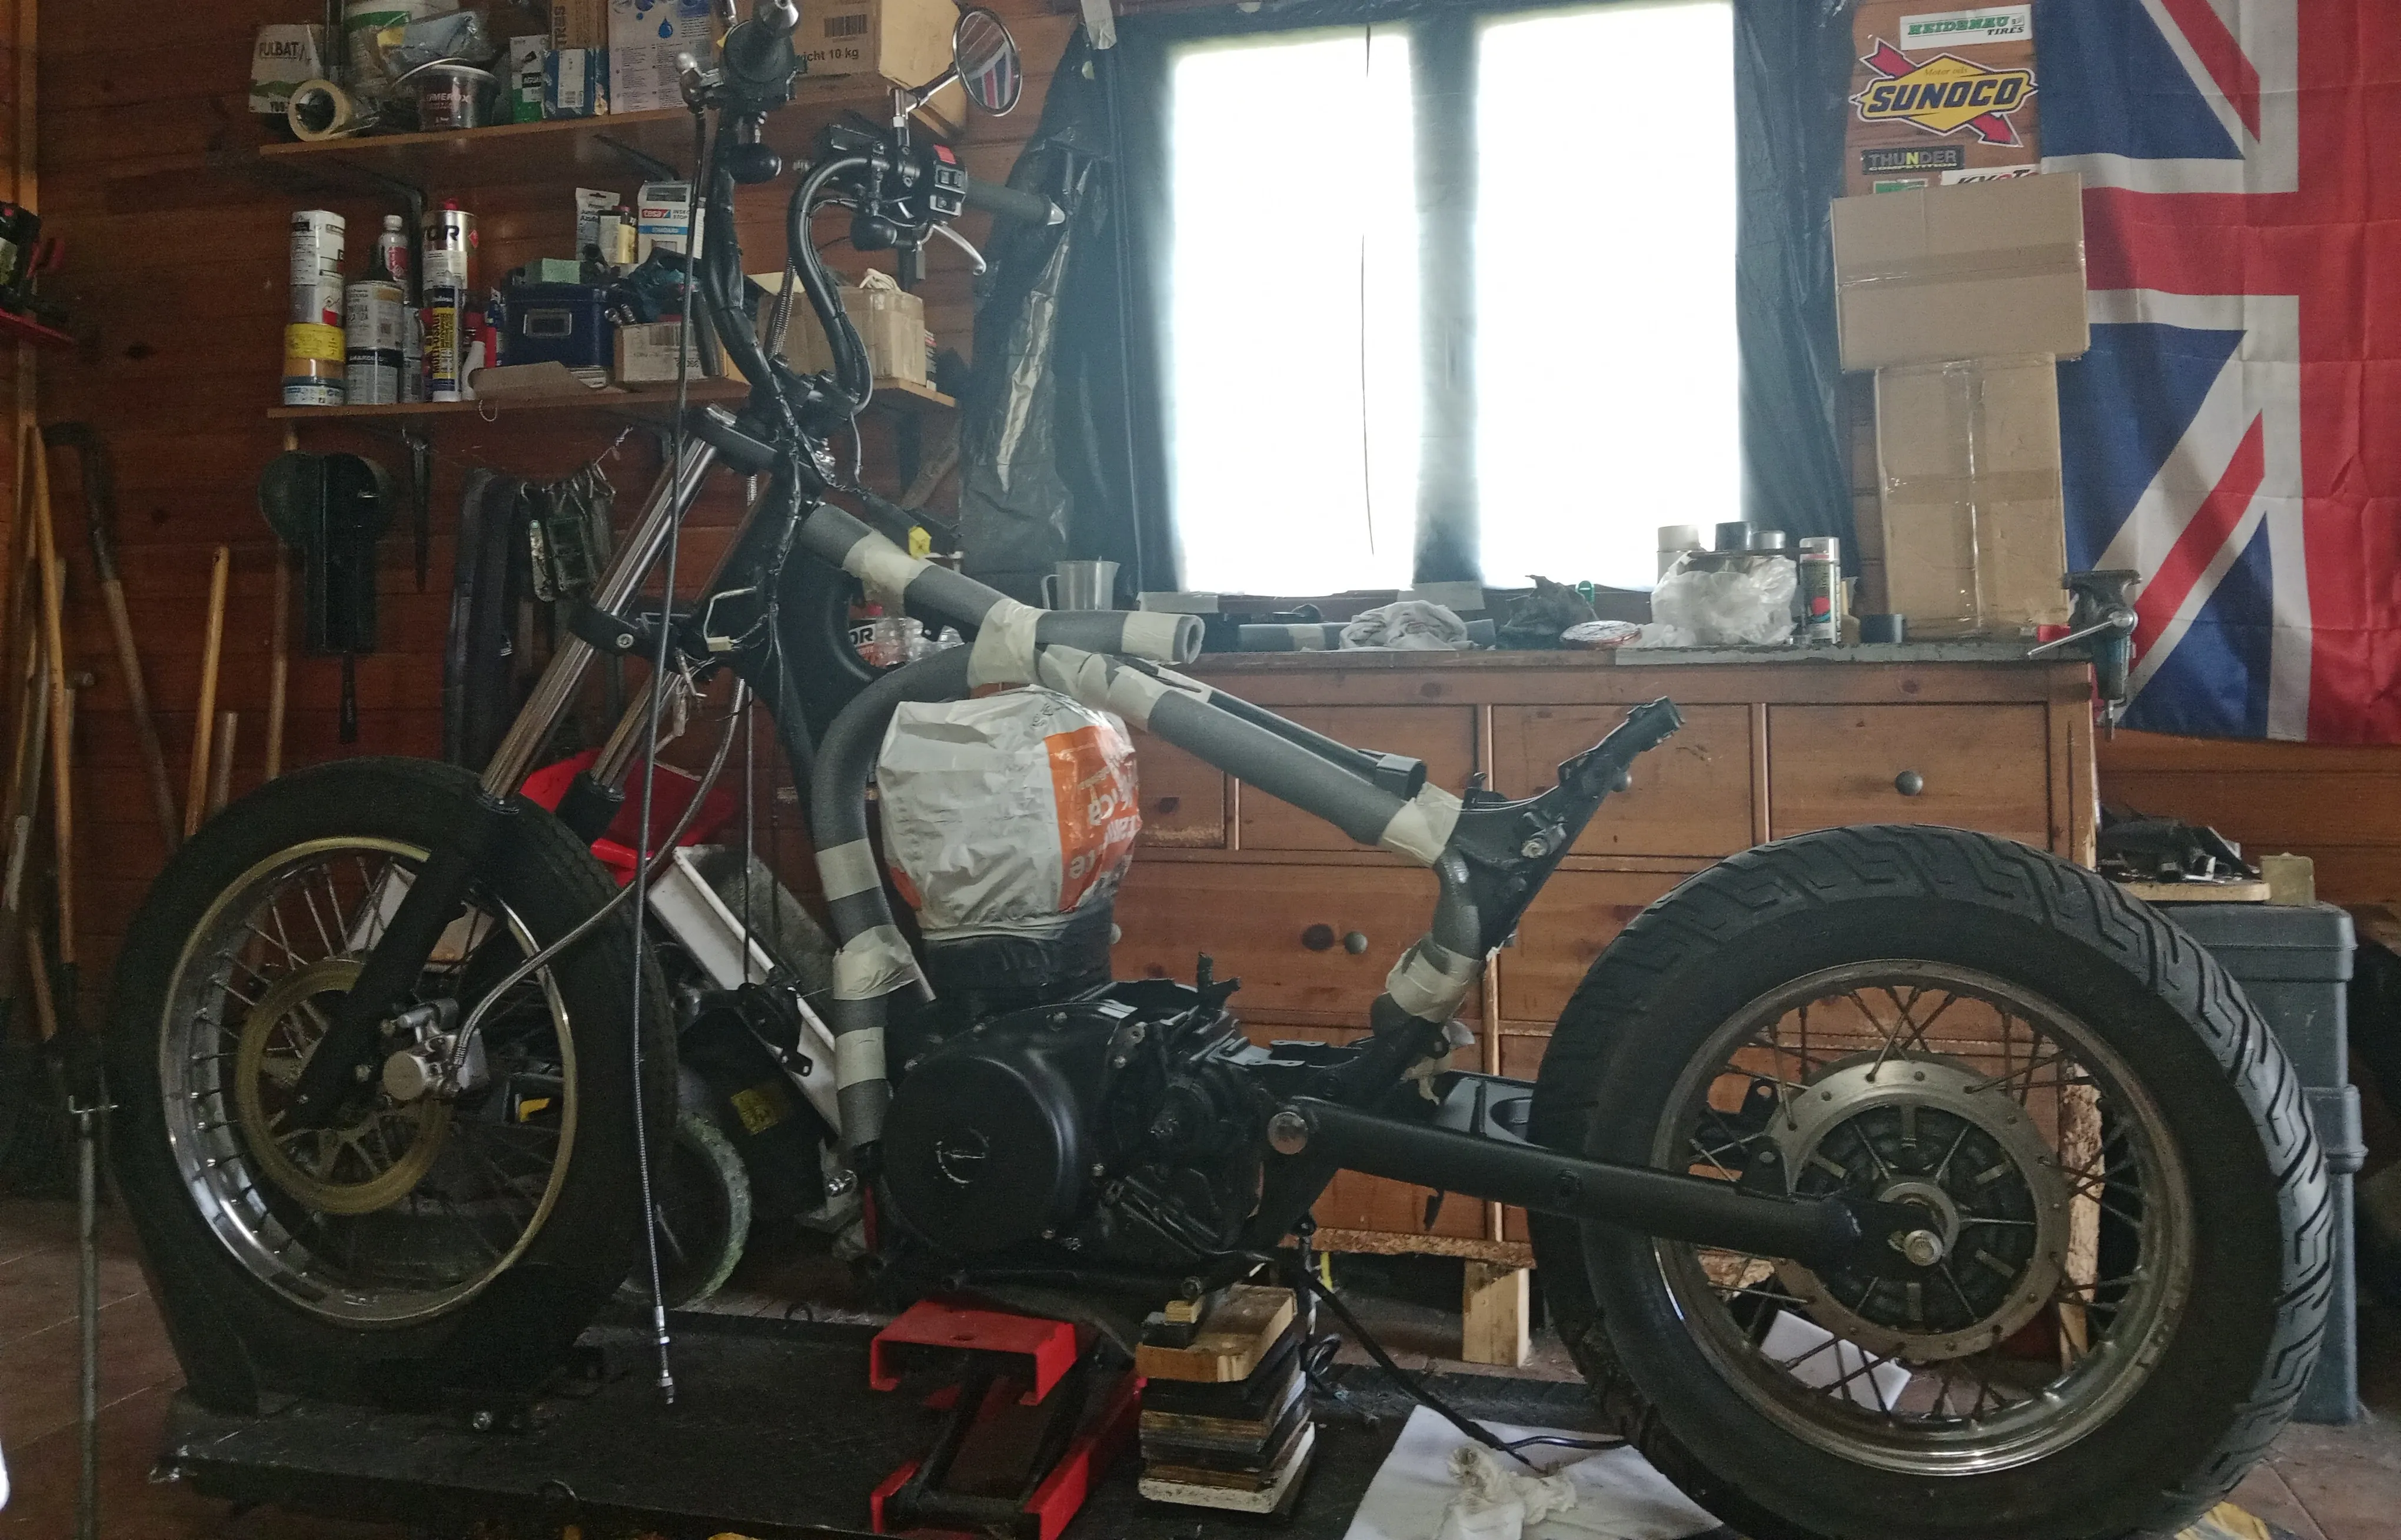
4. Complete Disassembly
Once the build plan is in place, you can start disassembling the motorcycle.
For most custom builds, this involves removing almost everything from the frame.
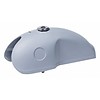
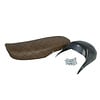
- Fuel tank
- Seat and tail portion.
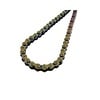
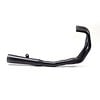
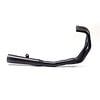
- Exhaust system
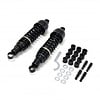
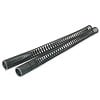
- Wheels and suspension.
- Lighting and Wiring
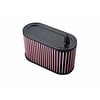
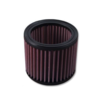
- Air box and intake components
Finally, the bike reaches the most basic form: a frame with an engine.
If you are not prepared, this phase might be hectic. Builders often document each step so they can easily remember how the components come together. Labeling bolts and fasteners in bags or trays will help them stay organized. Keeping everything organized by component will save a lot of time during reassembly.
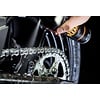
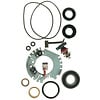
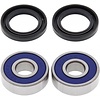
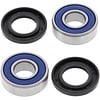
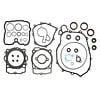
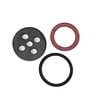
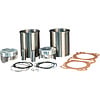
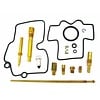
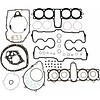
5. Cleaning and Inspection
The next step is to thoroughly clean and inspect the motorcycle after it has been completely stripped down.
Years of road debris, oil residue, and dirt collect in spots that are often inaccessible. Degreasing the frame and components helps the builders to thoroughly inspect everything.
Key Inspection Points:
- Frame welds and mounting spots.
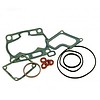
- Engine leaks and worn gaskets
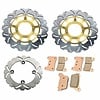
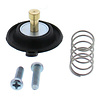
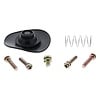
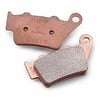
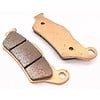
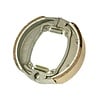
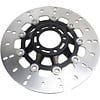
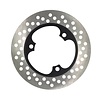
- Brake system components
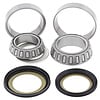
- Bearings in wheels and swingarms
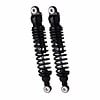
- Suspension bushings and seals
During this time, small issues usually appear. Fixing them now is much easier than after the bike has been finished.
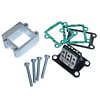
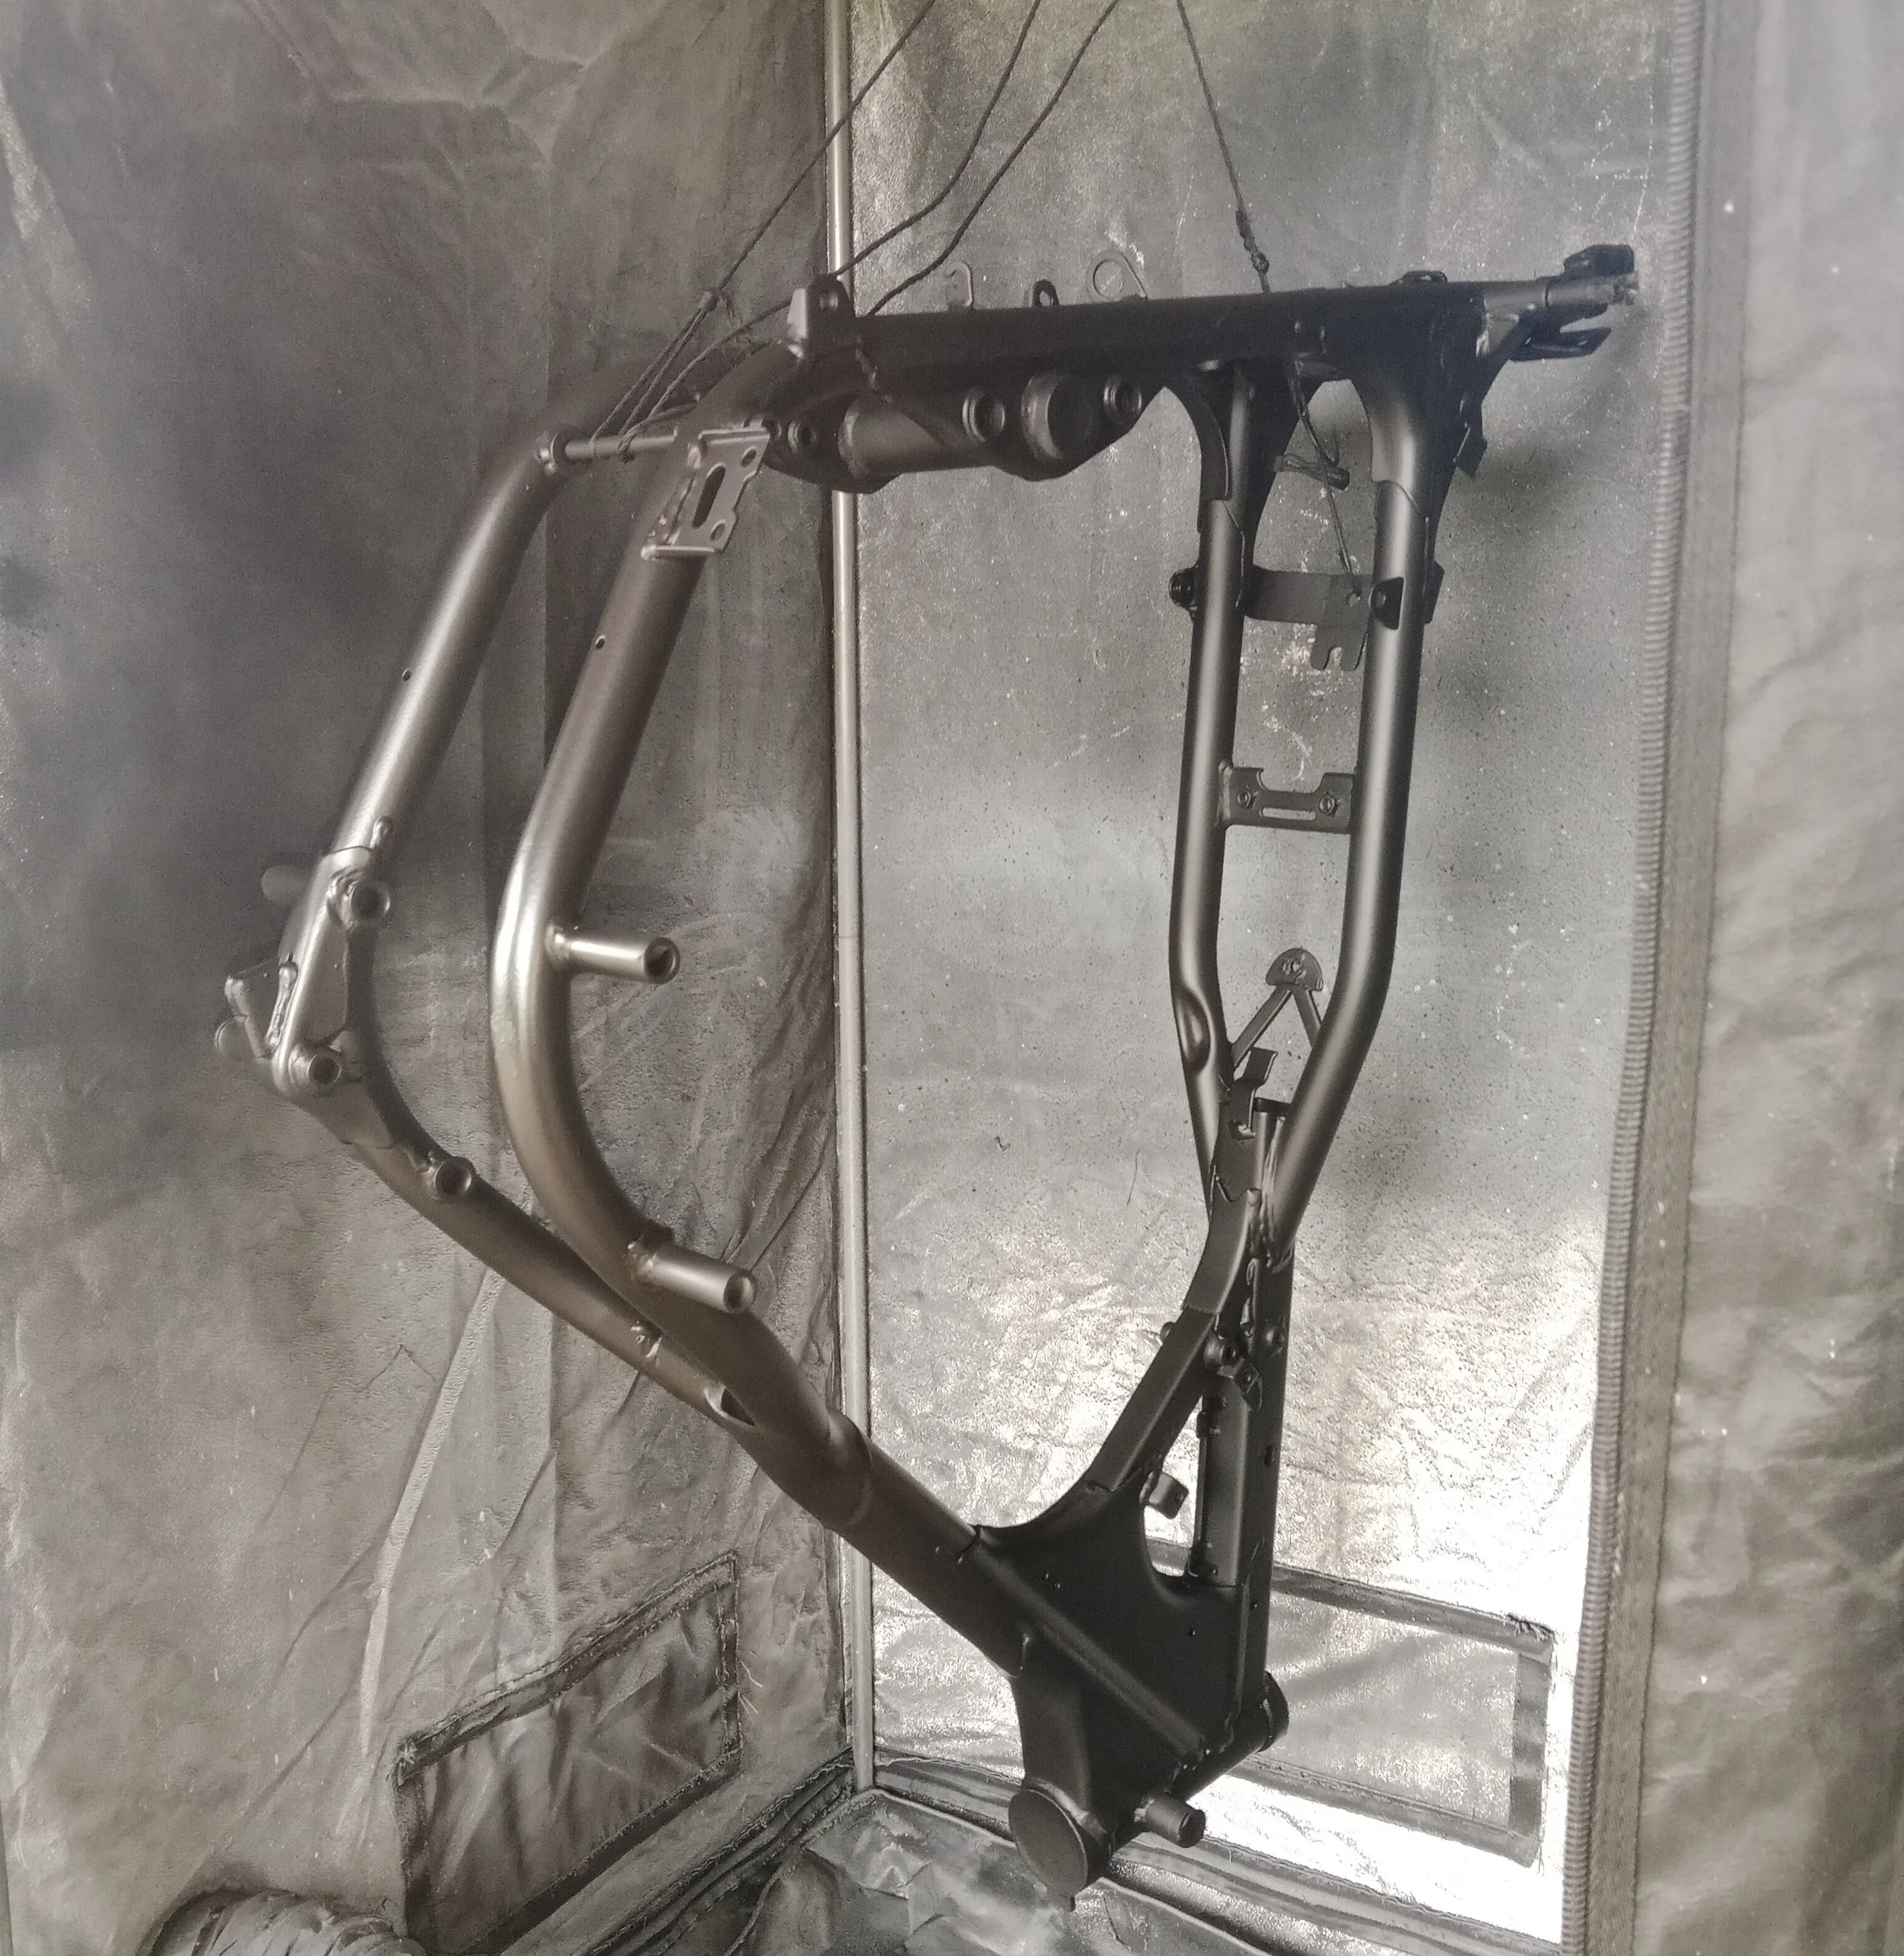
6. Framework and Structural Changes
After the bike has been stripped and checked out, structural changes can start.
Depending on the style of build, this may include:
- Shortening or redesigning the rear frame
- Creating a new seat mount
- Installing a new tail loop.
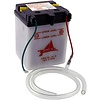
- Relocating electronics and battery.
- Designing mounts for aftermarket parts.
Making mock up parts during this step is a good idea. In order to achieve the right proportions, builders frequently install seats, tanks, and wheels temporarily.
Small adjustments to the seat height or tank angle can have a significant impact on the bike's look.
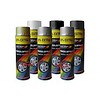
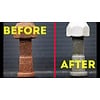
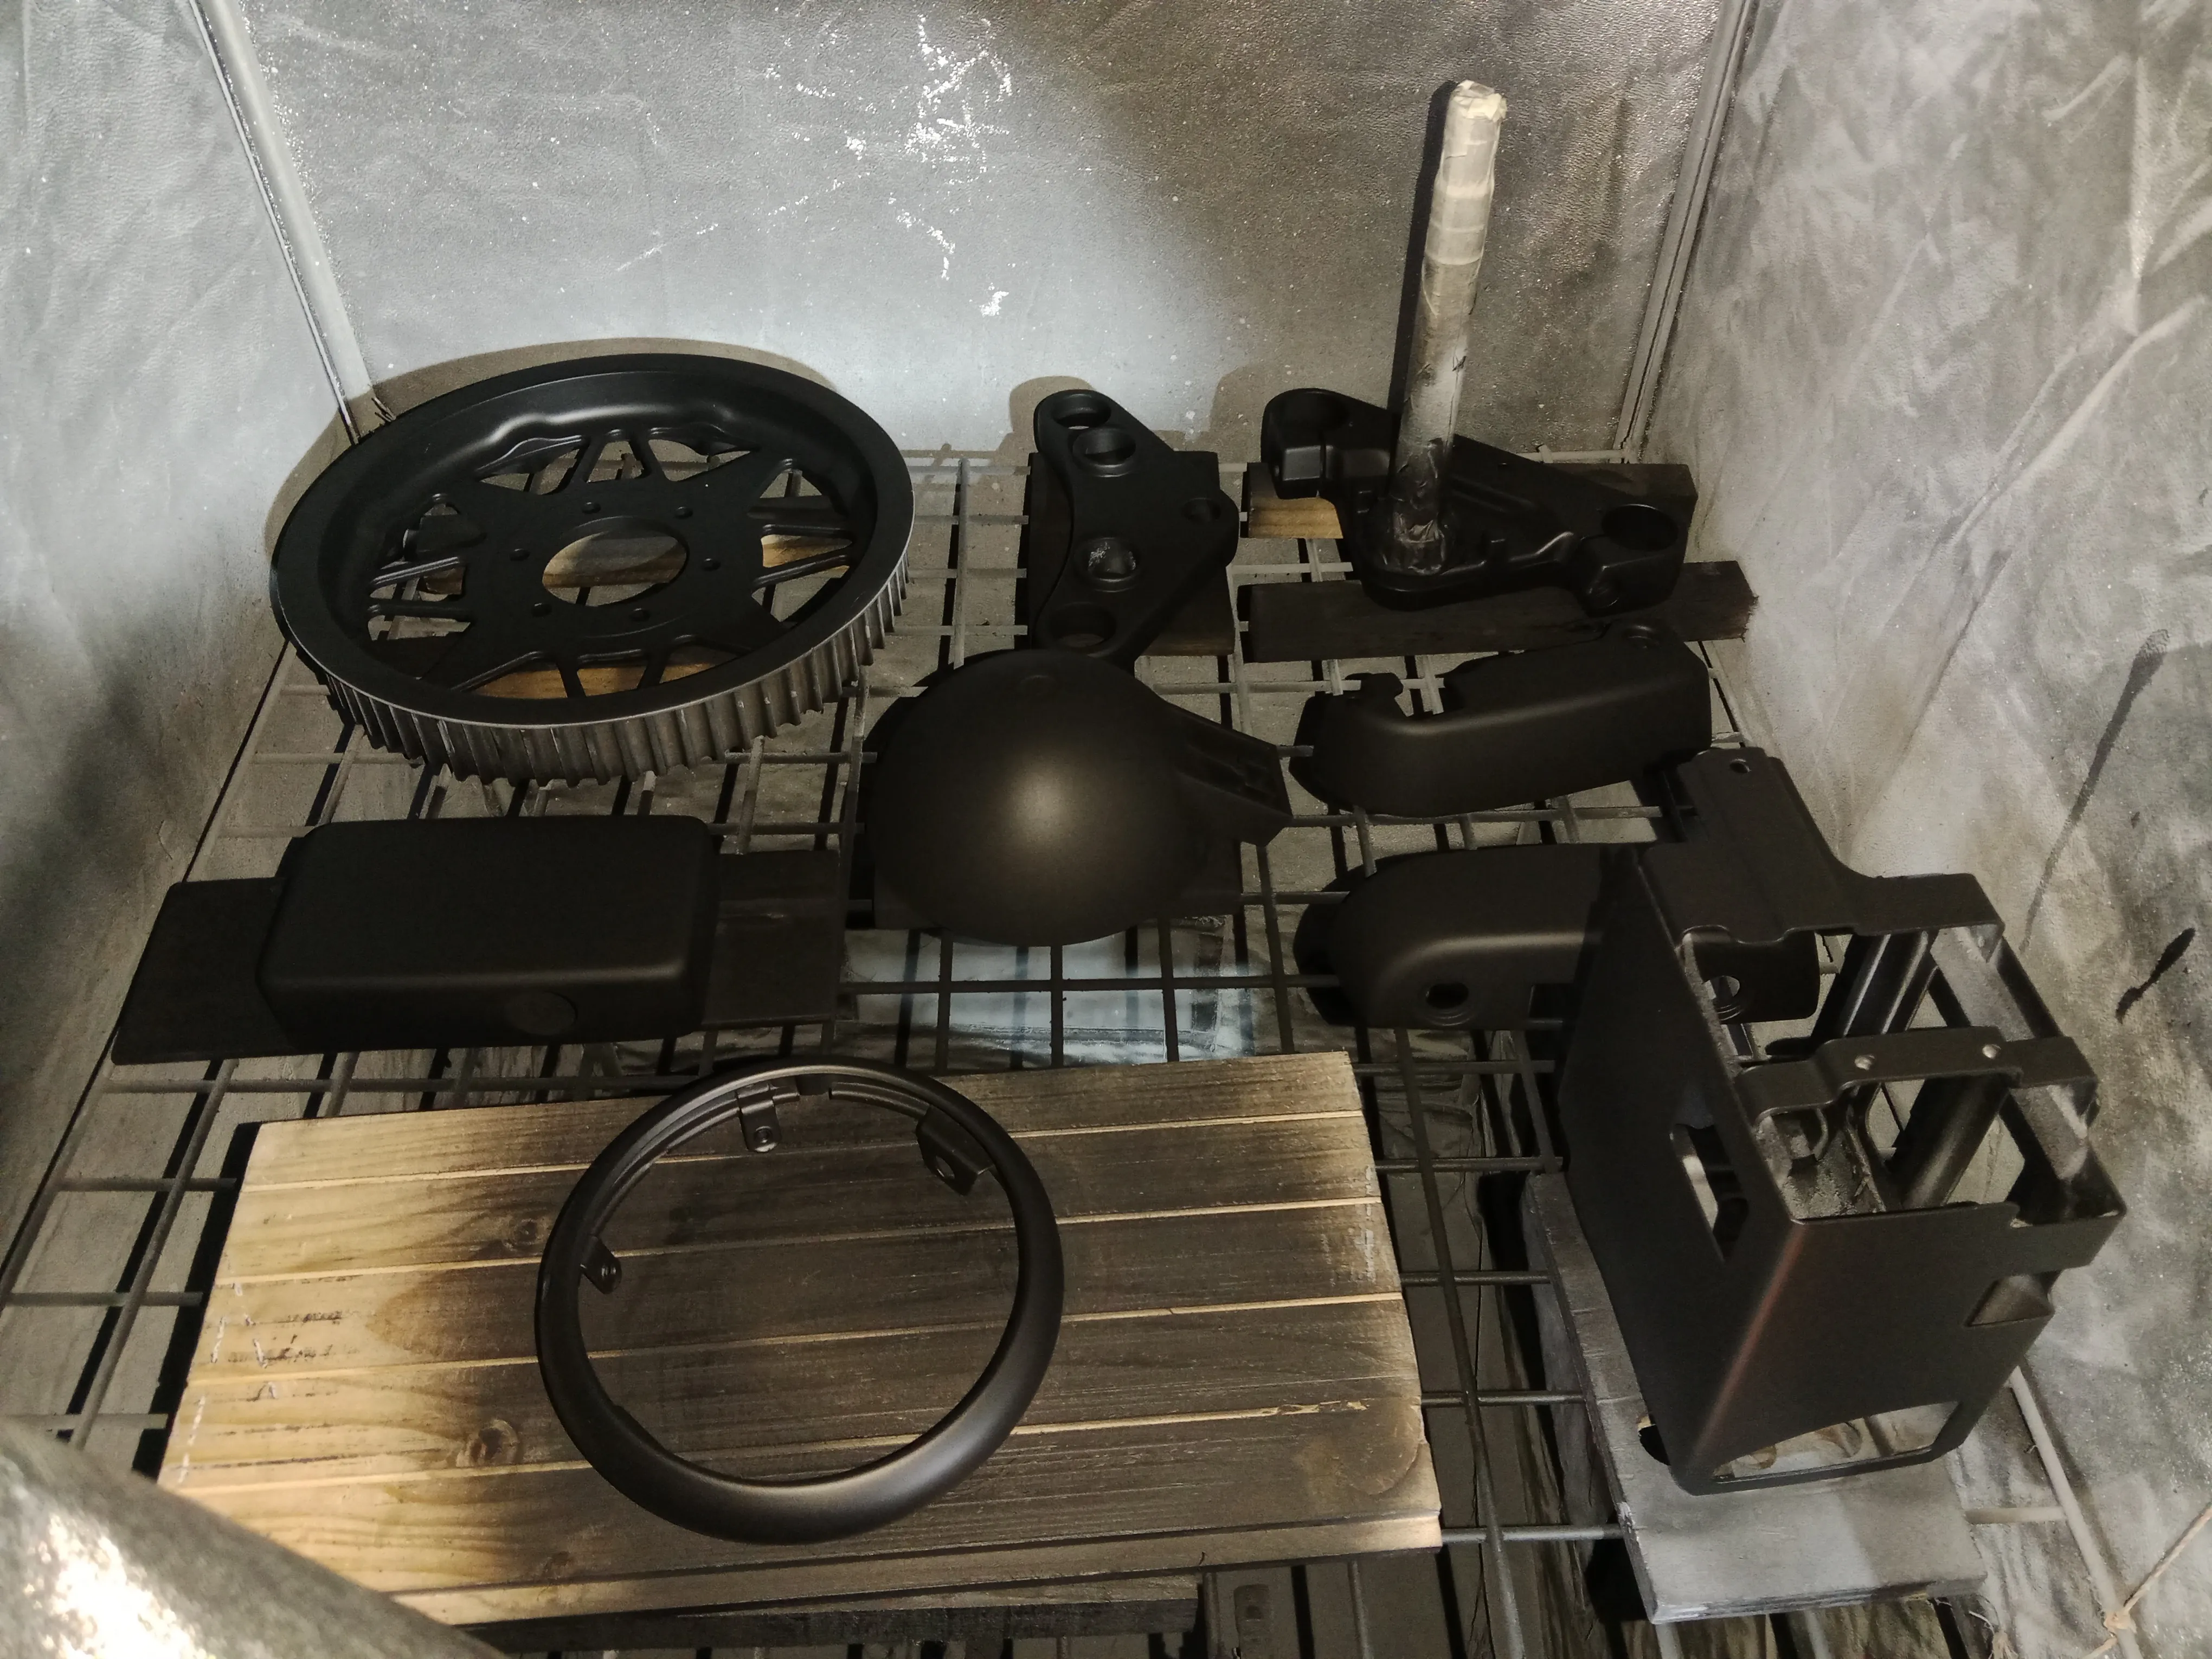
7. Paint and Surface Prep
The finishing phase is one of the most transformational stages of a custom build.
However, excellent paintwork depends very much on preparation. Metal surfaces must be carefully prepped before painting:
- Remove old paint or coatings.
- Smoothing surfaces using sandpaper
- Fixing/fill in defects, if necessary.
- Applying primer
- Apply the base colour.
- Finishing with clear coat.
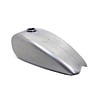
Fuel tanks and body panels tend to be the most important aspects of a bike's visual identity.
Frames are usually powder coated rather than painted because powder coating is extremely durable and resistant to chips and scratches.
Tip: Take great care when preparing the tank. Any flaws will be obvious once the paint is applied.
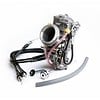
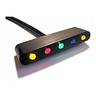
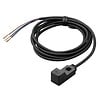
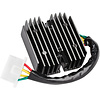
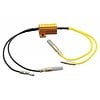
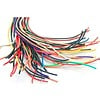
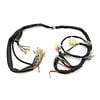
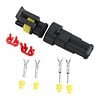
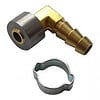
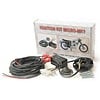
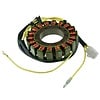
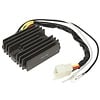
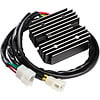
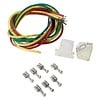
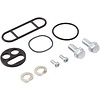
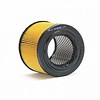
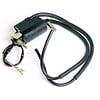
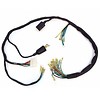
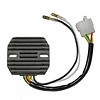
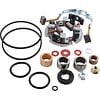
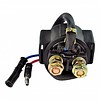
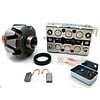
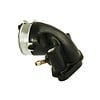
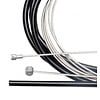
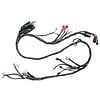
8. The Electrical System
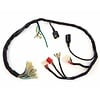
Custom builds often include cleaning up the motorcycle's wiring.
Modern motorcycles may have complex wire harnesses built for different systems. Builders minimize these systems for a cleaner appearance.
This could involve:
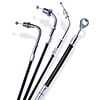
- Installing a simplified wire harness
- Relocating the Battery.
- Integrating small fuse boxes.
- Switching to LED lighting.
Clean wiring is more than simply looks. A well-organized electrical system also increases reliability and helps future repairs.
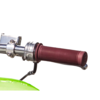
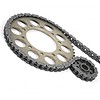
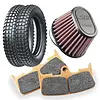
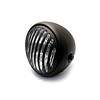
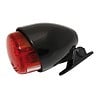
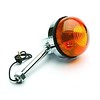
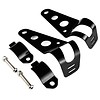
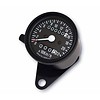
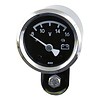
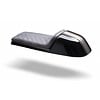
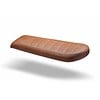
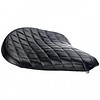
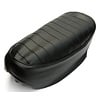
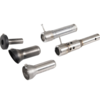
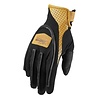
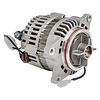
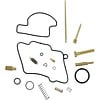
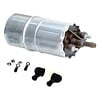
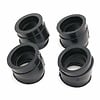
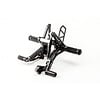
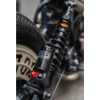
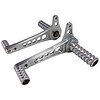
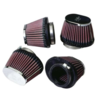
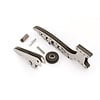
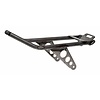
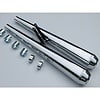
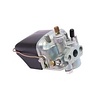
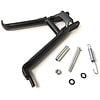
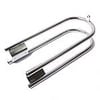
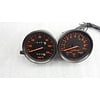
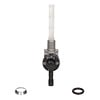
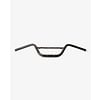
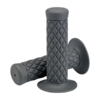
9. Choosing the Right Parts
After the structural work and finishing are completed, builders begin putting together the components that create the bike's final character.
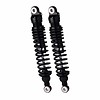
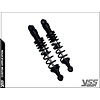
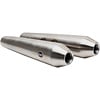
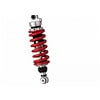
Common upgrades include:
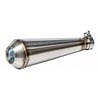
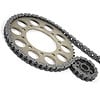
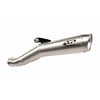
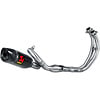
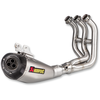
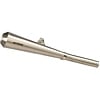
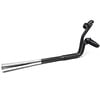
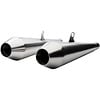
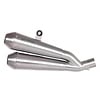
- Aftermarket exhaust systems
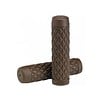
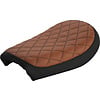
- Custom seats.
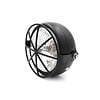
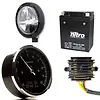
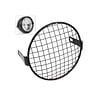
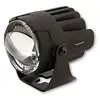
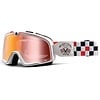
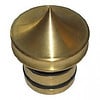
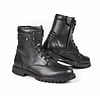
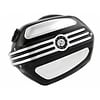
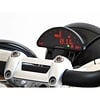
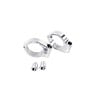
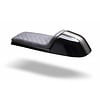
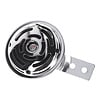
- LED headlights and indicators.
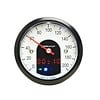
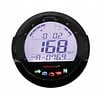
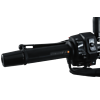
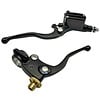
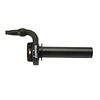
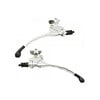
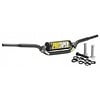
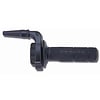
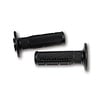
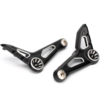
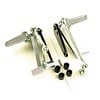
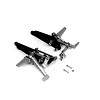
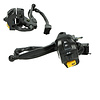
- handlebars and controls
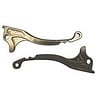
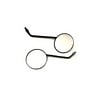
- Mirrors and levers.
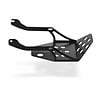
- Tail Tidy Kits
Parts selection is where a motorcycle truly becomes unique. Two builds based on the same bike can turn out very different depending on the components used.
.webp)
10. Reassembly
After weeks of work, the motorcycle starts to come together.
Reassembly usually follows the reverse order of disassembly:
- Frame and suspension components.
- Wheels and brake systems.
- Engine parts and intake
- Wiring and Electronics
- Bodywork and finishing parts.
Fresh paint, new hardware, and upgraded parts are then added to make the finished motorcycle.
Patience is essential at this phase. Rushing the final assembly can easily damage freshly painted pieces or cause mechanical problems.
11. First Startup and System Checks
The first startup is one of the most rewarding moments of any build.
Before turning the key, builders usually check:
- Fuel lines and connection points.
- Oil level and coolant
- Electrical systems
- Brake pressure
- Throttle operation.
Once the engine has started, allow the bike to rest and reach a normal operating temperature while inspecting for leaks or strange noises.
Short test rides help ensure that everything works properly.
Even once the bike runs smoothly, final changes are frequently required.
This includes:
- Fine-tuning suspension settings.
- Adjusting the clutch and brake levers
- Aligning controls and mirrors
- Tightening hardware after the early rides.
These finishing touches frequently take time, but they elevate a good build to a well-built motorcycle