


Painting a motorcycle engine might seem like an intimidating DIY project, but with a bit of time and some effort, you can absolutely pull off a great spray-paint job. Not only will you get the satisfaction of doing it yourself, but you’ll also save some cash along the way. Sure, a spray-can job has its limits (colour choices, finish options, etc.), but you don’t need an expensive air-spray setup. Plus, you don’t have to deal with the overspray, cleanup, or re-coating headaches that come with an HVLP (high volume low pressure) system.
A Quick Word on My Experience:
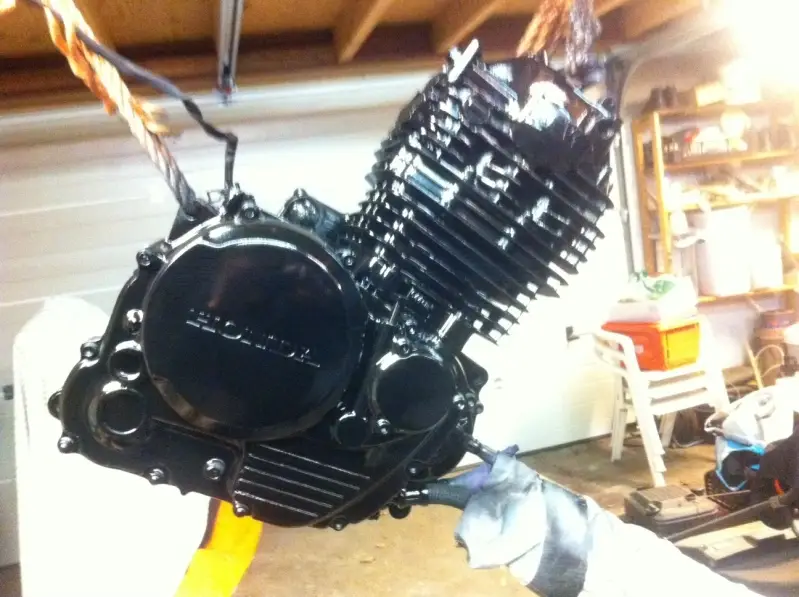
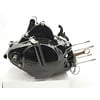
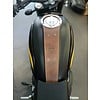
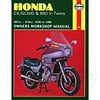
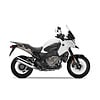
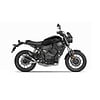
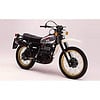
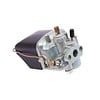
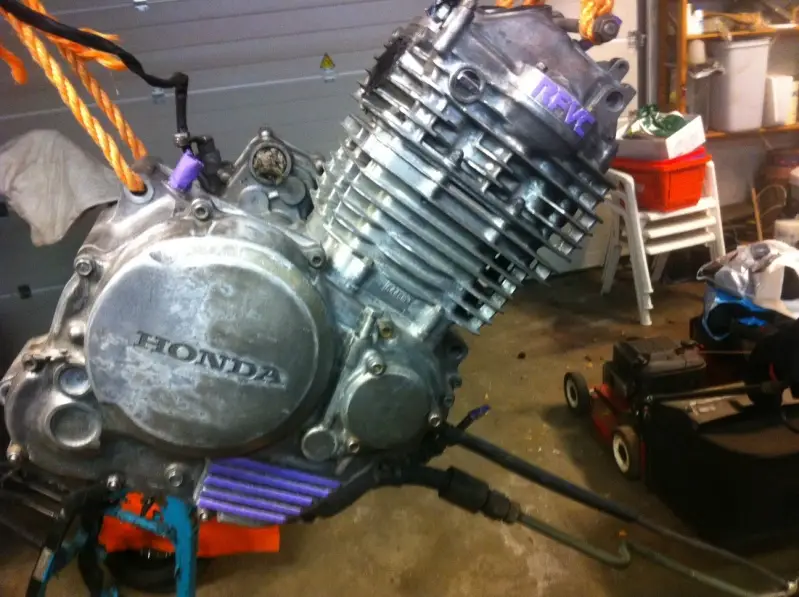
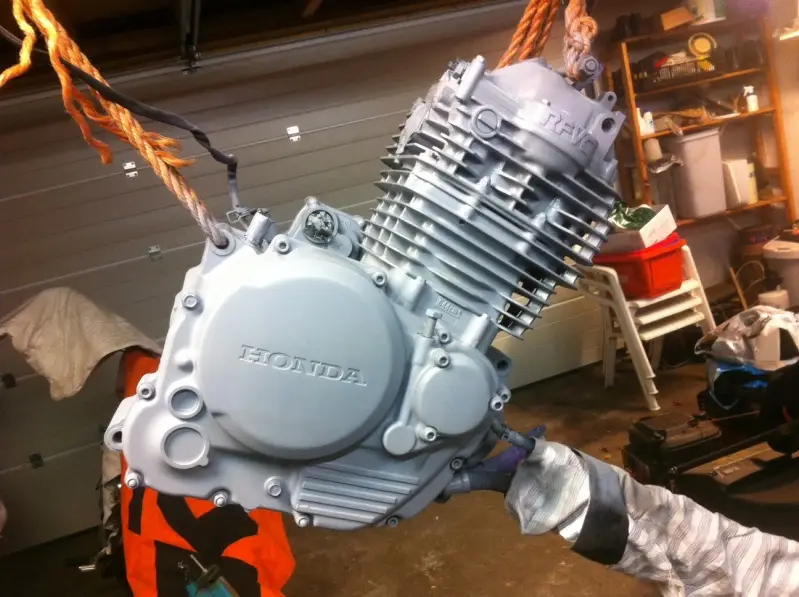
Most of my engine painting experience comes from working on my Honda NX650, so while I'm not a pro painter, I definitely have a few tricks up my sleeve. Whether you’re going for a simple flat finish or a more complex, layered colour scheme, there are some key steps you can follow to make sure your project turns out awesome. Spoiler: about 70% of your time will be spent on prep, and the other 30% on actually painting. Trust me, that prep work will make all the difference. I don’t count the time I spend waiting for the paint to tack/cure/dry.
Step 1: Cleaning
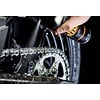
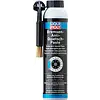
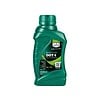
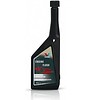
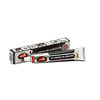
Let’s face it, your engine is probably covered in grime and grease. Which is completely normal! Start by using some kitchen degreasers or engine-specific cleaners—stuff like Nuver’s Engine Degreaser will do a great job. A couple of toothbrushes will help scrub off the worst of the gunk, but if you’re feeling fancy, you could go the soda-blasting route. Just make sure to mask off everything that you don’t want covered in soda. No shortcuts here!
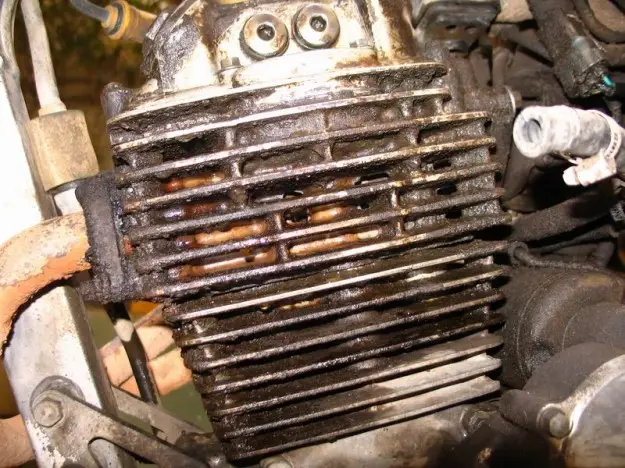
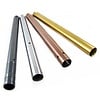
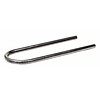
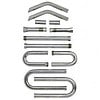
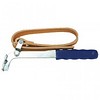
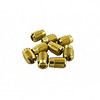
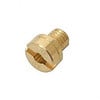
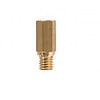
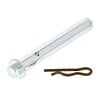
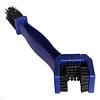
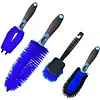
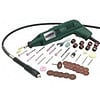
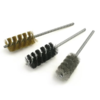
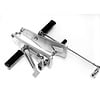
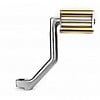
Pro Tip: Brass spiral tube brushes are your new best friend. They’re soft enough not to damage aluminum but still get the job done when it comes to cleaning those hard-to-reach spots. You can easily find them online or any auto parts store.
Step 2: Prep Work (The Most Important Part)
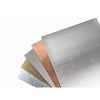
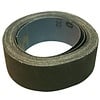
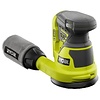
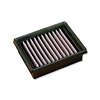
If you take away one thing from this guide, let it be this: preparation is everything. After you’ve degreased and cleaned, it’s time to scuff the surfaces that you’re going to paint. Fresh paint doesn’t stick to smooth surfaces, so you’ll need to rough it up a bit. Grab some 400-grit sandpaper—it’s the sweet spot between scratching and scuffing. Anything rougher will leave noticeable marks, while anything finer won’t help in removing stubborn adhesive or anything of the sort.
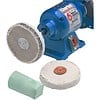
Pro Tip: If there are parts you want to keep polished, do it now before you start masking and painting. It’s way easier to mask off those areas than to try polishing after the paint is applied.
Step 3: Masking
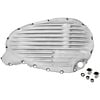
Now that your engine is prepped, it’s time to mask off areas you don’t want painted. Invest in a variety of masking tape widths and make sure it’s automotive grade so it holds up through the whole painting process. I usually remove the following parts before painting:
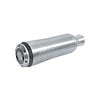
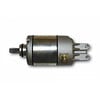
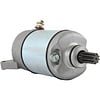
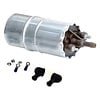
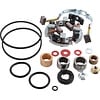
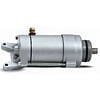
- Starter engine
- Valve covers
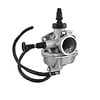
- Intake manifold
- Whatever else is easy to take off for a cleaner paint job
Pro Tip: After masking, clean the surfaces one more time—yes, one more! I did mine about 3 times before letting it dry. Wipe everything down, then blow it all off with high pressure air to remove any lingering dust or debris. Let it dry completely for about 48+ hours.
Step 4: Painting (The Fun Part!)
This is where all your hard work starts to pay off, but don’t rush it. First, ensure you’re in a well-ventilated area as this stuff can get toxic fast. Ideally, create a DIY paint booth to keep dust out of your workspace. Check out this guide on building a spray booth for under $50—it’s worth every penny!
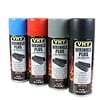
When it comes to paint, stick to heat-resistant options. VHT Flameproof Primer and Paint and MOTIP Heat Resistant Paint are used by many bikers I know, and they are popular options for their durability and finish quality. Follow the manufacturer’s instructions closely—especially around drying and recoat times.
Start with your primer. Once it’s dry (check the can for recoat windows), you can begin spraying the colour. Always spray multiple thin coats, around 4-5 for the best coverage. Each coat should almost completely cover the previous one, but don’t try to hit everything all at once. If you go too heavy, you’ll end up with runs in the paint. If you do get a run, don’t panic—just let it dry, sand it down, and repaint.
Pro Tip: Practice on some scrap metal or plastic before spraying your engine. It’ll give you a feel for how thick each coat should be.
I worked with 2-3 coats of primers and 4-5 thin coats of paint.
Step 5: Clear Coat (Optional)
After your colour coats are done and dry, you can decide whether or not to apply a clear coat. Some people skip this step on engines, but if you want that extra layer of protection, go for it!
Final Steps
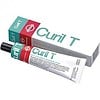
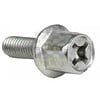
Once your paint is fully cured (give it a few days to be safe), you can start reassembling everything. Make sure to use Loctite on all bolts when reinstalling parts, especially on a high-vibration engine like a cafe racer’s.
To Review:
- Prep is key – spend 70% of your time on it.
- Polish any areas you don’t want to paint before masking.
- Use heat-resistant primer and paint, and pay close attention to recoat windows.
- Spray thin layers of paint—seriously, thin layers.
- Let the paint cure fully before handling or reassembling.
- Bask in the glory of your work when people ask, “Who did your paint job?”
- Don’t forget to use Loctite on all bolts during reassembly.
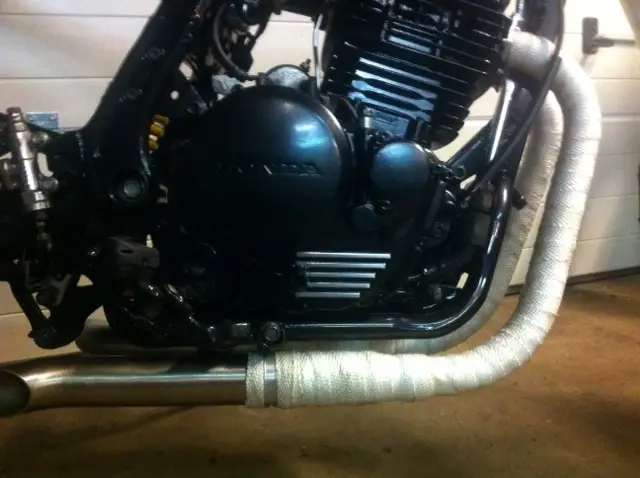
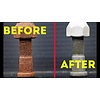
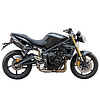
Painting your cafe racer engine can be a time-consuming project, but it’s absolutely worth it when you see that fresh coat gleaming on your bike. Plus, there’s nothing quite like the feeling of knowing you did it all yourself.