


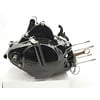


The process used to remove the rust from the inside of your motorcycle’s fuel tank is electrolysis. You can find more information about it on the internet and has to be used with caution.
Step 1: Tools & Material
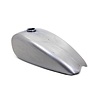
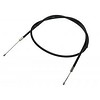
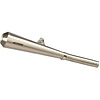
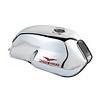
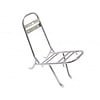
- A fuel tank rusty on the inside
- Arm & Hammer Super Washing Soda (Coca Cola or other types of Coke can do miracles, like cleaning your engine: Check this out)
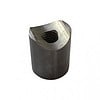
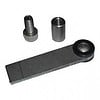
- A piece of steel (not stainless) or iron that you can spare and use as an anode
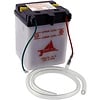
- A battery charger
- Some scrap wood
- A bucket
- Water


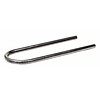
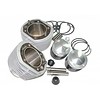
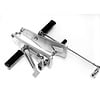
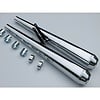
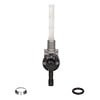
Step 2: The Anode
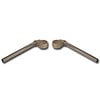
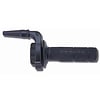
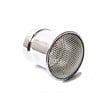
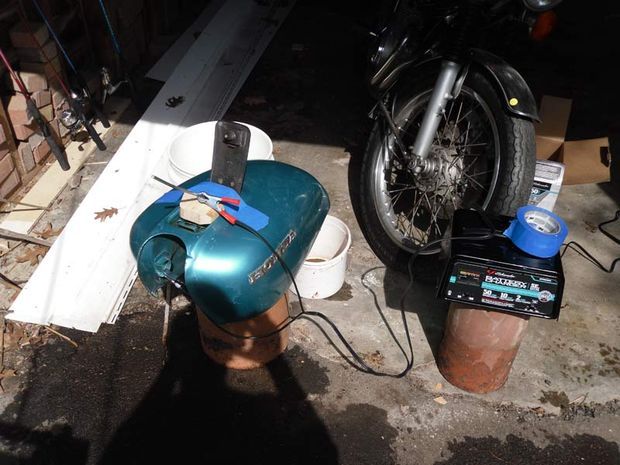
The anode must not come into contact with the gas tank. The one on the picture is a piece of steel rod formerly used to hold up a plant. Stainless steel will produce toxic substances during this process, so do not use it for this process.
Hold it inside the tank with some scrap wood. Here, the rod is bent above the hole as to avoid it from sliding into the tank. It is also bent below as to not touch any parts inside the fuel tank.
On the picture, you will notice that the rod sticks out a lot, which is not recommended. In this case, this caused the rod to enter in contact with the top inside part of the fuel tank once the battery charger was connected.

Step 3: The Electrolytic Solution
Fill up the bucket with enough water to fill the fuel tank. For every gallon, add a tablespoon of the Arm & Hammer Super Washing Soda. Adding more doesn't speed up the process, but nothing points to it being detrimental either.
Stir thoroughly. When all the soda is dissolved, top off the tank with the solution. Be sure to put a cork in any holes at the bottom of the tank (for petcock, etc.) to avoid dripping.

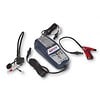
Step 4: Charge It All Up
Attach the negative lead from the battery charger to the tank.
Attach the positive lead to your anode.
Turn on the charger. Dial it to the 10 amp setting. Leaving the charger on at the 50 amp setting for the extended periods of time required for the process caused the charger to overheat and turn itself off. A safety feature.
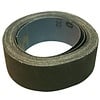
(See the tape? It's there to keep the anode from tipping out of place.)
The set up ran for 8-10 hours at a time between every check-in.

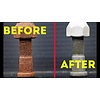
Step 5: Results
In between electrolysis sessions, you can extract the anode and clean it. Basically, knock off the accumulated rust, dry it and sand it down a bit to remove the stubborn bits. You might also want to replace the electrolytic solution each time.
It definitely works, but make sure you do enough sessions.