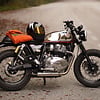


In this post, Nico Hennrich teaches you how to Build a Metal Cafe Racer seat from scratch.
PS: If you'd like to have more information on Cafe Racer Seat (Gel pads, building them, mounting them, etc. click here).
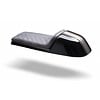
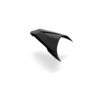
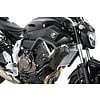
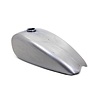
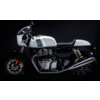
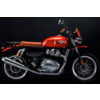
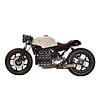
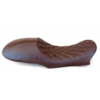
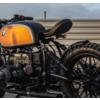
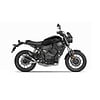
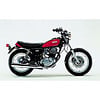
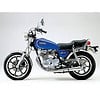
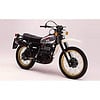
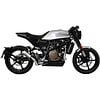
After I built a fibreglass seat for my Honda CB 650, I decided to make it a bit more “authentic” and build a second one just using pure metal. The form of the hump was evident as it should be a shorter version of the old one. I needed to create a new frame from scratch because the old structure used the stock mountings and it resulted in a very high seat position.
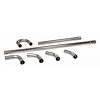
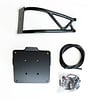
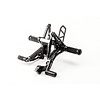
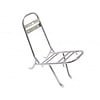
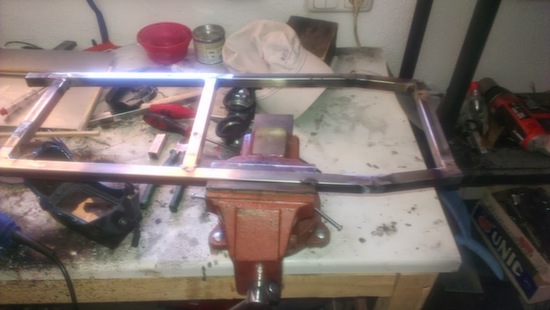
Step 1: The Frame
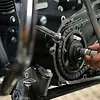
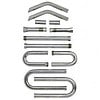
To design the structure, I used a model of wooden sticks that I attached to the bike’s frame. Based on this model, I built the frame with square tubes that I welded together.
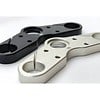
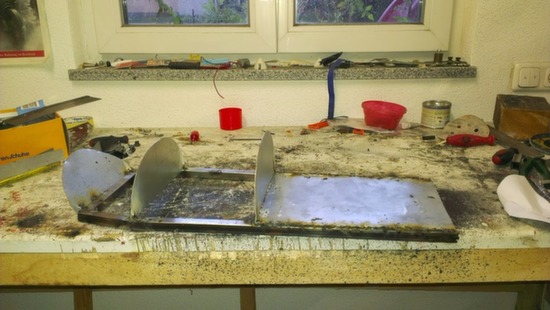
Step 2: The Ribs
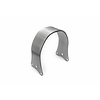
To shape the hump, I used three ribs – one at the end of the driver’s seat, one in the middle to support the curve and one at the end. I gave the back rib an inclination of 45 degrees to have a sharper backside.
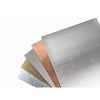
I also welded a plate for mounting the seat cushion. Ribs and plate are made from 0,8 mm blank sheet.
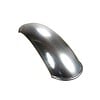
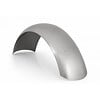
Step 3: Covering
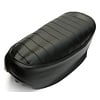
My original plan was to build the whole cover in one piece and to bend the plate. Unfortunately, the plate was not flexible enough for that – so I split the cover into two pieces that I welded on the ribs.

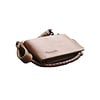
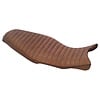
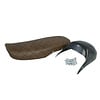
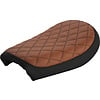
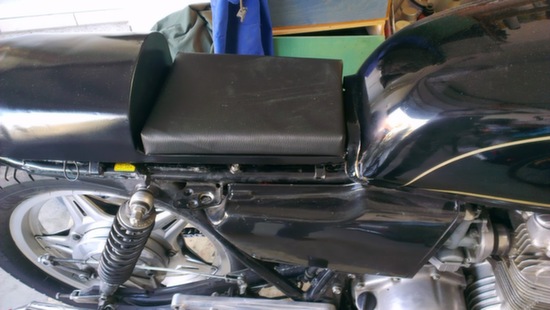
Step 4: The Seat Padding
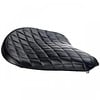
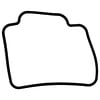
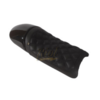
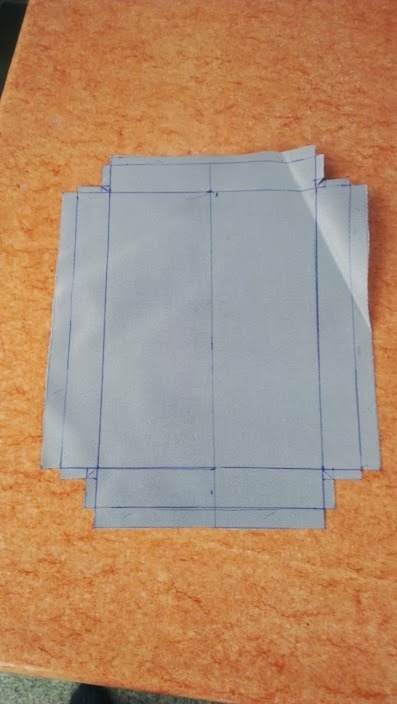
The covering is a simple wooden plate covered with foam. The cover used is made of artificial leather. In the image below, you can see the raw layout of the cover that I sawed afterwards.
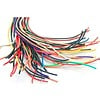
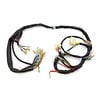
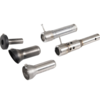
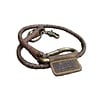
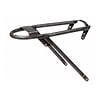
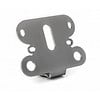
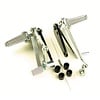
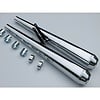
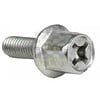
The mounting of the seat is realised using simple screens. The heads are fixed using wires that are soldered to it.
Step 5: Final Touches
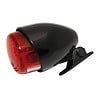
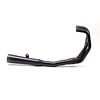
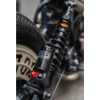
The final steps for this seat were grinding, filling and painting. After that, I had to mount the tail light that is fitted into the seat. The seat was fixed on the frame using screws.
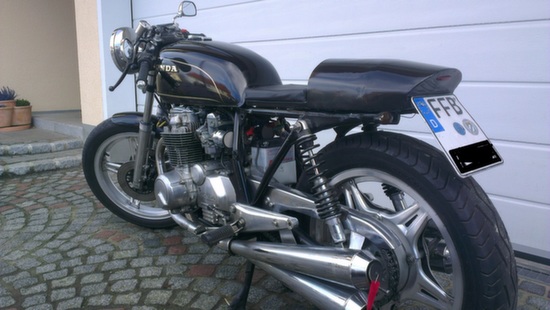
I was quite surprised that the new metal seat was not heavier than the one in fibreglass.
After the test drive, the final touch for me was to use an angle grinder to remove all the old mounting point from the stock seat.
We thank Nico for sharing his story!