The How To page is for people who want to get their hands dirty, or are thinking about getting them all greased up. Just watch, learn and ask. Before you know it, you are building your own beauty’s. These posts will be a combination of collected information from the web and produced by our own.
In this post we try to help you on how to build Cafe Racer headlight mounts for only a few bucks.
This post will included many visual support, while this will help you the most. The sources used for this post can be found at the end. We hope this will help to solve wiring on a Cafe Racer (and other bikes).
Today the wrench monkeys at Kickwrench will show you a super easy, super fast and super cheap way on how to mount that cafe seat on your ride.
Looking for a custom piece for your ride on the cheap? Dotheton.com member tWistedWheelz offered up this helpful step by step on how to class your bike up a bit.
Supplies
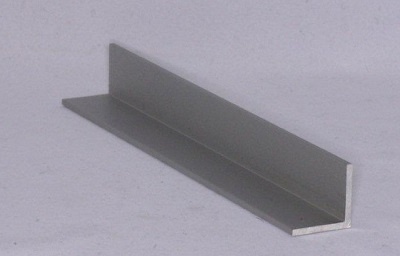
- Aluminum C Channel (Any good hardware store should have this)
- 2 nuts
- 2 bolts
- 1 cereal box
- C Channel
- C channel purchased from hardware store
- C Channel
- The specific C channel used

Aluminum C Channel
Tools
Hacksaw
Benchgrinder or file set
Drill & drill bits
Razor knife
Instructions
Using the cereal box, cut a basic template similar to the one pictured.

Cereal box template
- Test fit with forks and headlight
- Transpose template to the C channel using a sharpie
- Using a hacksaw or dremel tool, cut away the material not needed
- Use your benchgrinder or files to clean your cutting work up
- Bend the mounting tab out 90 degrees away from the C channel
- Clamp the bracket to the fork tube with a clamp and force the long end around the tube by hand until the mounting tab comes all the way around
- After cutting and bending

Mark and drill holes for securing bolt and headlight mount


Done!


