


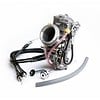


This post will guide you so that you can clean up and rebuild a carburettor by yourself.
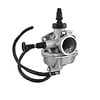
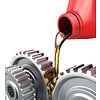
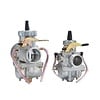
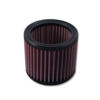
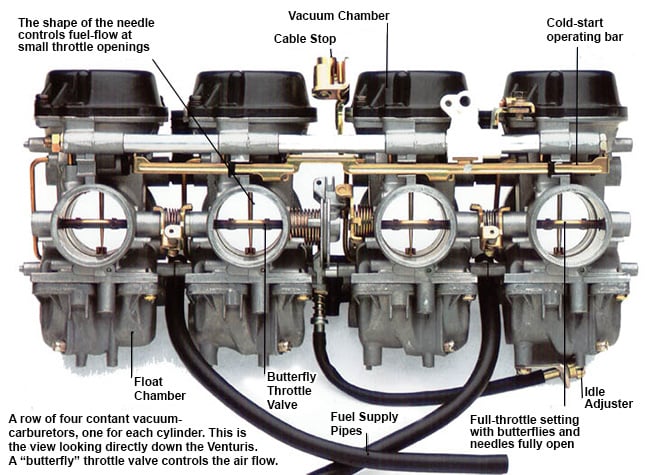
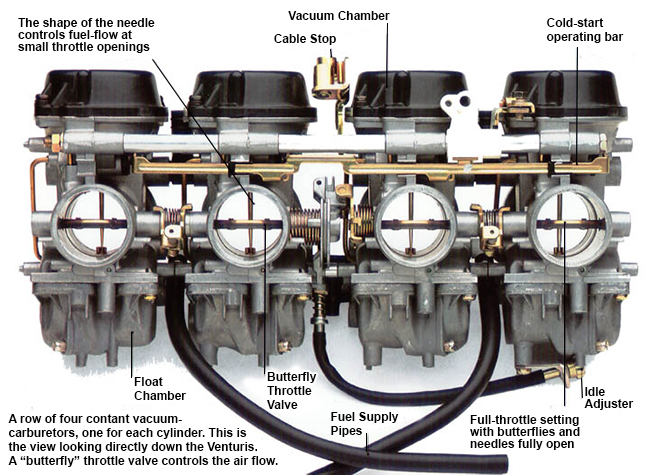
Carburettors come in different sizes and shapes, but they all have a vital role in the functioning of a motorcycle's engine. Once fuel enters your bike, it passes through the carburettor, which infuses it with air to turn it into a fine mist. It then enters a chamber where it is converted into energy.
Unfortunately, this means that if anything other than gas or air comes into your carburettor, it will become clogged and your engine won't get the gas it needs to run. You will not be going far with a clogged carburettor. So, it's essential to keep your carburettor clean and free of the gunk caused by the presence of dirty fuel.
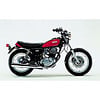
Older motorcycles that have been sitting for a while will also need a good carburettor cleaning before they can run properly. If a bike is left used for a while with fuel in its system, the lighter bases of the gas will evaporate, leaving behind the heavier components.
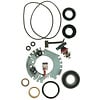
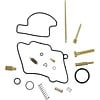
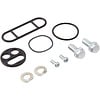
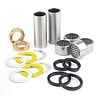
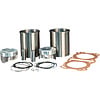
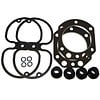
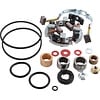
These heavier components will form a thick substance known as varnish that will keep your carburettor from doing its job. And if you do happen to be working on an older bike that hasn't gotten much attention for some time, chances are, the varnish will not be your only concern. This is why so many people have to rebuild the carburettor of their old motorcycle. Luckily, the name of this task is a whole lot more daunting than the actual process. Rebuilding your carburettor is very similar to merely cleaning it apart from the fact that you will need a rebuild kit. These Carburetor Kits contain the parts that need replacement. Just keep an eye out for corroded or broken pieces to swap out as you clean.
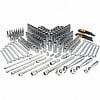
What You Need
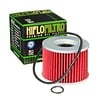
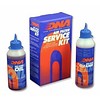
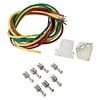
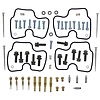
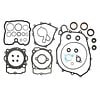
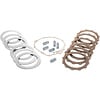
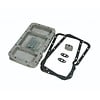
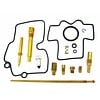
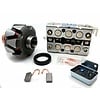
- A carburettor rebuild kit
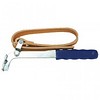
- A pair of gloves
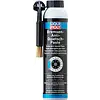
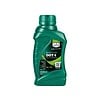
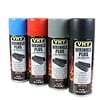
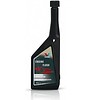
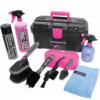
- Some bottle of carburettor cleaner
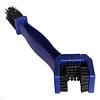
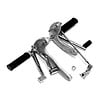
- A carburettor cleaner kit
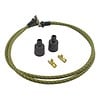
Rebuilding your carburettor is fairly easy, especially if you have the right tools! The Café Racer Webshop offers an extensive range of carburettor rebuilding kits for each brand. You will most likely find yours. You will also need one or two bottles of carburettor cleaner (insert link here).
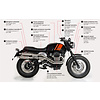
Now that you are well equipped, it is time to start! First thing first, you need to remove the carburettor from your engine.
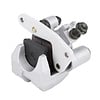
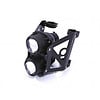
Carburettor Removal
Removing a carburettor can be difficult, but that greatly depends on the model of your motorcycle. It can be easy or... challenging.
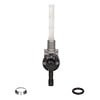
If you need to drain the gas out of your system, cut the gas flow off by shutting your petcock switch to off. Then, power on your engine and let it run for a minute. After doing so, twist your throttle one time or two. You'll remark that most of the gasoline is out when your engine starts to sputter to a stall. There's still gas in the float bowls, but it's better to drain it after your carburettor is removed.
If you have a fuel-injected engine, it’s not relevant for you.
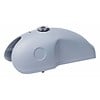
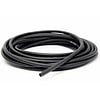
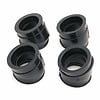
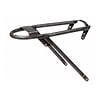
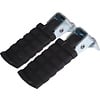
For this step, you'll need to remove the gas tank, your seat and the side covers to get access to the carburettor. The rubber boots from the carb to the engine is relatively more comfortable to work with the more recent your bike is. With older motorcycles, loosen the circle clamps on the rubber boots. You might even take them off.
If your rubber boots are not malleable, consider taking them off to gain complete access. Be careful not to bend them too much or they will get damaged!
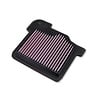
Now that you have dealt with the rubber boots, take a look at your airbox. Depending on the motorcycle, you might need to unbolt the airbox from the frame in order to remove the carburettor. Unbolting the airbox will leave you more space to do that.
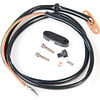
You should then have access to the carburettor, so remove it from the bike. It is connected to a throttle cable, a fuel line, vent hoses and such. Take some pictures of the routing to keep a reference for later. It can be difficult to mount it back when you do not have any reference.
Finally, your carburettor is out! Unplug all the cables and fuel lines. Be aware that this might spill some fuel around. Even with the petcock shut off and a dry engine, there will be some leftover gas in the fuel lines.
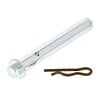
When the carburettor is completely removed from the motorcycle, you should be able to drain the rest of the gasoline from the float bowls. Take a bucket and put it under the carb, then pull the drain pin. This operation should drain the float bowls. Your carburettor is now almost dry!
Disassembly
Now it's time to disassemble the carburettor piece by piece. You'll need to be able to put the pieces back together. Therefore, we cannot emphasise enough the need for taking pictures throughout the process. Take a lot of them and even take notes. This is especially true if you do this for the first time. Stock every part in an organised manner, it will save you a lot of time.
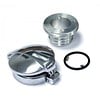
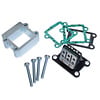
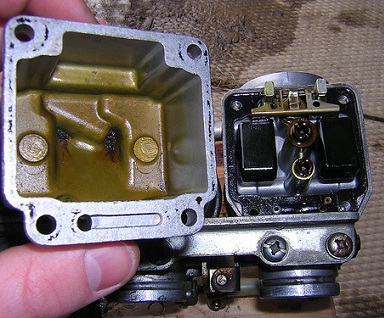
The Float Bowl
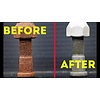
First, remove the float bowl. Unscrew while holding it and set the screws aside. Give a good tap with the end of your screwdriver until it drops off or until you can lift it off. It can sometimes be sticky, depending on how dirty the inside of the carburettor is. When it's finally off, you will be able to appreciate the quantity of gunk in your carb. You can now evaluate the amount of carburettor cleaner you need!
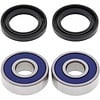
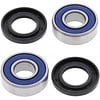
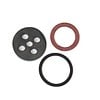
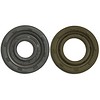
After the float bowl, you will need to remove the bowl drain screw, then you can check the washers! Since they tend to wear out, you might need to replace them.
In most situations, you do not need to take the float out, unless something is broken inside the carburettor. If you need to do it, you will need to look at the manual. There are a lot of small pieces, and they might need to be cleaned or even replaced.
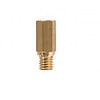
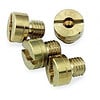
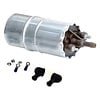
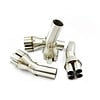
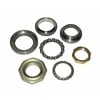
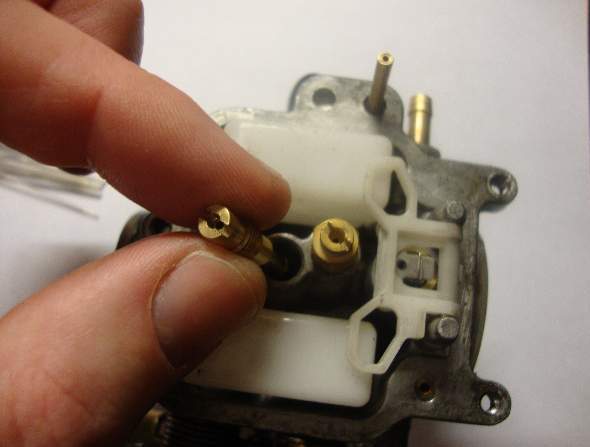
The Jets
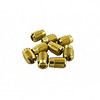
A carburettor is composed of many small jets that need to be cleaned. Usually, anything with a hole in it is named jets. A carburettor can have 2, 3 or 4 jets.
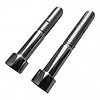
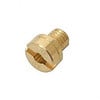
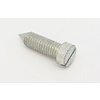
- The hexagonal jets are screwed in the carburettor and you will need to remove them to clean them.
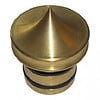
- The round jets are pressed in and kept in place by a spring. Carburettor rebuilding kits typically have replacement jets (then you can throw the old ones away instead of cleaning them).
Once this is done, you can soak the jets in the carburettor cleaner as to get them rid of the grime. Make sure every hole is clean. You need to be able to see through a jet hole. Take off the residue building of the rim hole and you are good to go.
If you’re not able to see through your jets, there are several possibilities to clean them efficiently:
- You can soak the jets in carb cleaner. Most of the time it will be sufficient enough to clear any gunk
- If the first option didn’t work, use an air compressor hose to blast the gunk (be careful not to throw your jet across the room)
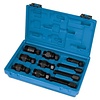
- You can use a carb cleaner kit (link to our carb kit) and select the adequately sized wire and push it through the jet. Do it softly as you do not want to damage your jet.

If your jets are not clean after those operations, there is still another option. You can try to boil the recalcitrant jet. Let it boil for a while, and usually, the build-up should be removed. Use an air compressor after this operation to clean it.
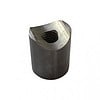
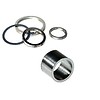
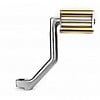
The Jet Holders
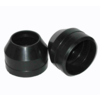
After you’re done cleaning the jet, you will notice brass tubes underneath, where the jets used to be. These are the jet holders and their name speaks for itself: it makes sure your jets are kept in the right place when the fuel and air mix turns into vapour to power up your engine.
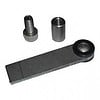
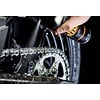
You’ll need to clean the jet holders as well. Flip the carburettor. Use a wooden dowel rod to press on the ends of the jet holders and remove them. When they are loose, soak them in carb cleaner. Check all the openings, they need to be free of gunk.
The Pilot Jet
It is now time for the notorious cleaning of the pilot jet. The pilot jet (or slow jet) controls the amount of gas released when the engine is idle. It tends to be really dirty.
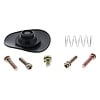
The pilot jet is located under a rubber plug. Use a screwdriver to get it out. This jet needs to be super clean if you want to have a smoothly idling carburettor.
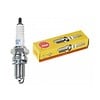
To properly clean it, you can use all the previous technic explained. Nevertheless, if they are not sufficient to clean the pilot jet, you might need to buy a new one. If you purchased a rebuilding kit, it is possible that the pilot jet is included. Otherwise, you can check here for universal pilot jets.
The Air Screw
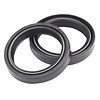
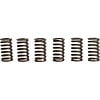
When the carburettor is idle, an air screw works with the pilot jet to regulate the amount of air that is mixed with the fuel. You can find it on the bottom or on either side of the carburettor. Unscrew it. There are a spring metal washer and a rubber washer. You should check them to see if they also need replacing. Set them aside before cleaning off the air screw.
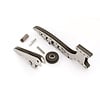
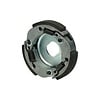
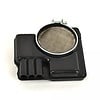
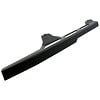
The Throttle Slide
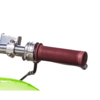
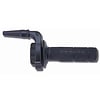
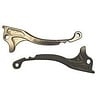
The throttle tells the carburettor how much fuel you want in the engine. The throttle slide is the part that allows more fuel to go in your engine.
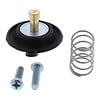
If you have a CV carburettor, remove the four screws on the top of it, then remove the throttle slide. There is a rubber diaphragm there. Check it for eventual damages. Should there be any tears, you need to replace the entire slide. If it's in good shape, clean it with the carburettor cleaner.
On the bottom of the slide, there should be a needle. This part is called the needle jet and it goes into the primary jet holder. You know the drill, clean and check for any nicks or rivets.

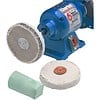
If you have a slide carb, the throttle slide will still be attached to the cables on your bike. Before you attach it back on your carb, give it a good cleaning. Once cleaned, detach it from the cable and put it back into your carb. See if it slides smoothly. If it’s not the case, clean it with 0000 steel wool. You should also clean the inner wall of the carburettor.
Cleaning
Now your carburettor is empty of its pieces. It’s time to clean the body and one easy way is to soak it in a bucket of carburettor cleaner. When most of the grime is out, wipe it.
Carburettor cleaner can be a bit expensive, so you can also spray contact cleaner on the shell of the carburettor and get rid of the grime with a towel.
All holes and passageways should be free. Put something under your carb to prevent the cleaning liquid from leaking everywhere.
If the carburettor is in bad shape, you might need to use an air compressor to blast air out of the passageways. If it’s not sufficient enough, it might be clogged and holes could be obstructed. Double-check everything and clean the clog if there is one.
Reassembly
This is the moment when the pictures come in handy, and we hope for you that your parts are well organised. If you are rebuilding your carburettor, you will now replace the old parts with the new ones provided with the kit.
Here is some advice to prevent you from having any trouble during the reassembly:
-
Check that the gasket for the CV slide diaphragm is in the right groove.
-
The jets can sometimes be annoying. Carefully check that the jet holders are pushed fully into place and correctly seated. Also, check that the jets are in place, and the pilot jet is fully screwed in.
-
If you replaced the air screw. You also need to replace the washer, spring and rubber washer and make sure that they are well in place. Screw your air screw all the way in and then back a few times to be sure it allows the proper amount of air. Check the manual to know how far the screw should be screwed back out. If you do not have the manual, you generally have to unscrew it one half to two turns.
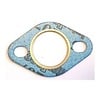
- Be sure the bowl gasket is in place.
When everything is assembled, you can make some adjustments. If you have a slide carburettor, the idle screw on the side should barely touch the slide. If it has brass floats, adapt them according to the information given in your manual.
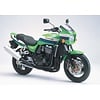
You may need to synchronise your carburettors if there is more than one on your motorcycle. It is a different topic and can be quite technical. We will not cover this part in this post, but we can tell you that you will need a carburettor synchroniser tool to do the job properly. You might need the help of a mechanic for this operation.
If synchronisation is not a requirement for your motorcycle and your carburettor is all together, mount it back on your motorcycle and rewire the lines and hoses.
Put the petcock back into the on position and you ready to start your bike! Your spot-free carburettor will delight your good old engine!
You now have a nice story to tell your friends!
Here the source of the pictures