In this post, we show you a few options on how to make an old-school Cafe Racer Headlight!
Okay, we understand you can do a lot with your headlight, let's start by making it yellow!
There are two ways to go.
1. SPRAY
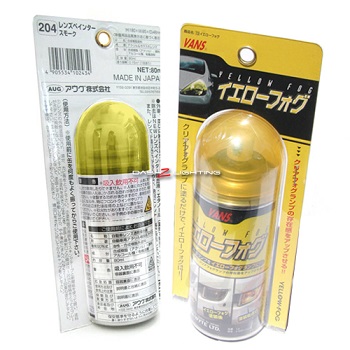
Yellow Lens SprayPaint
It is a simple spray-paint (lacquer) from Japan. As we can tell, it is the most popular way out there for DIY purposes. It isn't that cheap, but perhaps you can share the costs with some friends. (They are meant for cars, so you will have more than enough for a motorcycle.)
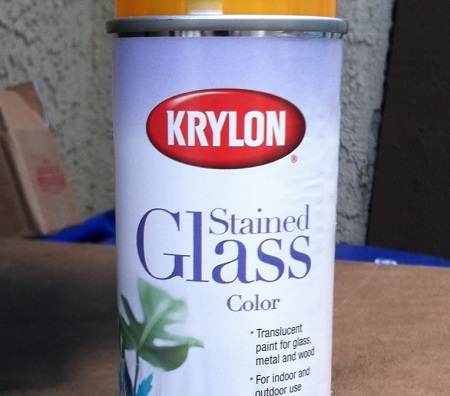
A cheaper alternative is the Krylon Stained Glass Paint Color Yellow (Krylon Number: KRY 9024)
We would like to refer you to this post on the Honda Twin forum, where great help is given to get this job done correctly.
2. FOIL
Yellow Headlight Foil
Just search for the three words above in eBay/Google (to provide an example), and you will find some.
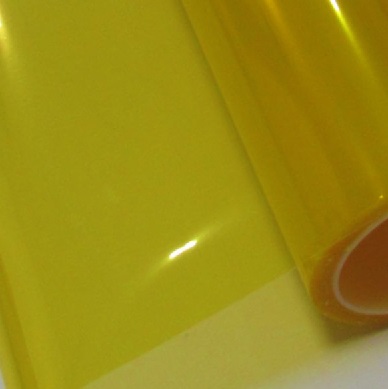
It is an alternative to the spray mentioned above, but it is also easier to remove should you change your mind! Since it is mostly used for car headlights, here is a video to show you how it works. It isn't rocket science, so this should be enough.
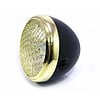
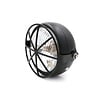
The Grid
This one is from the Cafe Racer United shed, so we hope you like it!
Step 1 - Get some cardboard
Just try to make a dummy out of cardboard. It took us about five times to get the right curve, so just put some music on and get creative!
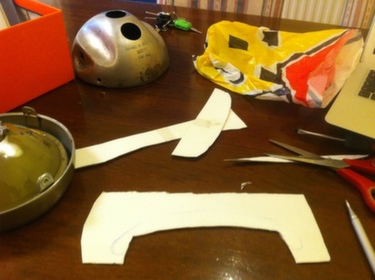
Step 2 - Get an approx. 1 a 2 mm thick aluminium sheet
Copy the cardboard to it (4 times)
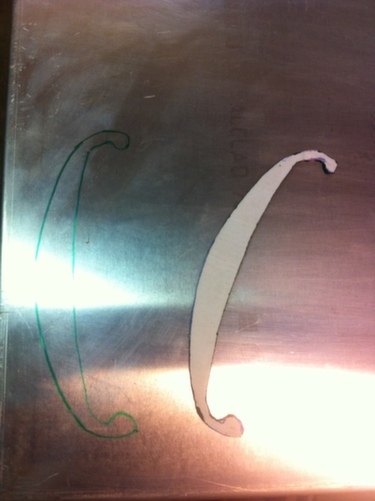
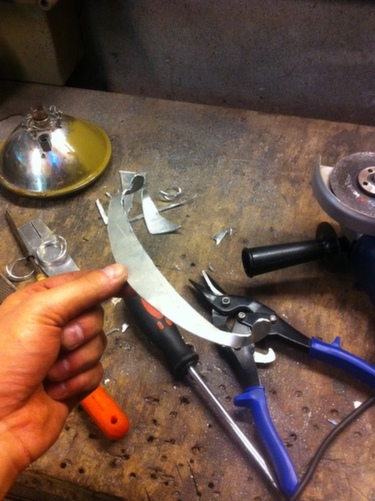
Step 3 - Use your muscles
Use your muscles and your patience with a grinder, metal scissors and metal sheets.
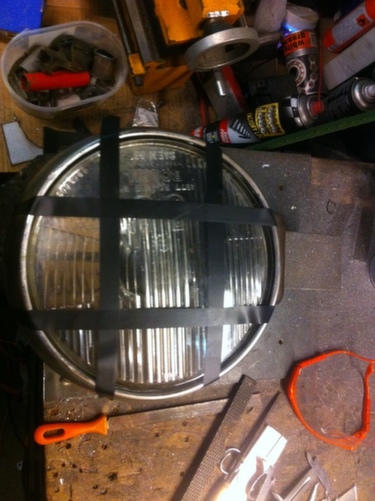
Step 4 - Alignment
It should make your headlight more impressive, so make sure you align everything properly.
We measured it a lot, and we used tape for the correct lines.
Step 5 - Test and Repeat
Also, make sure that you are leaving a bit of space between the glass and the grill.
Next, make sure you leave some round ends for the Rivets to go through.

Step 6 - Make small incisions
To turn it into one solid piece
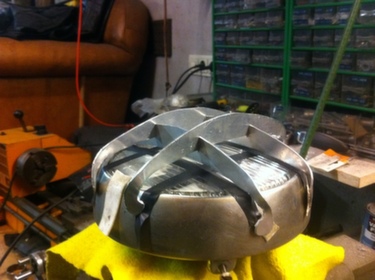
Step 7 - Rivet it!
Quadruple check everything and when you are ready, drill small holes directly into the metal of the headlight (We use a 4 mm drill).
Afterwards, you can directly rivet everything together. Be sure to take your time for this operation!

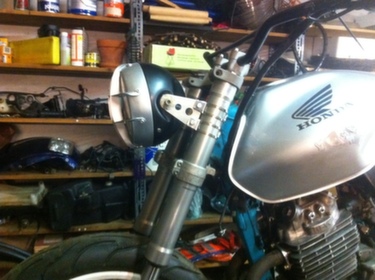
Step 8 - Enjoy your creation
Just enjoy what you have made!
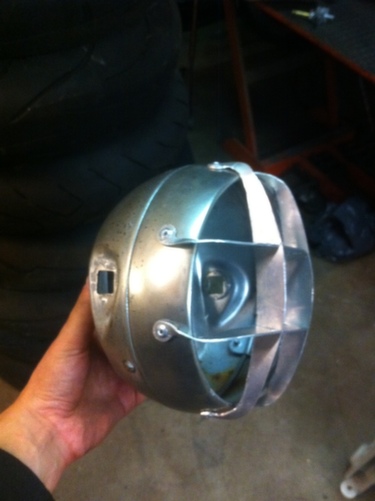
Step 9 - Paint it?
We put some colour on it, but that's up to you!
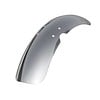
Chrome Modification
Well, the idea is great, but if you'd like to spend more time on the finishing, the result could be even better than in this clip.
The idea is dope, so take a look!
We hope this spark up some creativity (if you needed it). Shine on!