


In this post made by TB Racing, you will learn how to wrap parts in carbon fibre!
What you need
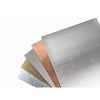
- 1 – 2 Yds. of Carbon Fibre Cloth
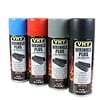
- 1 Qt of Epoxy resin *I used West systems 105*
- 1 pt. of Hardener (catalyst) *West systems 205*
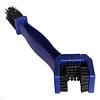
- 3 Brushes of the 1in variety
- Some rags /towels
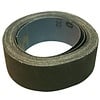
- An assortment of sandpaper grits from 100 – 1000
- 8 or more measuring cups (Paper cups are fine too)
- Acetone
- And some to put the carbon fibre on!
Recommended
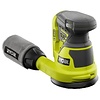
- Block Sander
- Pump kit made by West Systems
- Vinegar
- 2-part epoxy clear coat or spray lacquer
- A heat gun or blow dryer
- 1 set of good shears or scissors
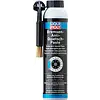
- 1 Qt. of aircraft paint stripper.
- 0, 00, 000 Steel wool if you have rust
- Nitrile or latex gloves
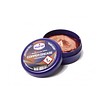
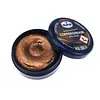
- Lamp Black or other black pigments in powder form
- Black rust-inhibiting spray paint.
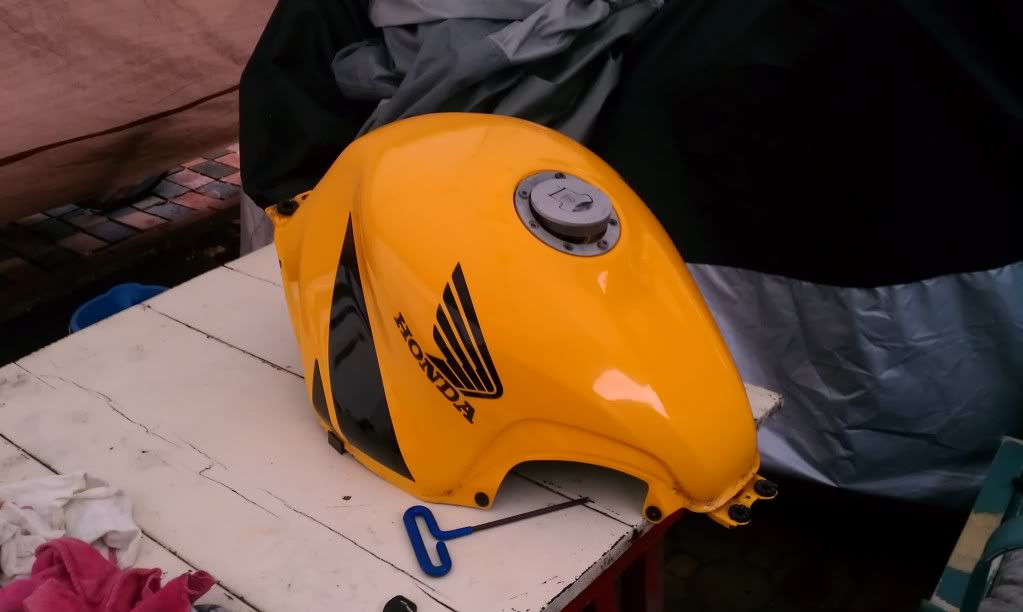
If you are going to strip the tank than continue to step 1
If you are going just to wrap your tank in carbon fibre than skip to step 6
STEP 1
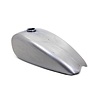
Take your tank off, drain all the fuel out of the tank, and remove all the rubber parts along with the gas cap.
STEP 2
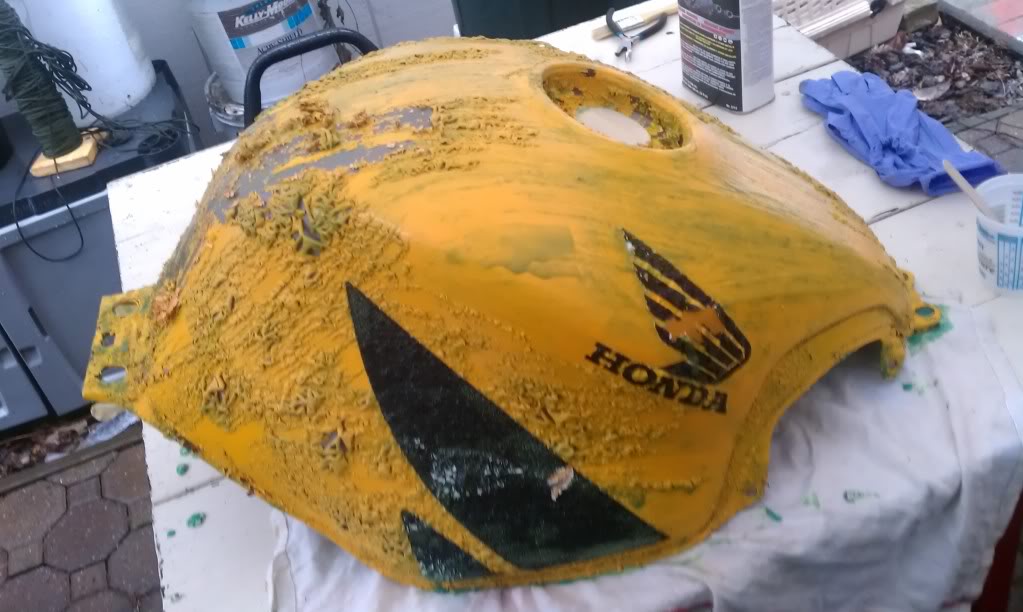
Fill a cup up with the paint stripper and start to apply the stripper to your tank. Let the paint stripper sit on the tank for the allotted time as per the directions on the can.
Optionally, you can use the heat gun to remove your decals first. However, I chose not to, and it worked just fine.
STEP 3
Wipe off the paint with a damp rag and when the cloth becomes full of paint, dip the rag in your bucket of water and clear it. You may need to repeat the paint stripping process a few times; I had to do this three times.
STEP 4
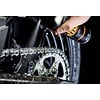
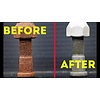
Once you have the majority of the paint off, grab your coarse steel wool and scrub the entire outside of the tank removing any rust, imperfections or paint left over from the stripping process.

See that rust? Get rid of it all!
STEP 5
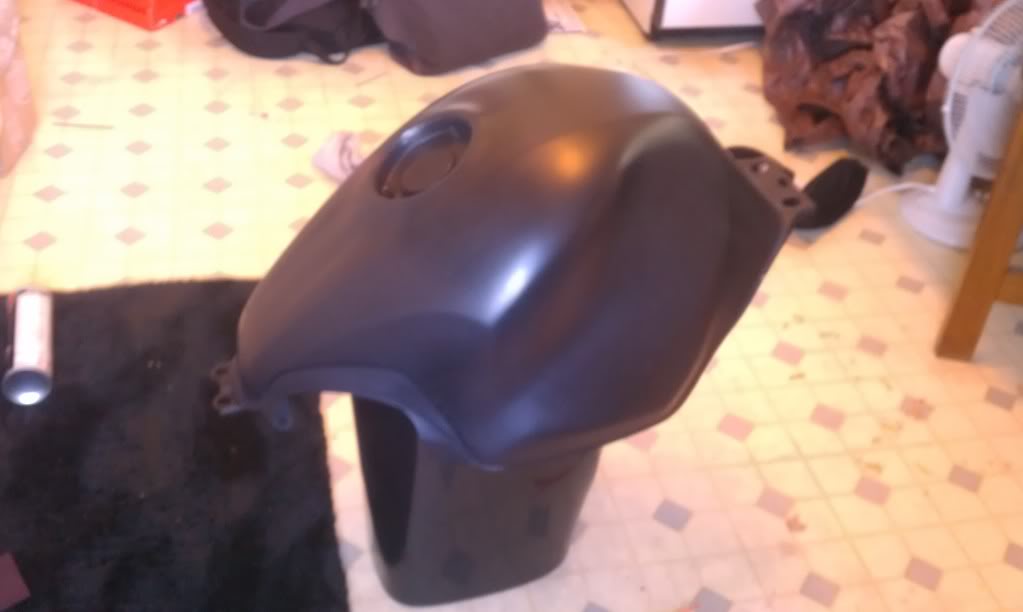
Use your Rust inhibitor/reformer spray paint to coat the outside of the tank in a beautiful even coat. Wait for 3 to 5 minutes and apply a second coat wait for another 3 to 5 minutes and apply a third coat. Let sit 30 minutes until the tank is cured. Then, lightly sand any high spots in your paint being careful not to remove too much paint. If you do, you can fix it and sand that spot to match the rest of your tank.
Make sure you follow the following steps closely.
The pot life of the West Systems resin 105 /hardener 205 is 12 – 15 minutes
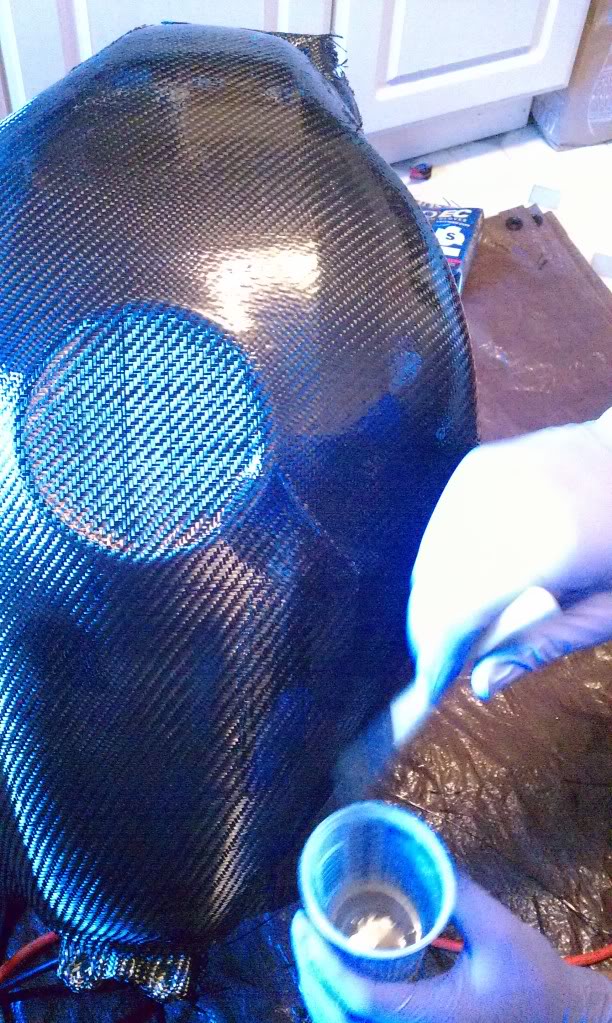
STEP 6
Pour the resin into your mixing cup, add the black pigment and mix the two thoroughly but not vigorously as to avoid any bubble. Once you feel that the resin/pigment has been mixed enough, add your hardener and stir for approximately one minute. I put in ½ a tsp. of the Black pigment in the resin of 4 pumps (West systems pump kit). We do not have the exact amounts as the pump kit does the measuring for you.
No picture was stirring enough to show!
STEP 7
Apply the resin to your tank in an even, thin coat. Let it sit until it tacks. You will know when it is ready by touching your finger to the tank and your finger sticks, but there is no residue left on it when you remove it. This takes approximately 20 minutes.
STEP 8
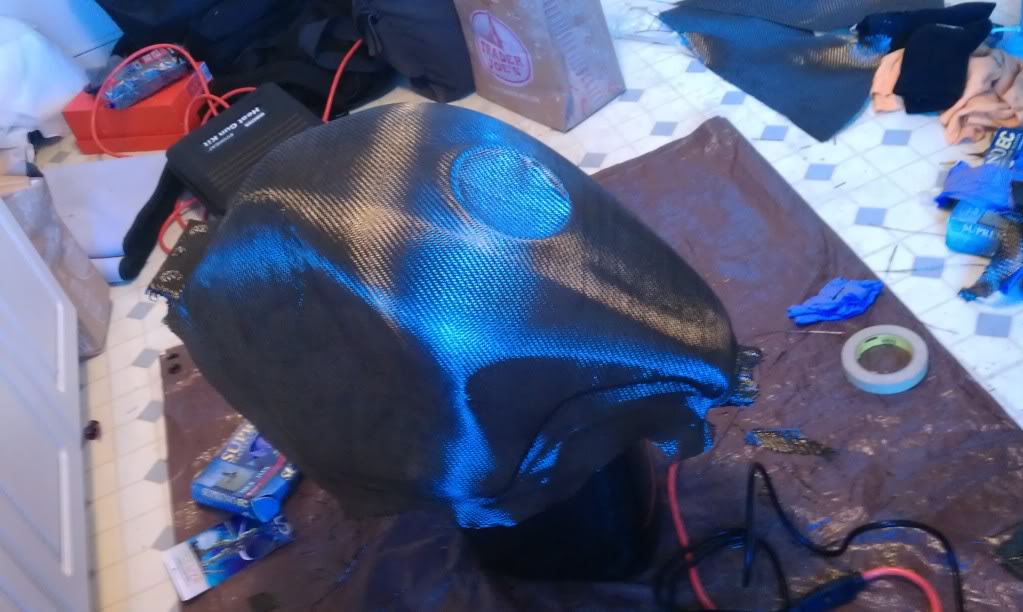
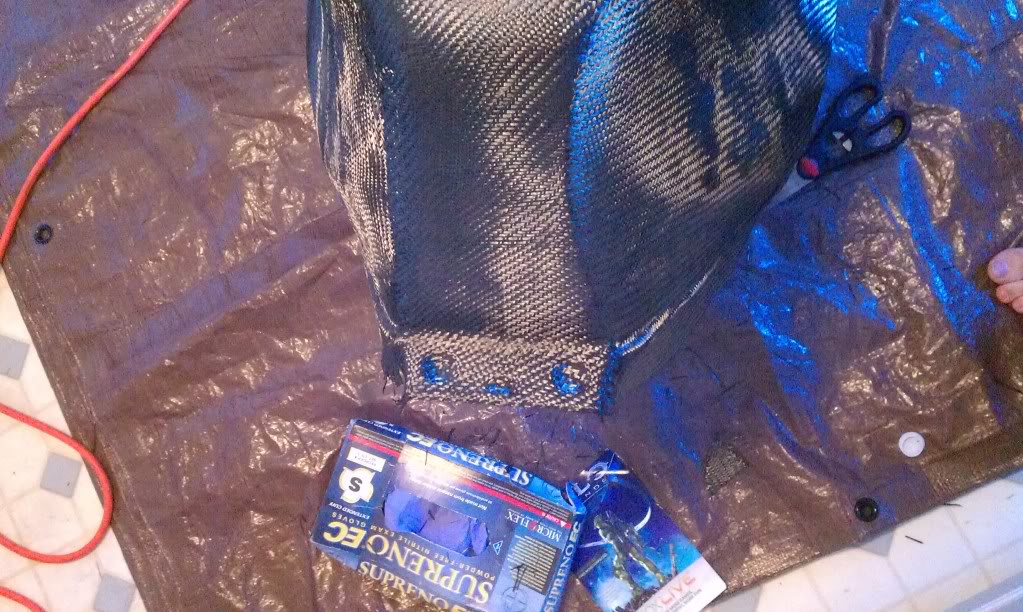
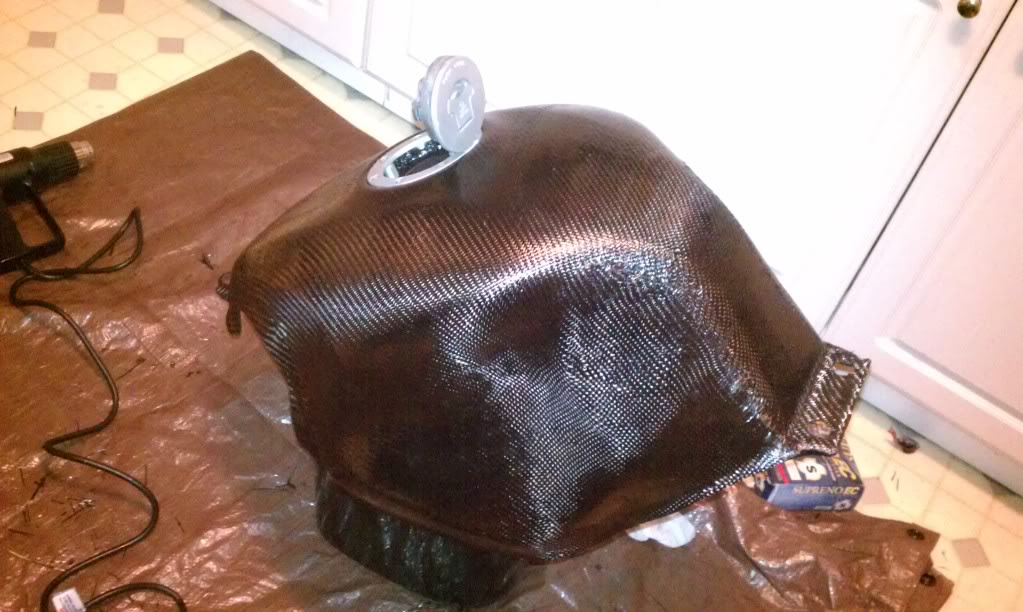
At this point, you are ready to lay your carbon fibre on the tank (I recommend you get an extra set of hands). When you cut your carbon fibre, make sure you put tape on where you plan to cut. It will reduce fraying and protect the weave. I found this out a bit late, but I have done quite a few things since the tank with the leftover carbon fibre, and it has proven itself very well.

Start with the hole for the gas tank and work your way across the top of the tank. Pay attention to your weave because it will distort and if you’re not careful, it will start to unravel. If you find that you need to cut the carbon fibre to make it work around the corner, don’t think that you messed up the whole project and that it is ruined forever! It’s OK, just make sure to overlap one side over the other and that you cut straight!
STEP 9
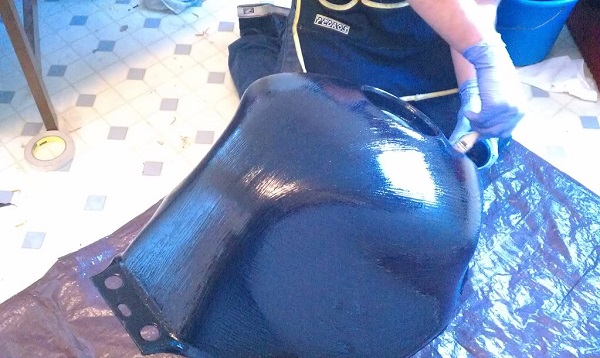
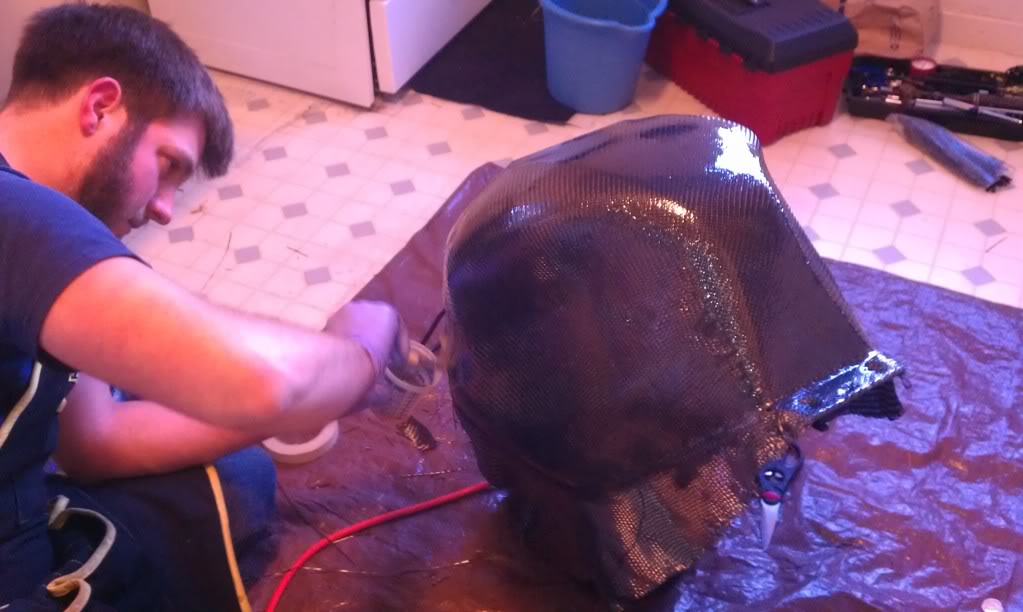
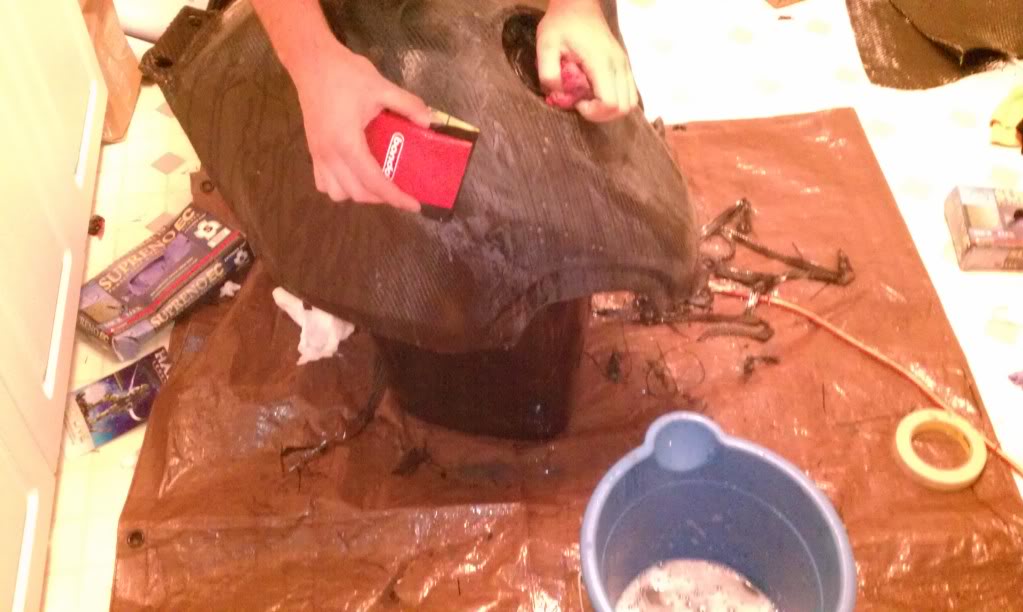
Pour your resin into a mixing cup. If you’re using the pump kit, I made a batch of two pumps of each. Then, when that batch was done, I made another two pump batch. I did this three times to make sure I would have enough time to apply the needed amount of resin and add the correct amount of hardener.
Start to “impregnate” the Carbon Fibre by using the brush. Do not just pour the resin out of the cup onto the tank. I prefer to dab the resin on once I have the coat on and I will re-brush it to smooth it out, this keeps the weave safe. Make sure that there are no globs of resin and that once again the coat is even and thin. Grab your heat gun/GF’s blow dryer and give your tank a nice blow over on the lowest heat setting.
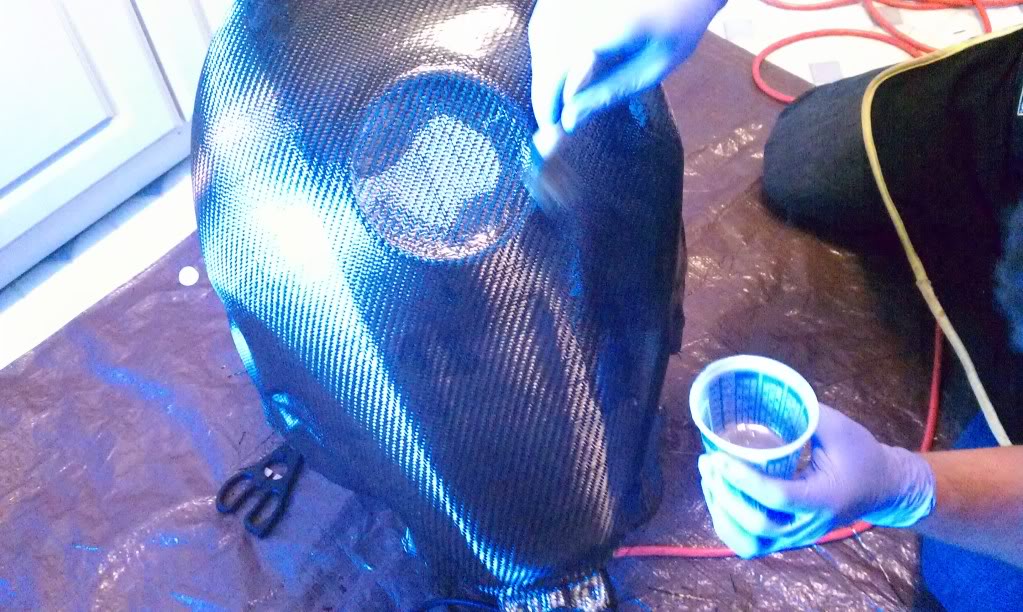
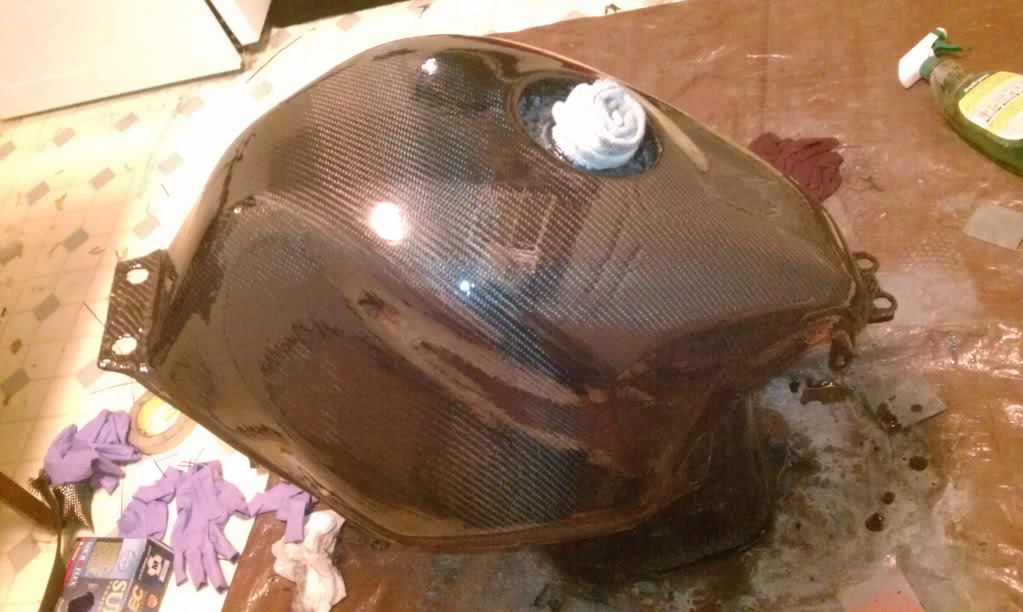
If you look closely, you can see tiny little bubbles rising to the surface, and popping, that’s alright but don’t overdo it. Let sit for about an hour and then trim the carbon fibre up to the tank and cut a cross pattern where your gas cap goes and fold the CF down; trim the excess. Be mindful of the holes to mount your tank, yes you can drill them out once the tank has cured. However, you'd prefer not to mess up the threads if possible.
Don’t install the gas tank, the only reason I did was to make sure it would still fit. It does…
STEP 10
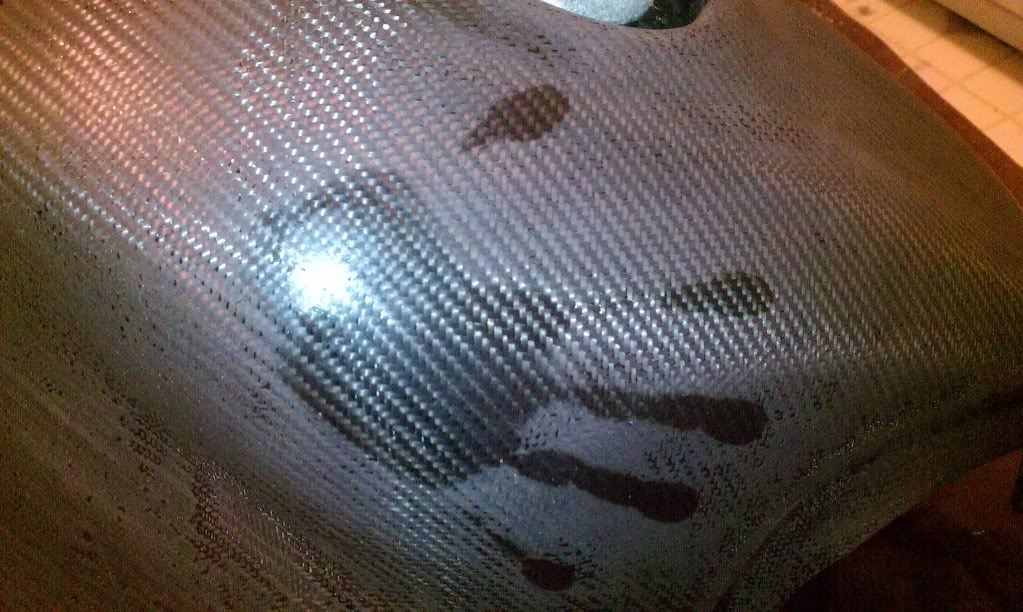
Go ahead and grab the block sander with 100-grit sandpaper and start to sand out the high points, take your time and make sure you don’t sand through the CF. If you have any spots where you had to overlap the CF here is why you made sure you overlapped and made sure to keep the fraying to a minimum, go ahead and sand that points down, so it's smooth.
I know there is a bucket of water in this photo; you don’t need to wet sand at this point. I used the water to wipe the tank down and keep the dust down.
That’s the same overlap! You will see it, but it will look good, trust me and have faith!!
It gets dull, and you will doubt that you are doing it right, but don’t sweat it. The beauty is still there, it’s just hiding.
STEP 11
Now it’s time to add some layers of epoxy. It will give you that deep professional look and let you sand it utterly smooth without biting into the CF. Mix yourself another batch of epoxy (it took me a total of 4 pumps to cover the tank, make sure you split up the batches to buy yourself some time). Apply the epoxy to the tank via brush. Brush on a thin, even coat and let it come to tack (approx. 15 – 20 minutes), again use your heat gun to get rid of the bubbles.
STEP 12
Once the epoxy has come to tack, apply a second coat on top of the first. Let it tack and apply a third coat; if you choose to do a fourth one, it is alright. Make sure you are using the heat gun to remove the bubbles. Once you have applied the number of coats you wished, you will leave the tank to cure.
At this point, let the tank cure for a minimum of 24 hours. This is how you will give your tank its depth!
These are the last few steps. Take your time and pay attention to details. You are finishing the gas tank now, so what you do have a significant impact on it. Be careful, starting over would take quite some time.
STEP 13
So here comes the fun part… sanding! Bust out your handy-dandy block sander, some 180 grit sandpaper and a bucket of water with a tiny bit of soap. Let your sandpaper soak in the water for 10 - 20 minutes to absorb the water, then start sanding your heart out. Sand every inch of the tank, get all the high points out and get it even and smooth. Make sure to use plenty of water and change it out often.
Don’t worry, the beauty is still here, you just have to show it some love.
I don’t have any more photos because my phone corrupted the rest.
STEP 14
Once you have finished sanding with that grit, bump it up to the next grit, something around 220. Make sure you change the water every time you change grits. Continue to sand and change grits until you reach 800.
Here is a point where you need to make a decision. Do you want to put a clear coat over the epoxy or do you want to polish it? Both will give you that mirror shine and the deep lustre everyone loves about a carbon fibre tank. The clear coat will protect the CF from UV rays. However, polishing it will be cheaper.
STEP 15A
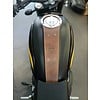
I decided to apply the OEM Decals to the tank (to help balance out the CF). To get the OEM look, I used my decals before the clear coat so that way they would match the OEM tank/colour scheme. It will also protect the decals and keep them from fading. It looks good, and I highly recommend doing the same thing if you are applying any permanent decals.
STEP 15B
If you choose to take the polishing route, continue to wet sand up to 1000 grit.
STEP 16A
Once the decals have been applied, go ahead and use the clear coats.
I took my tank to a professional shop because I don’t have the set-up or room to apply it correctly
STEP 16B
Move onto a rag with polishing compound and rub that tank good, really good. Repeat the rubbing process. Once you’ve polished the tank up, you have a pretty lovely looking tank, right? Well, let’s get it even better! Grab a buffing compound and buff your tank.
Wax it, stand back and marvel at your masterpiece.
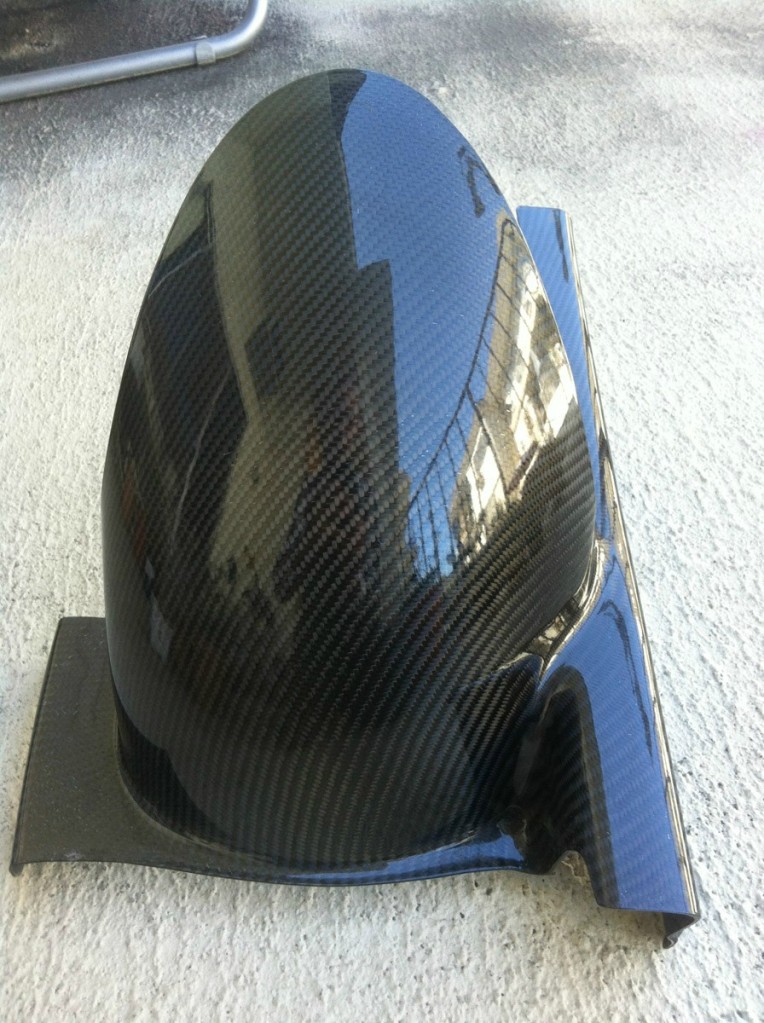
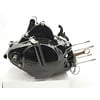
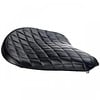
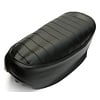
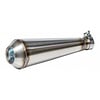
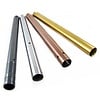
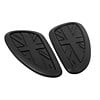
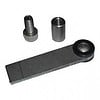
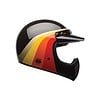
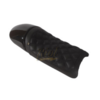
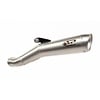
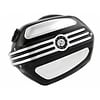
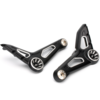
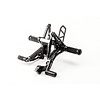
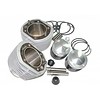
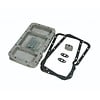
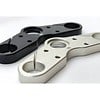
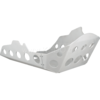
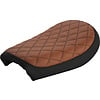
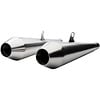
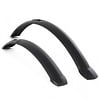
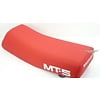
Here are a few other pieces that I have made using moulds.