Today, Marcel Miller of Miller Kustom Upholstery will provide us with some professional tips and tricks concerning upholstery. So, no more trial and error, only trial and success! Learn from the master!
First things first. Who, What and Where is Miller Kustom Upholstery?
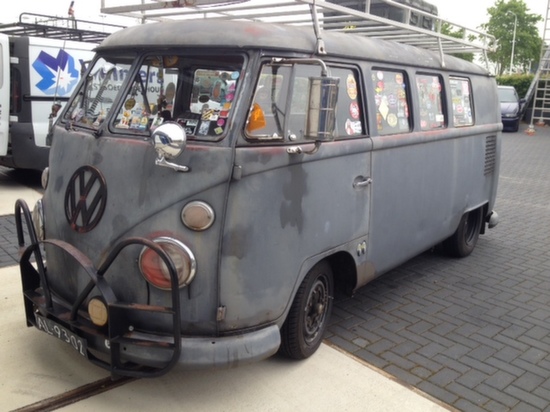
Marcel is world-widely known for his upholstery for Muscle cars, VW T1’s and motorcycles. His projects have won a decent amount of shows and prices all around the globe. Miller Kustom Upholstery is a Dutch company that you cannot miss when driving by it. You will immediately spot in front of the building a unique Volkswagen T1 owned, driven and upholstered by Marcel Miller.
"This thing is as slow as it can be, but riding it is pure joy."
After walking pass to this great non-motorcycle, it is time to take a step into the world of upholstery. We will probably learn a thing or 50 (not 2, definitely not 2) on how a motorcycle seat is confectioned by a professional.
"Step into my office"
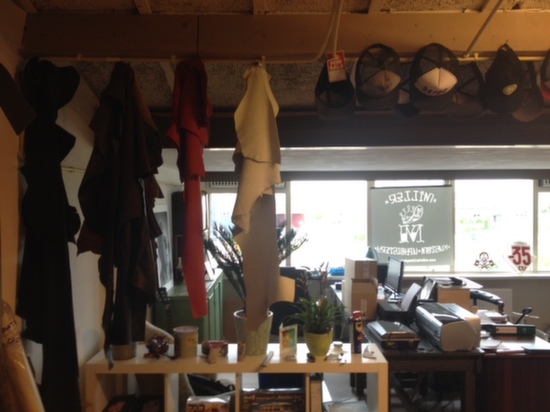
In the back, you see Millers already working on his next Cafe Racer seat. His workplace is a mix between a Garage, a Rock ’n Roll venue and a creative environment. You do feel good vibes coming from this place, or perhaps it is coming from the thrash metal music.
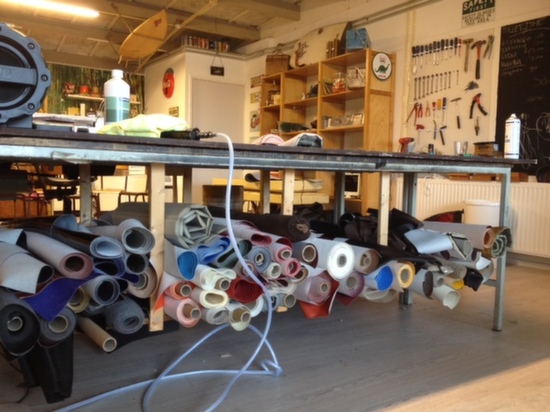
We spot all sorts of material like leather, to PU leathers, different kinds of foam and a lot of home-made tools to make unique seats.
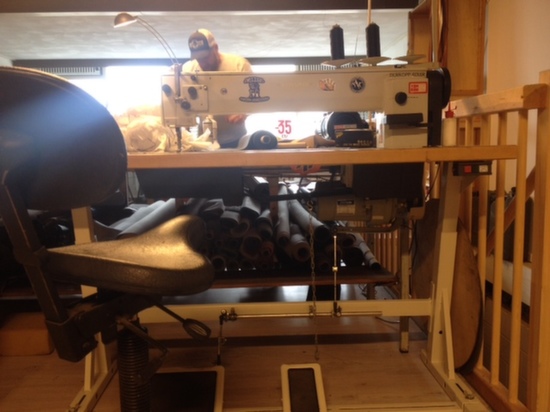
Following this, we spotted a huge sewing machine, which has more HP than an average seventies Cafe Racer! Just kidding … or am I?
We even noticed that he stole the electrical bread cutter from the kitchen. Stealing "tools" from the kitchen… something we completely relate ;-)
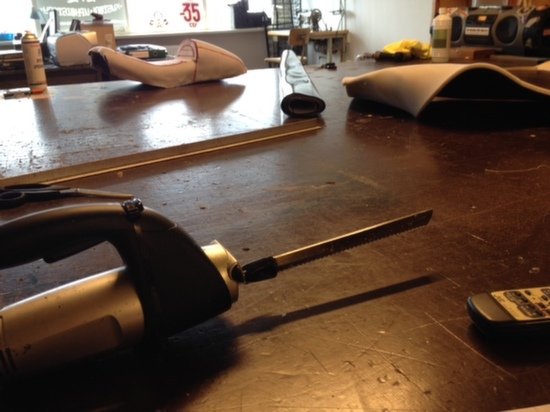
Ok, let’s start with the upholstery.
To give you a more detailed view of the world of upholstery, we will show you not only a Cafe Racer seat but also a bobber seat. We will stick to bikes, to keep it relevant.
Building a seat typically starts with you! Yes, dear reader, you, the person who has built/bought a seat that needs to be upholstered for the long-run. Some work with glass-fibre, some with wood, some with metal and that’s all up to you.
Customers often bring Miller a modified OEM seat. However, a completely custom piece of metal, glass fibre or wood isn’t rare to spot over here.
Today we will show you two examples; a Bobber and a Cafe Racer seat.
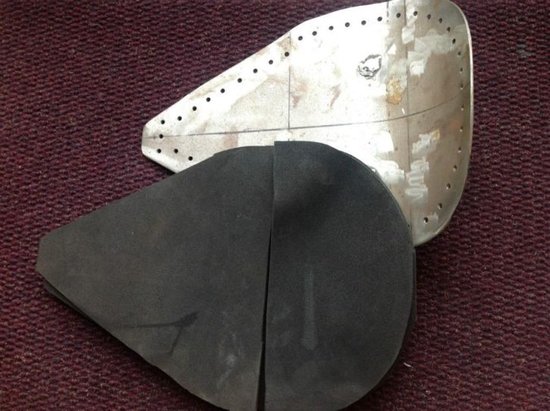
The bobber pan is made out of traditional metal and did receive new powder coating before it arrived at Miller.
Hint 1: Make sure you finish the pan/seat base, before upholstery ;-)
Hint 2: Make sure the seat is as symmetrical as possible and doesn't have any sharp edges
Hint 3: If you do the upholstery at home, you can avoid a sharp edge by cutting a fuel line in half: O --> C. This way you can slide it over de edge of the seat pan!
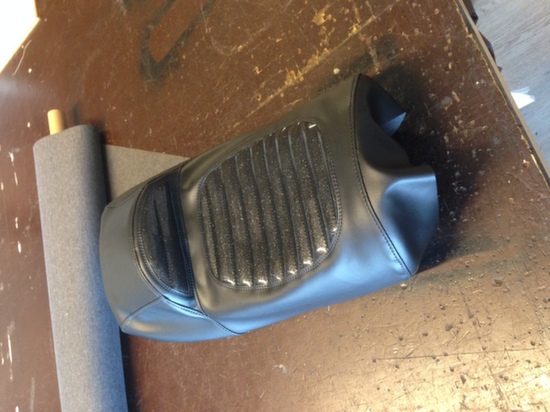
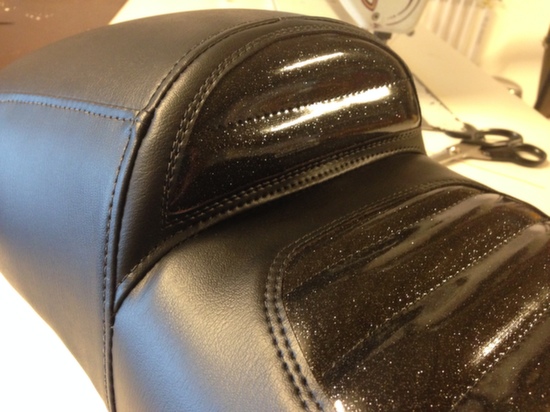
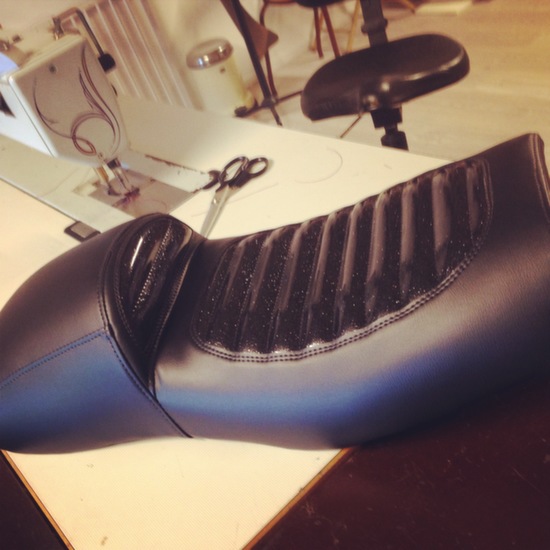
The bobber seat will get a white & red PU leather treatment, with a diamond stitch. The cafe racer seat will get a metal flake black vinyl upgrade.
The bobber seat needs PU leather due to the white colour. Real leather is beautiful, but it cannot be white like a piece of paper. You will always get an ivory-like tone as a result if you use real leather. The owner wasn't aware of this. Therefore, Miller explained it to him.
This is also one of the reasons why Miller keeps his customers. He does not only perform the task you ask him. He thinks along with them and gives them his opinion about their ongoing project.
After Miller receives a seat, he always checks it for sharp edges and imperfections, because in 99% of the times there are sharp edges and imperfections. It is hard to make a symmetrical seat pan or seat basis, so the choice of foam is crucial to mask (minor) errors.
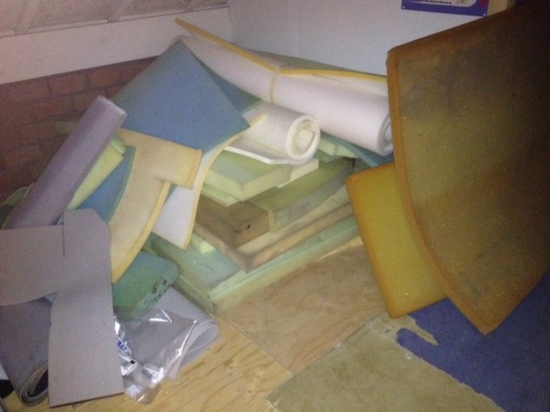
The bobber seat had some symmetrical imperfections (look closely at the previous pictures), and with some high-density foam, Miller will be able to make this disappear.
It is essential because no matter how cool your bike is, the seat and the fuel tank will get the most attention.
Hint 4: Make sure your seat and fuel tank are perfect!
The choice of foam is critical.
Hint 5: Thick foam is more comfortable to work with, but also harder to sit on!
The next step is to add a thin layer of softening foam, to remove the small dents, but also to make your rides a bit comfier.
Hint 6: add a thin layer of softening foam to remove the small dents.
Hint 7: Both layers of foam are glued (spray glue) to the seat, to make it sturdy and last longer.
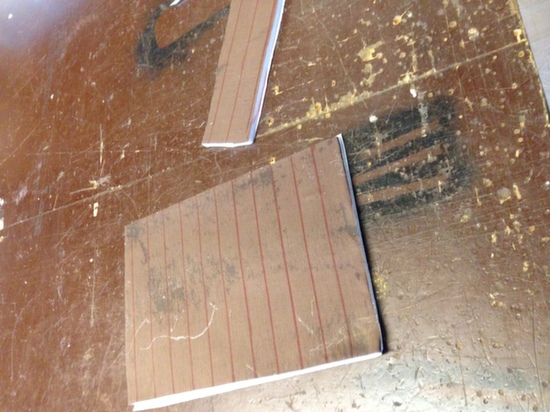
After this, the seat is sealed with a high-grade plastic layer. Why? Well, when it starts raining, moisture won't get through the stitches.
Hint 8: seal your seat with a high-grade plastic layer to prevent your bottom to be wet when it rains.
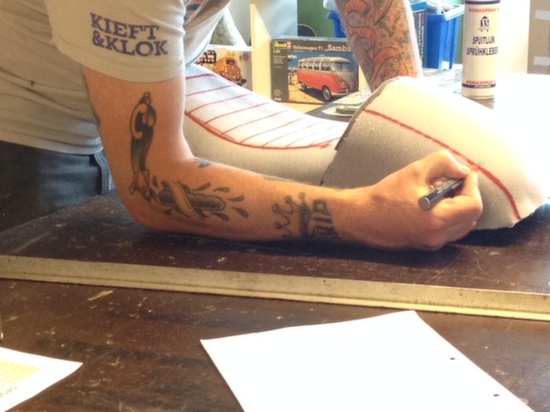
Sometimes, to figure out the correct lines/design, the design is already drawn on the seat. Like you've seen above. Of course, you will never see this when the seat is finished, but it does help Miller to make the seats as perfect as can be!
Hint 9: You can draw the future pattern on the seat to help you figure out how it will look like when finished.
The next step is to sew a pattern into the material used. It can be a diamond pattern, but also the famous “tracker seat” lines.
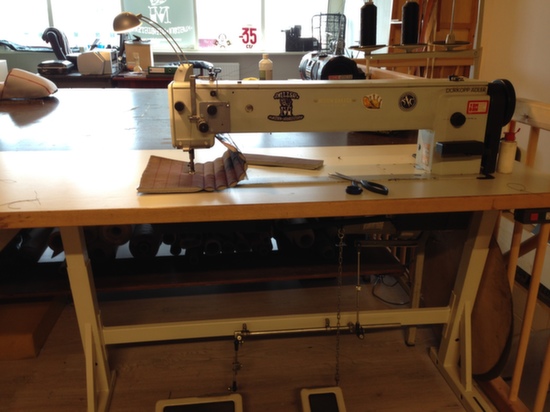
This is the difference between men and boys.
Sometimes people like piping on their seat and it is the case for the bobber seat.
Here how it is done:
The Piping is a flipped over a piece of material with solid rubberish material in it. All sewed together.
When you combine this, you will get something like the following picture:

It looks pretty sharp, doesn't it?
As you may have noticed, the bobber seat has some holes (once again, if you want holes; make this happen before upholstery!)
The owner desired his seat to be finished with pop ribbons, so the holes need to be there to get this result:
So, how about the other seat with the metal flake?
Both bikes are under construction right now, but we can give you a preview.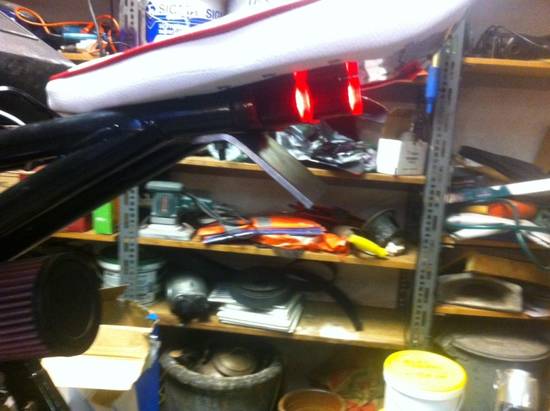
Well, dear creative readers, we hope this story of Miller Kustom Upholstery will help you on your way.
If you like to figure out if he can make a seat to meet your wishes, don't hesitate to contact the guy!
More info on his Facebook page (click) and Website.

