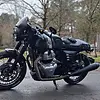


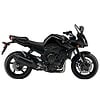


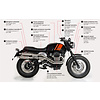


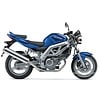


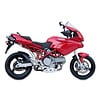


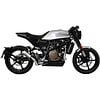


Back in the day from a very young age I always walked around in the shed, where of course my father's motorcycle stood. My father has always ridden motorcycles and was also, from an early age, infected with the "motorcycle virus" and has thus also passed it on to me. So it wasn't very strange that I would also buy a motorcycle when I was older. I got my motorcycle license at 21 and have owned it for 3 years now. My first motorcycle was a Suzuki GS500E from 1989. I enjoyed riding it for 3 years, but after 2 years of building my other bike, I could finally sell it, because my very own Yamaha XS650 Heritage Special from 1983 was ready!
Inspiration
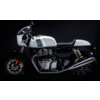
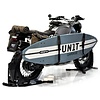
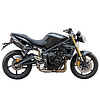
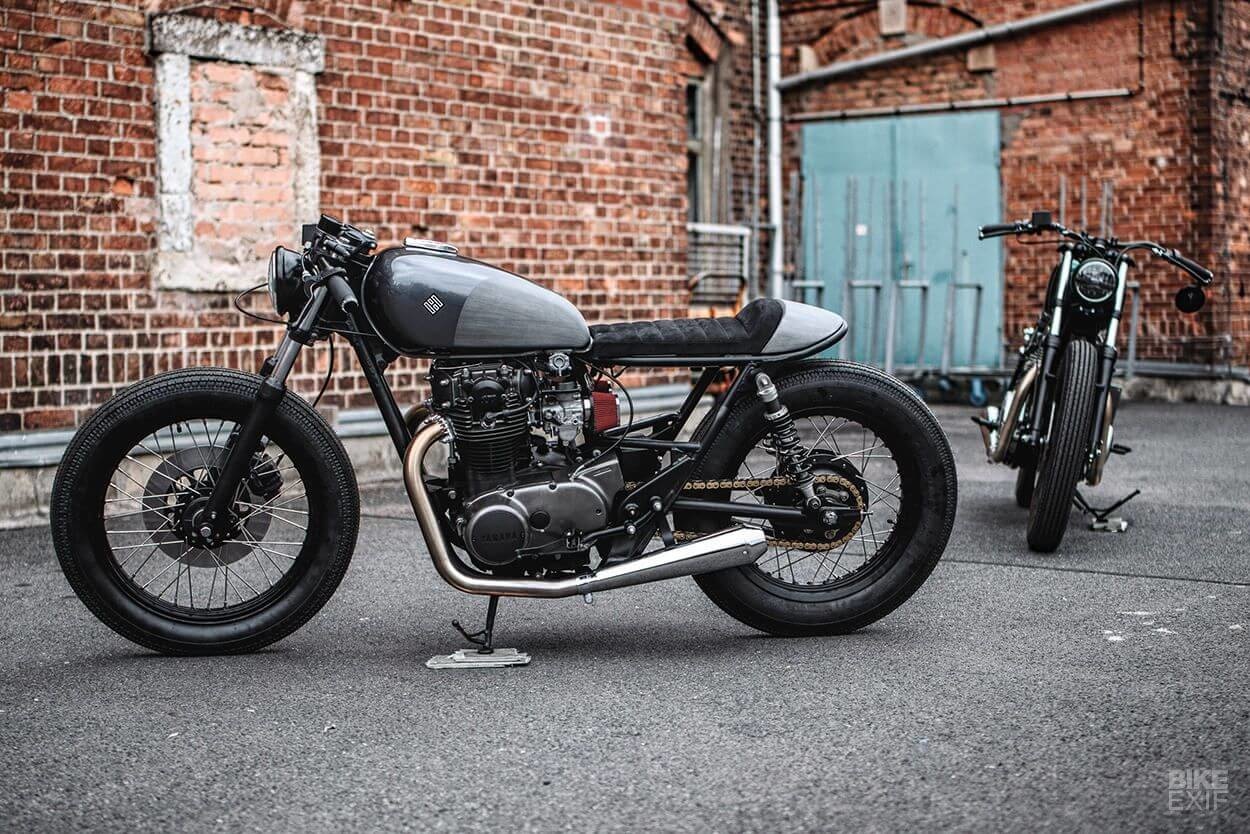
As soon as I set my sights on an XS650, I started looking for inspiration. I spent countless hours surfing the internet looking for something that appealed to me. And suddenly there was the custom XS650 of the retired architect, Henk Woltjer. He had this bike built by motogadgets in Zwolle. I used this bike as a kind of thread in the construction of my own XS650 and a number of the same parts will probably also be found in my bike.

Parts order
Even before I bought the bike, I started thinking from A-Z and figuring out exactly what I wanted to change about the bike. I got a lot of help from Pinterest, which has a lot of ideas from other people. I also ordered all the parts for the bike. A big gamble of course, but in the end, I used 99% of all ordered parts with here and there another part ordered in the end.

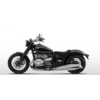
Purchase Yamaha XS650
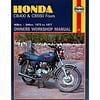
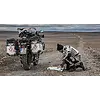
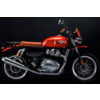
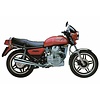
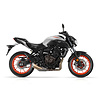
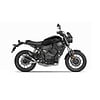
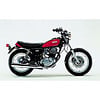
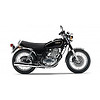
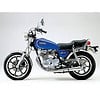
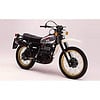
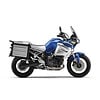
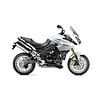
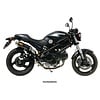
For weeks I searched the internet for a good base. Since I was going to tackle everything, I didn't have much to wish for in terms of looks. Technically it had to have a good, everything else didn’t really matter. After a lot of searching, calling, emailing, and messaging I ended up as a club member of the Yamaha twin club Nederland. He had a nice XS650 Heritage Special from 1983. After some talking, looking and test riding we bought it for a reasonable price. Since I didn’t have the right license at the time, my Dad drove it back to our home without any problem.
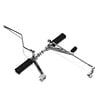
Stripping
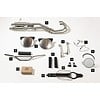
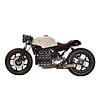
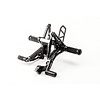
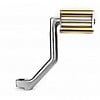
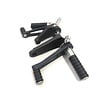
After the bike had been sitting at home for a while, after much thought on how to approach the project, I rolled up the tool trolley and started disassembling it. Almost everything that came off I sold. Eventually, after all the disassembly only the frame, engine, rear swing, side stand, center stand, and tank remained of the entire bike.
Frame
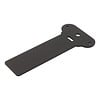
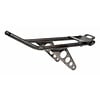
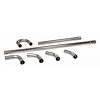
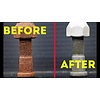
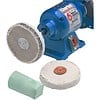
The frame has remained virtually original. The only thing that has been done, is cleaning the frame with a sanding disc on the grinder, some sharp edges ground away, and the hoop on the back of the frame. At a good friend/acquaintance we had a new hoop welded to the back of the frame. Later the frame was blasted and powder coated.
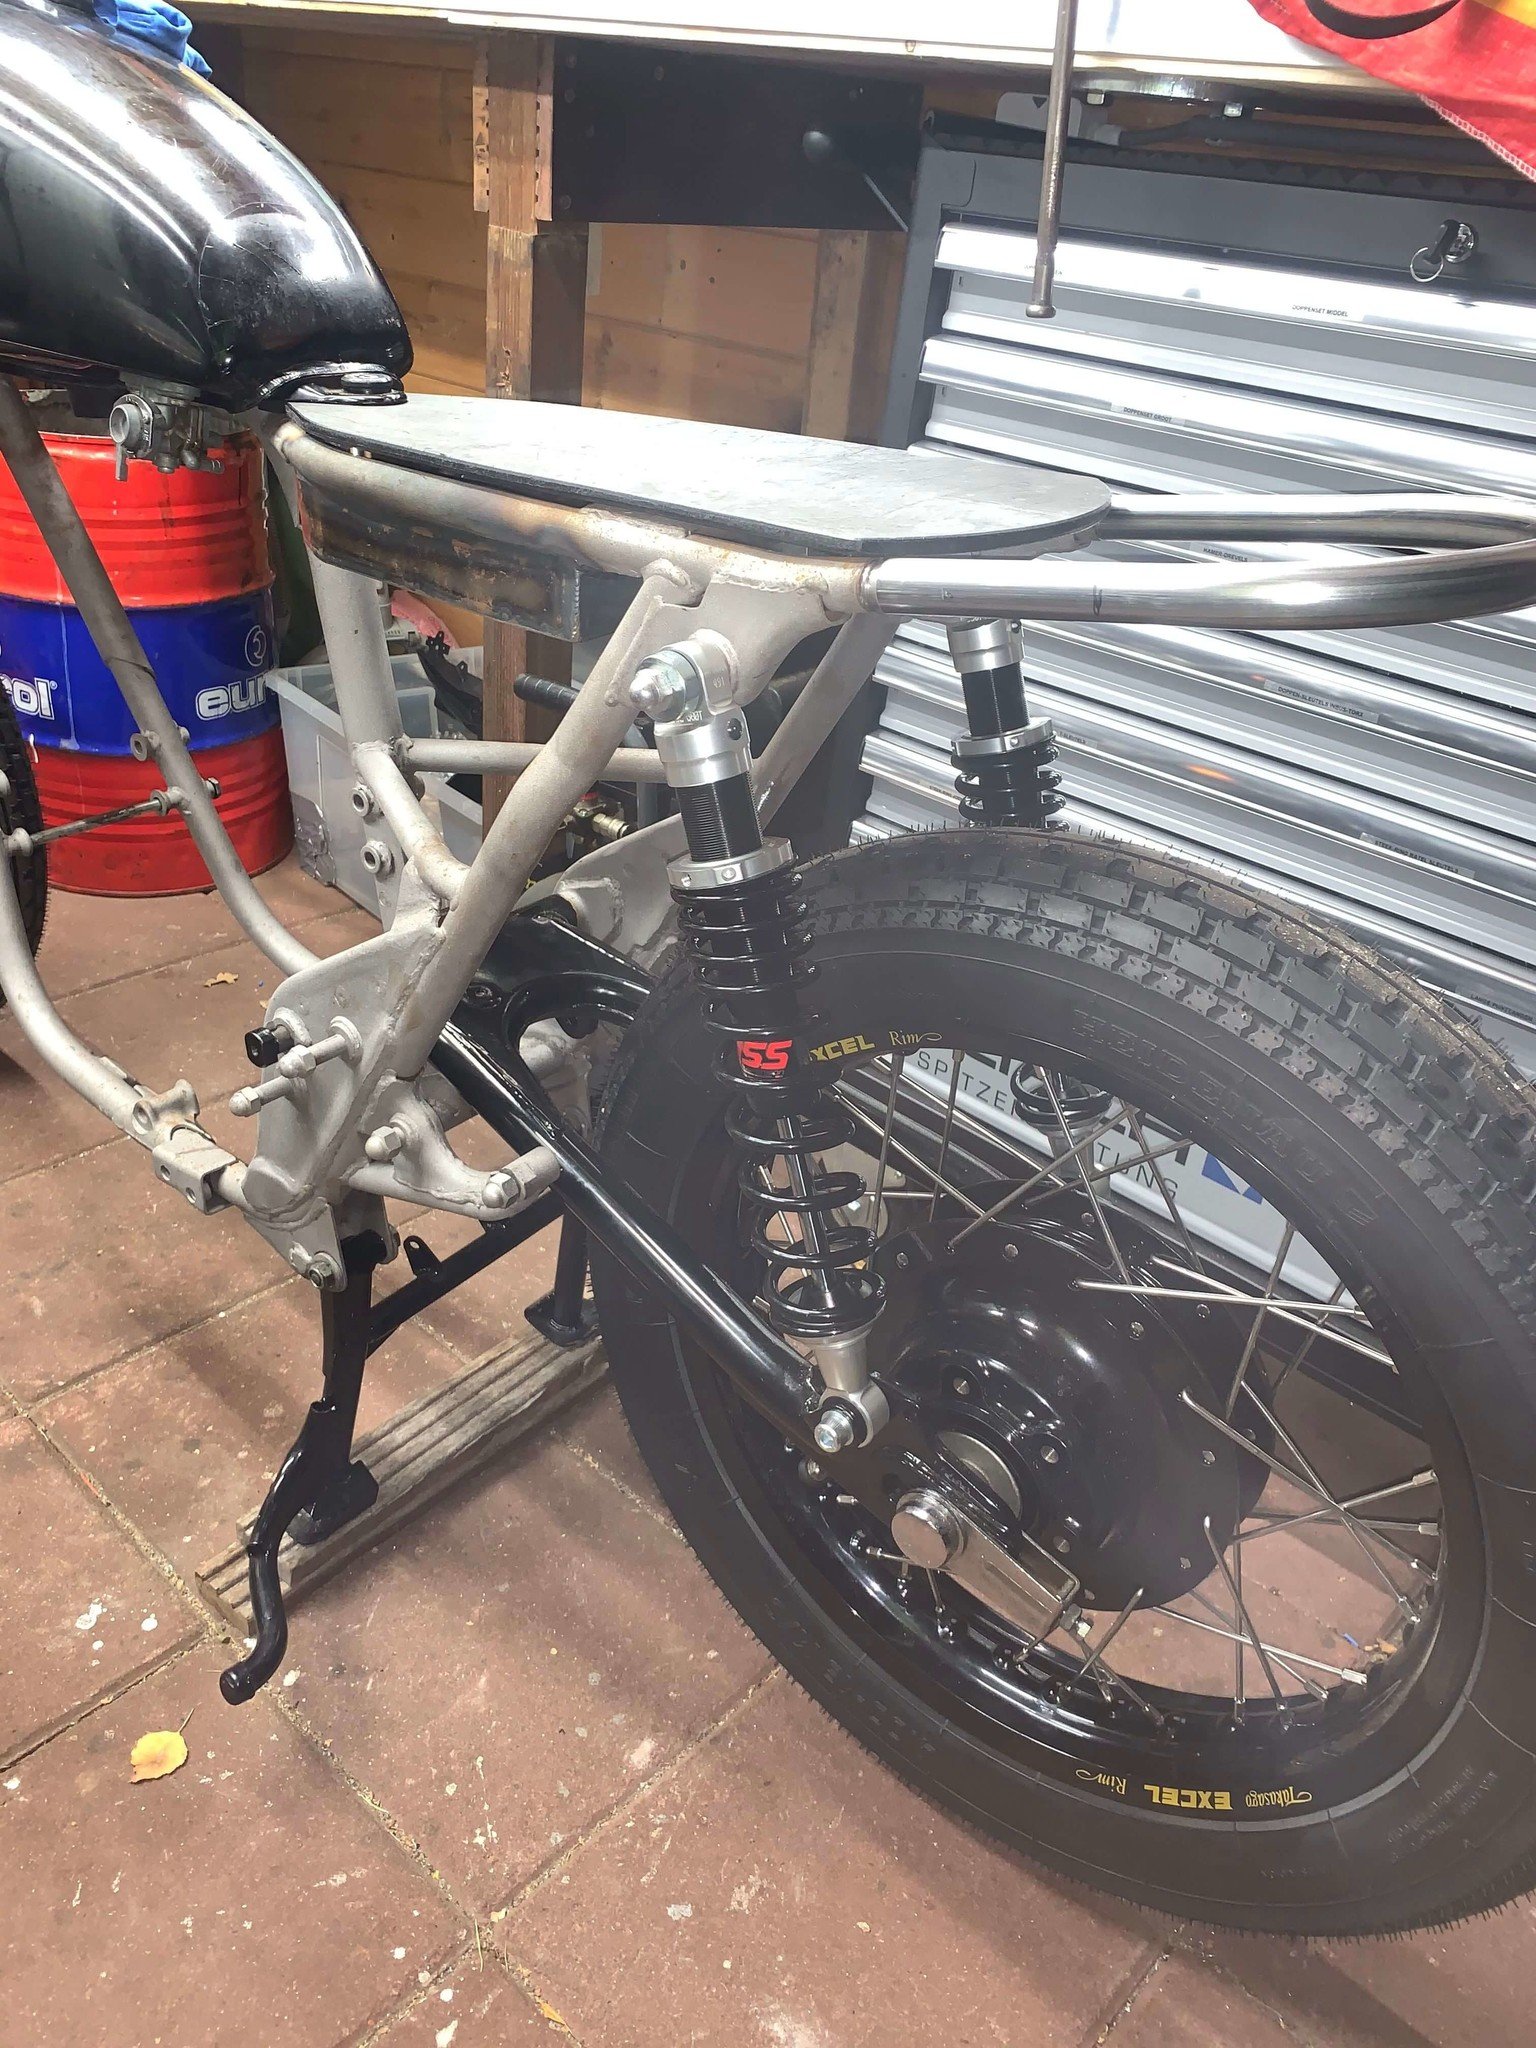
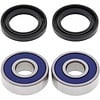
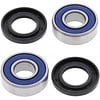
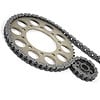
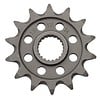
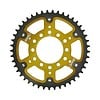
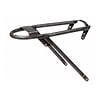
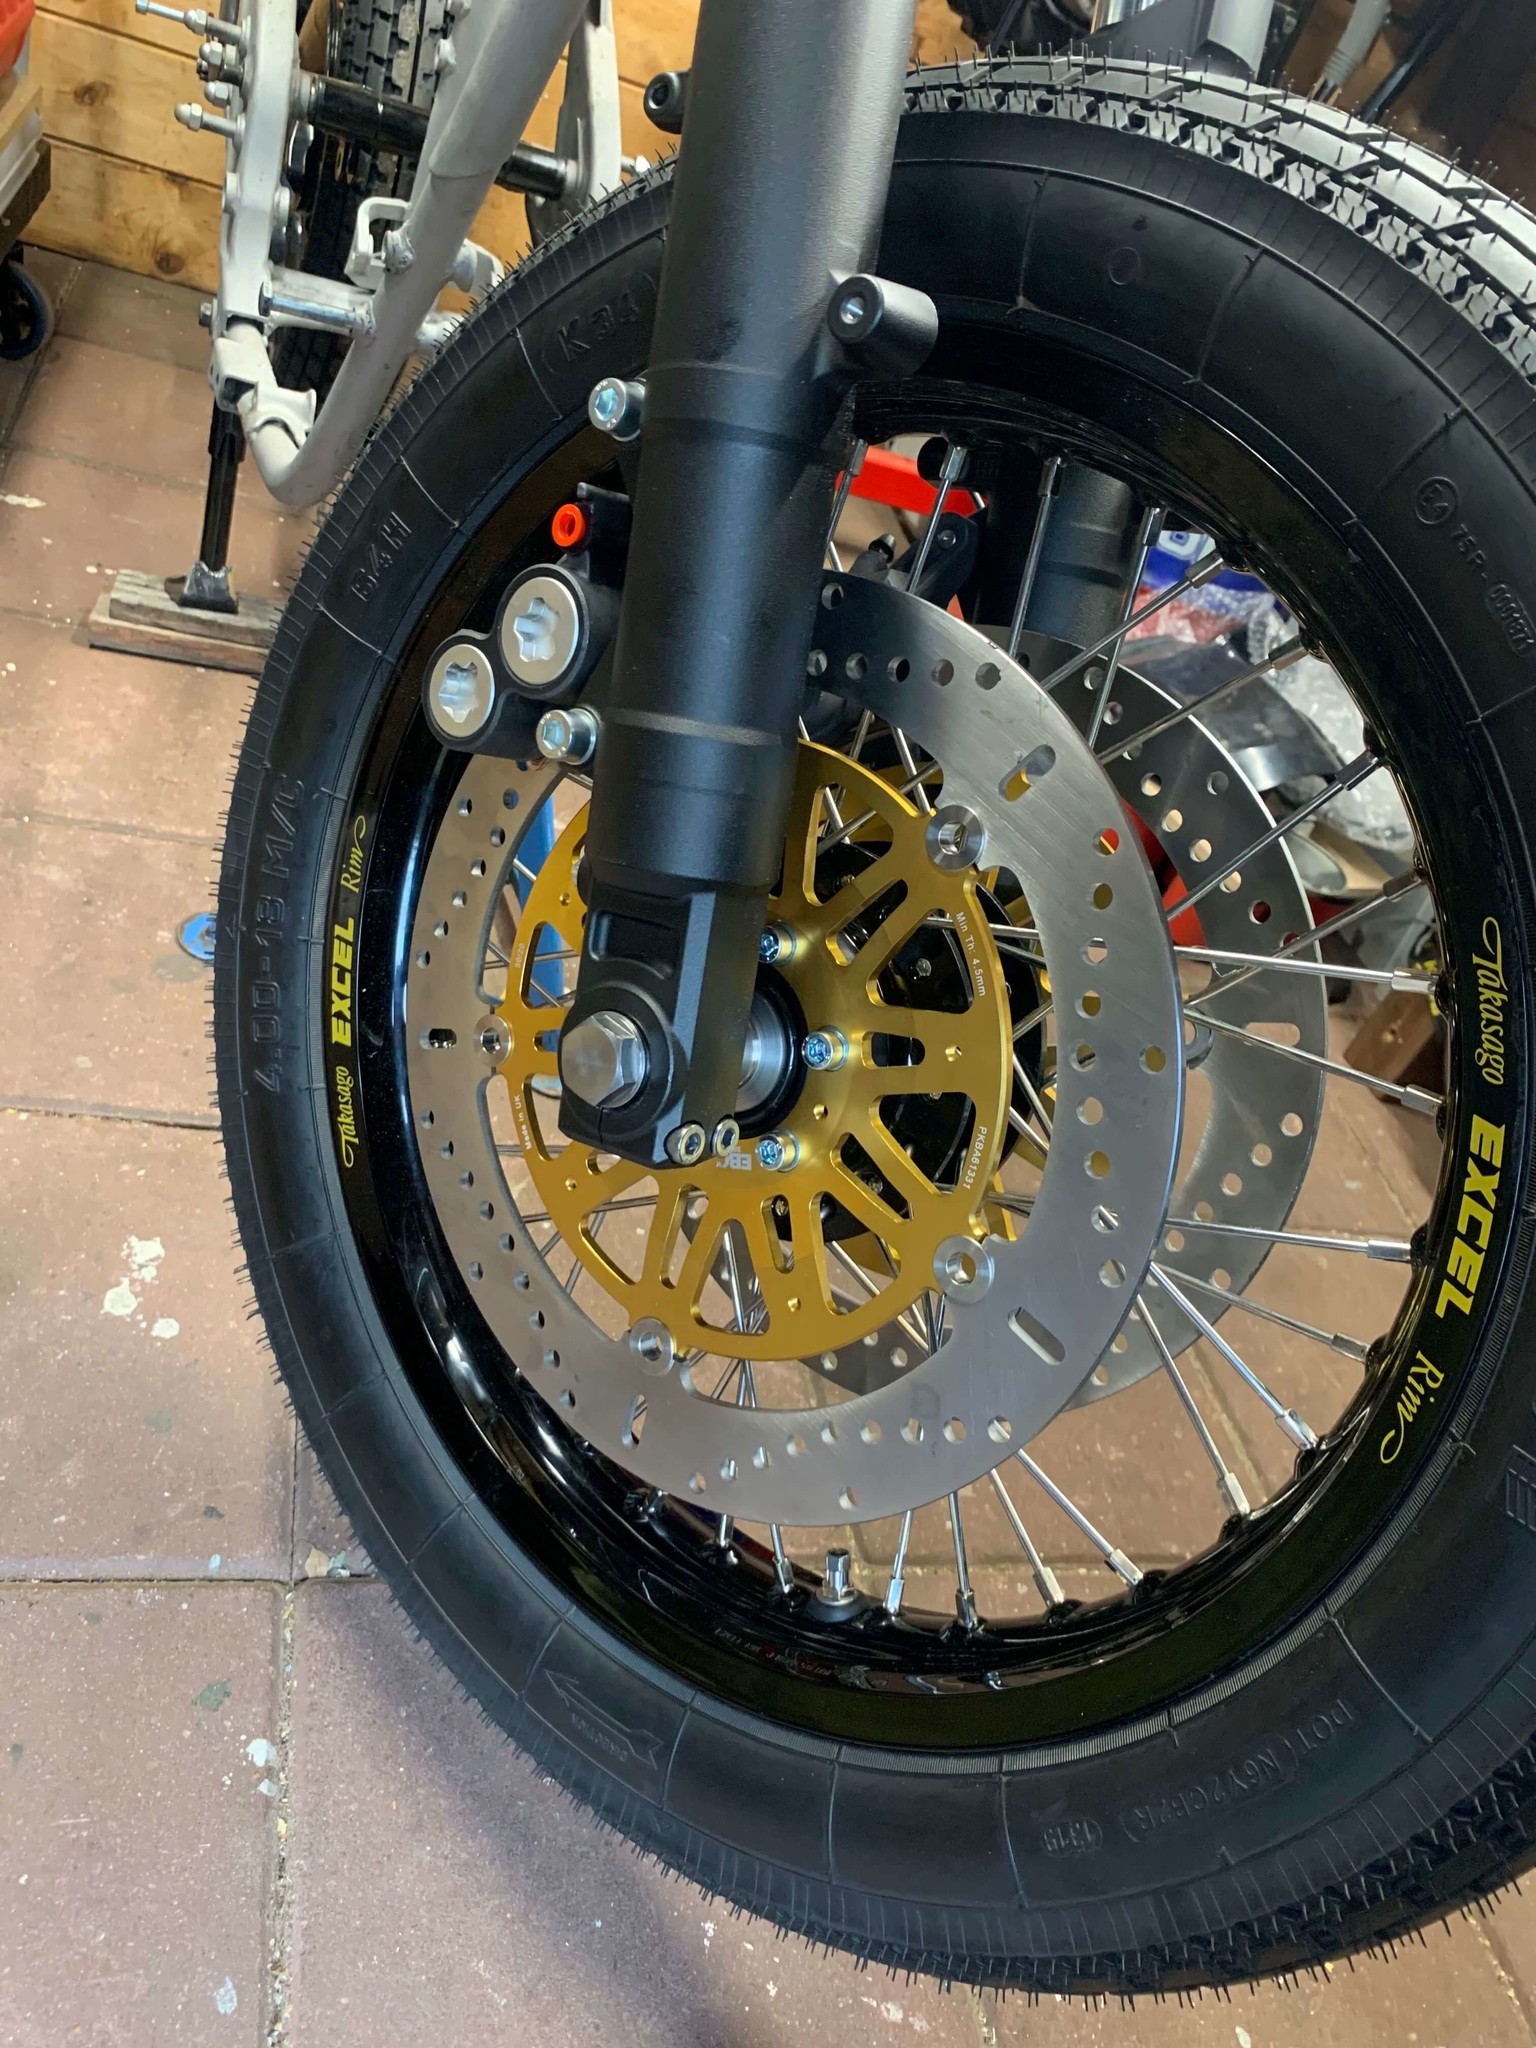
Riding wheel section
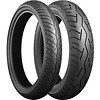
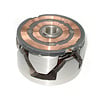
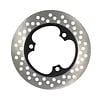
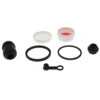
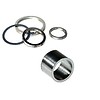
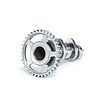
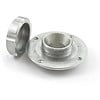
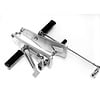
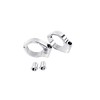
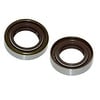
I did have a lot of trouble finding a single-spoke rear hub. In the end, I found one and bought it immediately, including new spokes for both wheels. In Amersfoort, I ordered an original front hub that was already powder-coated black. From another acquaintance I ordered 18 inches excel rims, and had them spoked around the new hubs. At the back, I put new brake linings in the drum brake, but at the front, it was a different story.
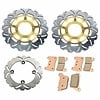
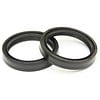
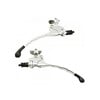
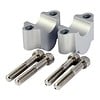
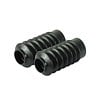
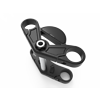
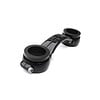
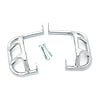
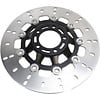
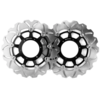
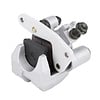
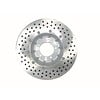
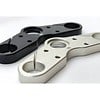
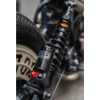
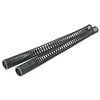
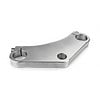
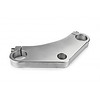
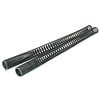
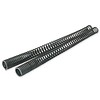
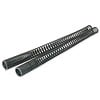
The front fork I now have is a fork from a 2019 Yamaha FJR1300 but with only the lower crown plate. So after much searching, I found a nice 2nd hand upper crown plate for this fork. I also used the calipers from an FJR1300, although from a different year, but they fit perfectly on the original mounting holes of this fork. The discs are from EBC. These are from (they do fit multiple bikes since EBC makes aftermarket parts) a Ducati 996. The hole pattern in the disc and the hole in the center of the disc exactly match the measurements of the holes on the front hub, but there are still spaces of 15mm between them. These are double discs of 320mm.
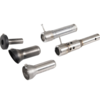
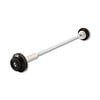
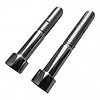
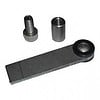
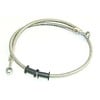
The front axle I have had turned to size by an acquaintance so that it fits the fork of the FJR1300 without much fuss.
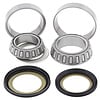
I also had a new steering head pin turned that fits the original head bearings of the XS650.
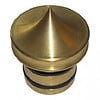
Following up, I had a new steering head stop welded onto the headstock.
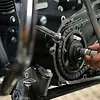
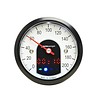
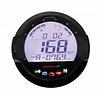
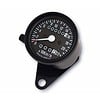
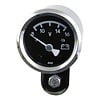
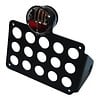
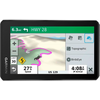
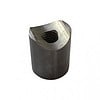
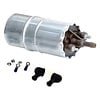
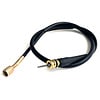
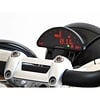
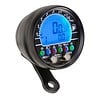
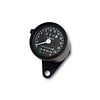
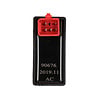
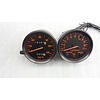
For the odometer drive, we had the inner mechanism that connects the drive to the hub, turned and milled in a mirror image, so that it comes further out due to the 15mm spacers for the brake discs. This allowed me to use the original odometer drive with a speed pulse converter mated to a Daytona velona 60mm odometer.
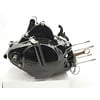
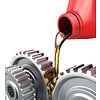
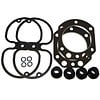
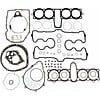
Engine block
The engine was in excellent condition, 35000 km, and almost no oil consumption!
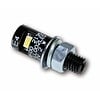
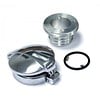
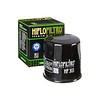
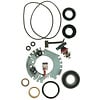
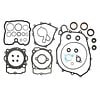
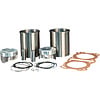
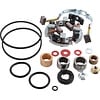
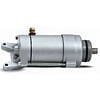
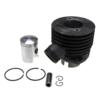
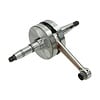
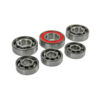
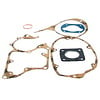
Because I wanted the engine blasted for a nicer look, we took it apart. After some thought, I decided to do a complete engine overhaul. Neither of us had ever done an engine overhaul before, but in the end, we succeeded and the engine runs great. I kept the block original except for the pistons and an oil pump. I got a set of exchange cylinders incl pistons, so I now have the first oversized pistons in it. The oil pump now has a higher output and also an external oil filter incl an upgraded strainer.
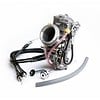
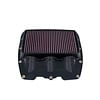
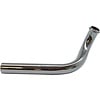
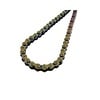
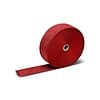
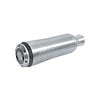
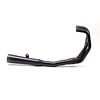
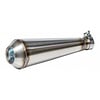
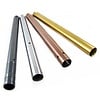
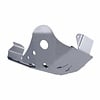
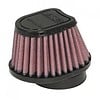
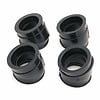
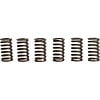
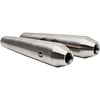
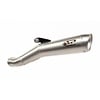
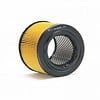
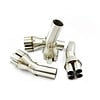
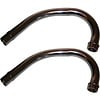
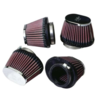
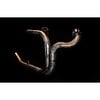
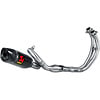
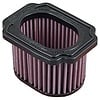
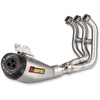
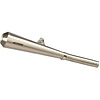
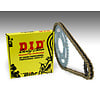
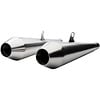
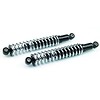
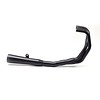
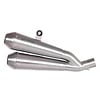
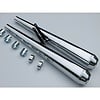
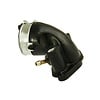
I also ordered thicker bends including torque inserts, which give the right back pressure because I have quite open dampers.
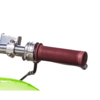
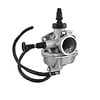
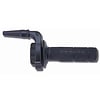
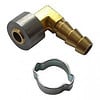
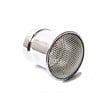
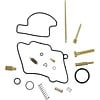
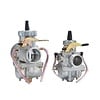
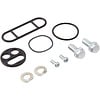
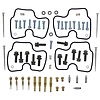
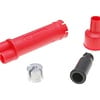
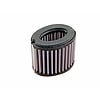
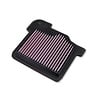
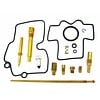
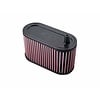
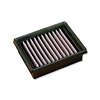
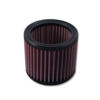
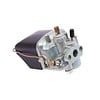
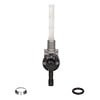
For carburetors, I have chosen "xs-performance carbs in combination with a non-vacuum fuel tap. This gives me a faster throttle response and no more hassle with a vacuum.
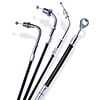
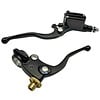
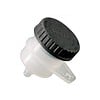
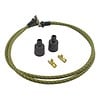
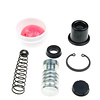
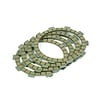
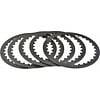
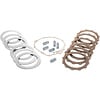
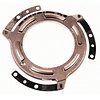
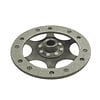
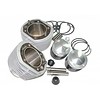
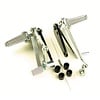
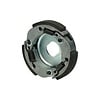
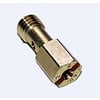
I also made a conversion from cable to a hydraulic clutch. I have a matching pump/cylinder from a 2017 KTM 1290 adventure. This also makes exactly 2mm of travel, just like the original clutch mechanism from the XS 650.

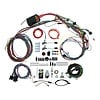
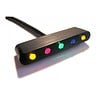
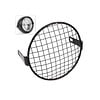
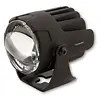
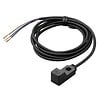
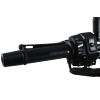
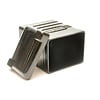
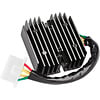
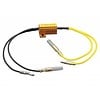
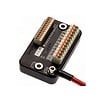
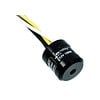
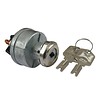
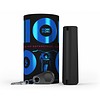
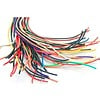
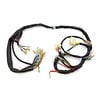
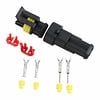
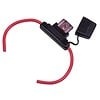
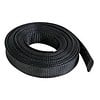
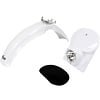
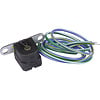
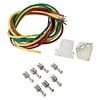
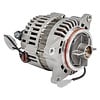
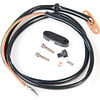
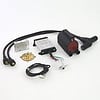
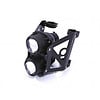
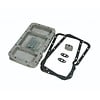
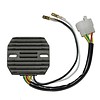
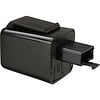
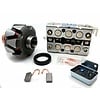
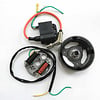
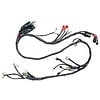
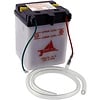
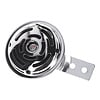
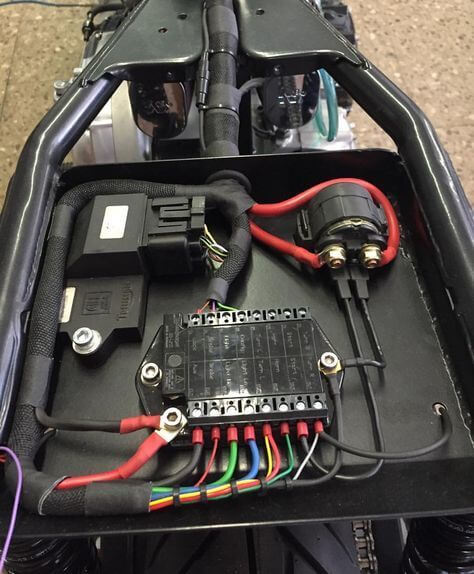
Electronics Yamaha XS650
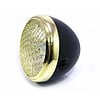
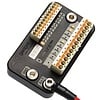
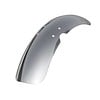
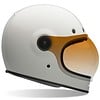
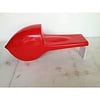
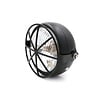
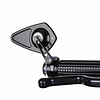
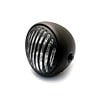
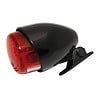
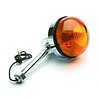
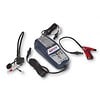
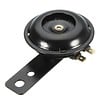
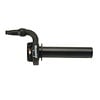
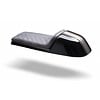
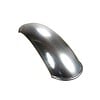
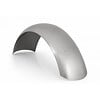
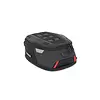
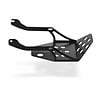
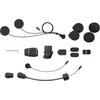
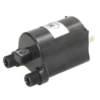
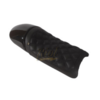
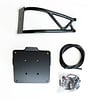
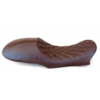
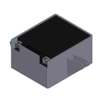
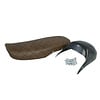
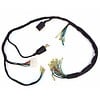
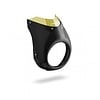
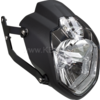
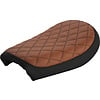
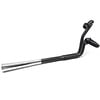
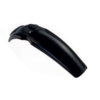
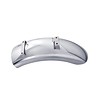
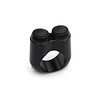
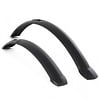
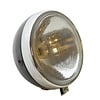
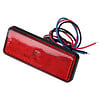
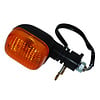
I myself am an electrician by trade, so electronics was my showpiece on this bike. I went with an M-unit blue in combination with an M-button and steering knobs from rebelmoto. Turn signals from motogadget, a simple aftermarket horn, nice led headlight, lithium battery from ultrabatt, special reg/rec for lithium batteries, and a tail light and license plate light that came with the aftermarket LSL fender. (Fender was for a Triumph Bonneville, but I made it fit for the XS) I did all the electrics by heart without any experience with vehicle electrics. We got everything right the first time. Now it is incredibly beautiful and a lot easier because of the M-unit. All the electronics are under the seat, including the battery. The CDI is under the box that is under the saddle, as well as the charging point for the battery.
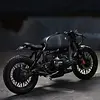
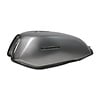
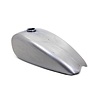
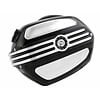
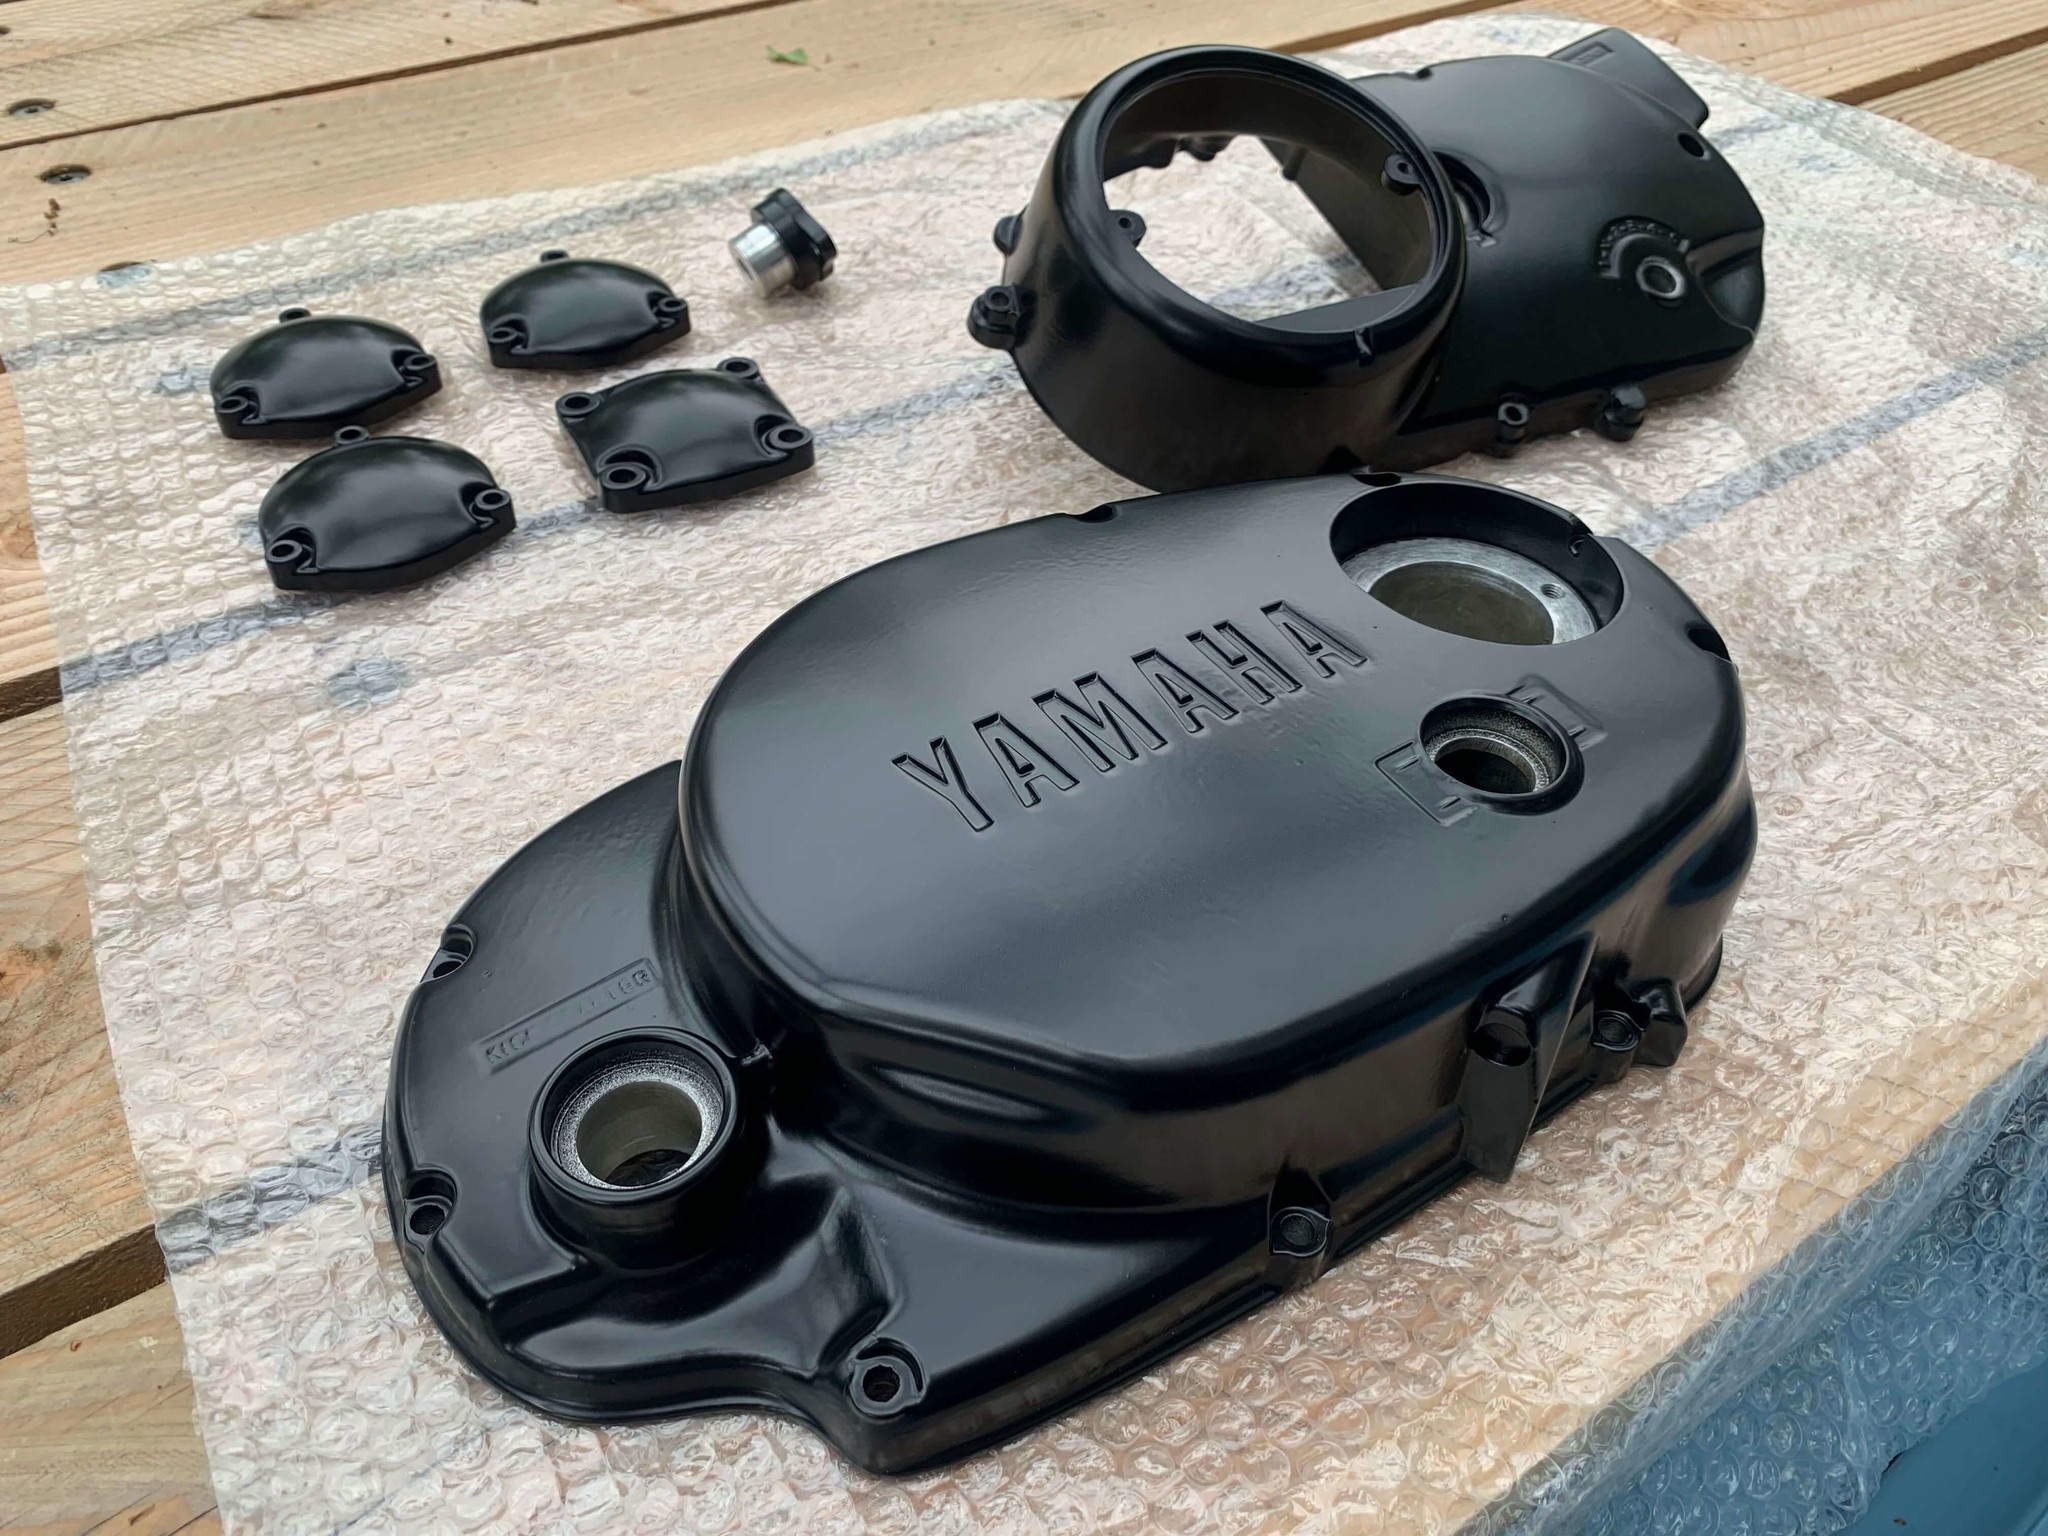
Spray painting and powder coating
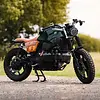
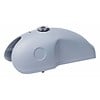
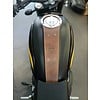
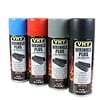
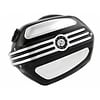
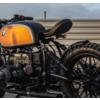
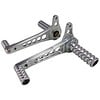
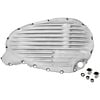
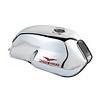
For the paint job, I went to Beerten in Borculo. I never found a specific color, but I did find a certain direction: british racing green. Once at the paint shop, I explained what color I wanted, and the painter took me to the workshop. There he had just finished some paint work for a customer in bentley green. And that was the color I wanted as well. I also chose an off-white/cream colored piping that makes the contours of the side of the tank nice and clear and gives the tank just that little extra to look at. For powder coating I have always been able to go to my father at work. Frame, covers, brake pedal, kickstarter etc.
I owe a lot to my father's boss and many acquaintances. Everyone has done everything for me for little or nothing so that I could build this machine. I am very proud of this result and that I was able to experience this adventure together with my father.