


What does a master cylinder do?
One of the key components of your bike, and often of the more important ones as well. The Brake system on a bike is what makes the difference between a scary brake event and a brutal crash, but also how you ride your bike on the streets, track and city.
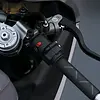
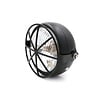
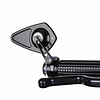
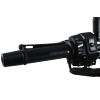
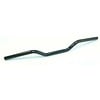
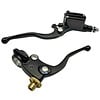
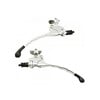
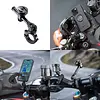
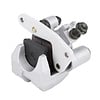
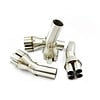
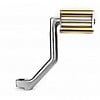
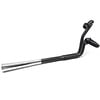
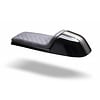
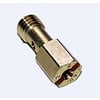
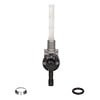
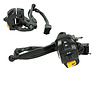
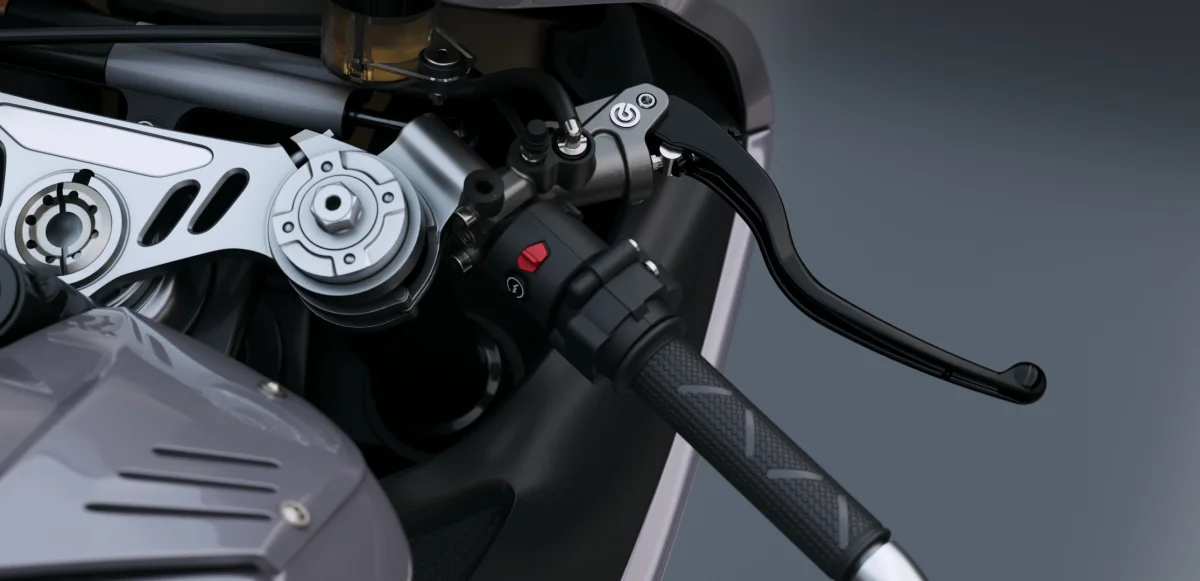
One of the key components of this system is the master cylinder, this is the thing attached to your handlebar with a lever attached to it. This is what sends the brake fluid towards your front brakes and pushes in the pistons inside of your calliper(s). As regular and standard as this part seems, there is so much to be upgraded from the standard setup.
Most of the brake systems, yours probably too, will have an Axial master cylinder. This has been the standard for many motorcycle manufacturers for many years and will probably continue to be so. Hower there is one other option called a Radial master cylinder, and people are changing to these setups fast.
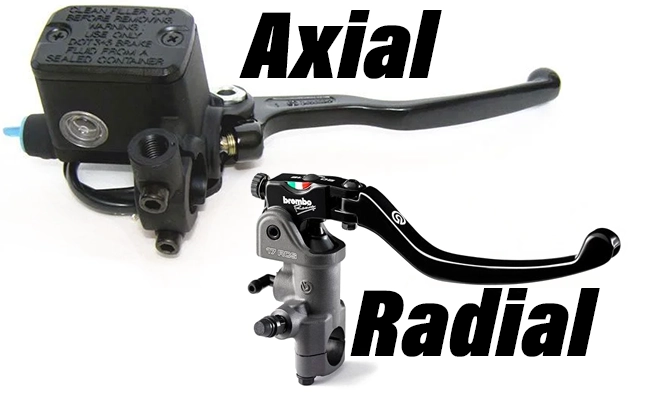
Axial vs. Radial – Key Differences
The biggest difference between them is actually HOW you operate them, yes both require you to grab a lever and pull it towards you, but radial will give you way more feedback.
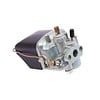
Axial Master Cylinders:
- Also known as traditional or inline master cylinders.
- Lever pushes parallel to the handlebar.
- Common on most OEM bikes due to cost and simplicity.
- Good enough for everyday riding or mild performance builds.
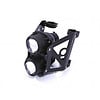
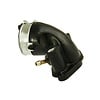
Radial Master Cylinders:
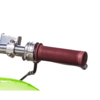
- Lever pushes perpendicular to the handlebar, directly into the master cylinder.
- More efficient transfer of force = better braking feel and power.
- Preferred in high-performance motorcycles and racing.
- Better modulation (more precise control over brake force).
Why Riders Are Switching to Radial
When you get more known to motorcycle riding you may end up finding yourself driving a bit faster and taking corners just a tat more aggressive, this is where you will find the biggest difference. A Radial setup will allow you to brake much harder, since you are squeezing the master cylinder directly instead of a hinged method with the standard axial setup.
The way a Radial master cylinder works, it gives you way more feedback then a standard axial setup. This makes that you will feel way better what is happening on your bikes than you would normally feel with the more comfortable axial setup. This can be a put off for less experienced riders or those who just take it slow and ride around the country sides taking in the scenery.
Since most radial master cylinders are performance-minded, they will almost always feature way more adjustability. Not just in terms of lever reach or free play, but also the lever ratio, which changes how much braking force is applied with a given amount of pressure. This lets you fine-tune the brake feel to match your riding style, whether you prefer a soft initial bite or a firmer, more aggressive response.
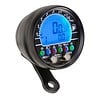
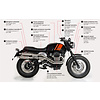
Beside the actual better performance of the radial brake setup your get a very good looking cluster as well. Ever looked at those very sporty bike and wonder why their handlebar just looks so much cleaner than your trusty old mile eating bike? Yeah, the brake setup makes that much of a difference.
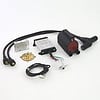
To get the most out of your bikes brakes you can opt to switch to a radial brake lever setup, upgrade your brake lines to braided stainless lines and some may even go as far as changing their brake callipers. To get the best brakes for the least amount of work and budget, the first two parts are the ones to go with. A set of braided lines to a double disc setup will run you around €50,- and a couple of hours of work, including pressurising the system again. A Radial master cylinder ranges between €195 to €499, but you’re really getting all the profits with the first.
Fitment & Compatibility
Now, before you go all-in on a shiny new radial master cylinder, there’s something you should know: they don’t fit every bike straight out of the box.
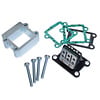
Unlike the axial masters that pretty much bolt on and call it a day, radial ones need a bit more love. Depending on your setup, you might run into clearance issues, or find that things just don’t line up the way they used to.
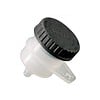
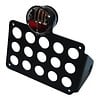
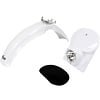
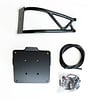
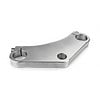
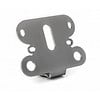
Because of the different angle in which the radial master sits on your handlebar (it’s a whole new vibe), your brake lines might need adjusting or even replacing. In some cases, you’ll also need a separate mounting bracket for your brake fluid reservoir—especially if you want that clean, floating look.
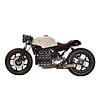
Let’s be honest, you don’t need a radial master if you’re just riding to work and back. But if you’re building a custom café racer, chasing lap times, or just like knowing you’ve got the best stuff under your fingers, a radial setup makes perfect sense.
You can absolutely run a radial master with axial callipers (and you’ll still feel a nice upgrade), but the magic really happens when both ends of your braking system are working in harmony. Think of it as getting the full package—better bite, more feel, and all the kudos at the bike meet.
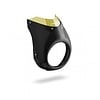
When you are talking braking and performance, Brembo comes into the picture. For years the brand has built its reputation in multiple race series for the go to brand on stopping power; Formula 1, Moto GP, WSBK and many more! Now we have made a carefull selection of their aftermarket parts to upgrade your suspension with! With their RCS range, you can quickly upgrade your setup, just a matter of choosing the right pump diameter and your are all set!
We currently offer the RCS15, 17 and 19 in both the standard option as well as the more customizable Corsa Corta version(which is the real eye candy here)!
Brembo RCS radial masters offer:
- Adjustable lever reach and ratio.
- CNC machined options.
- Stunning Italian quality and finish.
- Great upgrade for riders who care about performance and aesthetics.
How to select the right Radial brake setup
Want to know what the fuss about those radials is all about? But now you’re staring at names like RCS 15, 17, 19, and something called Corsa Corta—what even is that? Don’t worry, here’s a no-nonsense guide to help you choose the right one for your bike and riding style.
Step 1: Pick the Size That Matches Your Setup
The number (15 / 17 / 19) refers to the piston diameter inside the master cylinder, and each size works best with a certain brake setup:
- RCS 15 – Ideal for single disc setups or twin setups with smaller callipers.
Perfect for lightweight bikes, smaller customs, and anyone who doesn’t need extreme braking force.
→ Comes in Short Lever, Long Lever, or Corsa Corta versions. - RCS 17 – The sweet spot for street bikes with dual discs and a strong bite.
Best for riders who want more performance, but still ride daily.
→ Available in Standard and Corsa Corta. - RCS 19 – The go-to for aggressive riding and heavy dual-disc systems.
If you ride hard, brake late, or have big Brembo callipers up front, this is your guy.
→ Available in Standard and Corsa Corta.

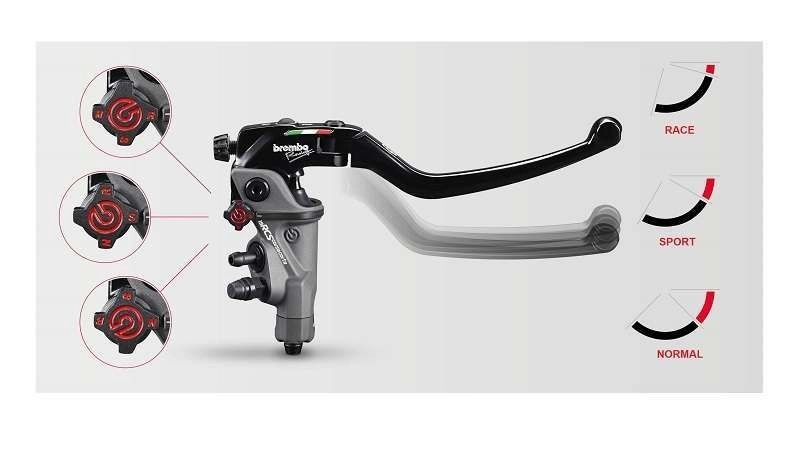
Step 2: Standard RCS vs. Corsa Corta – What’s the Difference?
- Standard RCS
Already a huge step up from stock. You get an adjustable lever ratio (18/20), excellent modulation, and proven race tech. Great for most riders. - Corsa Corta
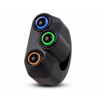
Adds one more layer of control: the bite point adjuster.
Choose between Normal, Sport, and Race response, depending on how snappy you want the initial brake feel.
Great for riders who love tweaking their setup or want ultra-precise brake feel.
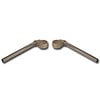
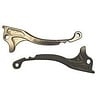
Step 3: Lever Length – Short vs. Long (RCS 15 Only)
- Short Lever – Sportier look and feel, quicker grab. Good for those who use 1 or 2 fingers to brake.
- Long Lever – More leverage, smoother action. Good for touring or riders who want a familiar full-hand feel.
Brake Upgrade Checklist
Perhaps you are thinking, I'll just go for it and get my bike this awesome upgrade! Well I would totally agree with you and want to help you as best as I can.
Here is our Checklist to make sure you get the most out of your (new) brake setup:
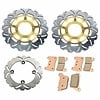
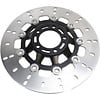
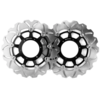
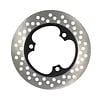
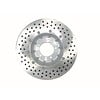
- Brake disc(s)
- First off check if your discs are in good condition and within the manufacturer's specifications. If your disc is showing signs of abnormal wear, cracks or grooves, it is time to replace them right away.
- Make sure to get high quality discs before upgrading the rest of the setup.
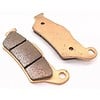
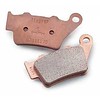
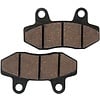
- Brake pads
- These will wear out first and can also make an enormous difference. Be sure to check if your pads aren't worn down, showing signs of abnormal wear or are just not up to your requirements.
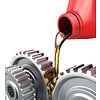
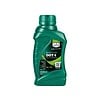
- Brake fluid
- As simple as it may sound, a brake fluid flush and some modern fluid will get you a lot better setup as well, not just power but also longevity of the entire system. Newer fluids will simply collect less water over time and thus will last you longer between changes.
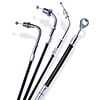
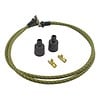
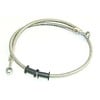
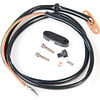
- Brake lines
- One of the easiest ways to get seriously upgraded braking power into your system. Old rubber lines will expand a bit when braking which means less fluid into your pistons. Upgrading the braided stainless brake lines means they will keep their shape and not expand at all. Besides that, they will last you a lifetime.
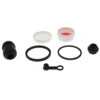
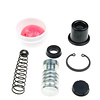
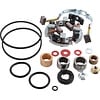
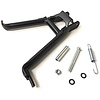
- Master Cylinder
- This is the main component of the system and will determine how you interact with the entire system. Older master cylinders can go wrong over time and can start showing signs of leakage or just visual wear. Upgrading to a new Axial brake cylinder gets you ack to factory spec, but upgrading to a radial one will get you a serious braking upgrade.
Still Not Sure?
No problem, just hit us up! Tell us what bike you ride, how you ride it, and we’ll point you to the perfect setup. We’ve got experience with all kinds of builds, from café racers to full-on track monsters.