


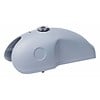


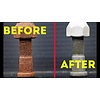


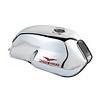


How To: Apply Gas Tank Sealer
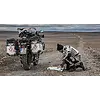
Picture this; you’re enjoying a sunny day and gearing up to go on a ride when you notice a small gas tank leak! While this inconvenience can be annoying don't let it spoil your day! After reading this ‘How To’ you’ll be an expert on how to apply a gas tank sealer to patch up minor leaks and clean up rust. Leaky gas tanks can waste money and be hazardous so let's get started and clean up the mess!
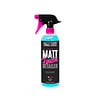
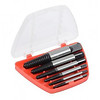
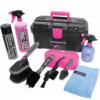
How to Choose the Right Materials:
- Tank cleaner
- Rust remover
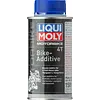
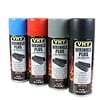
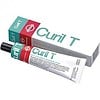
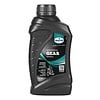
- Sealer
- Drip pan
- Funnel
- Warm water
- Gloves
*Optional:
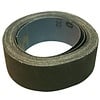
- Duct tape
- Nuts/bolts
- Blow dryer
- Hydraulic plunger
Step 1: Extra Protection
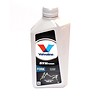
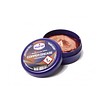
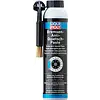
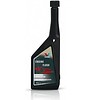
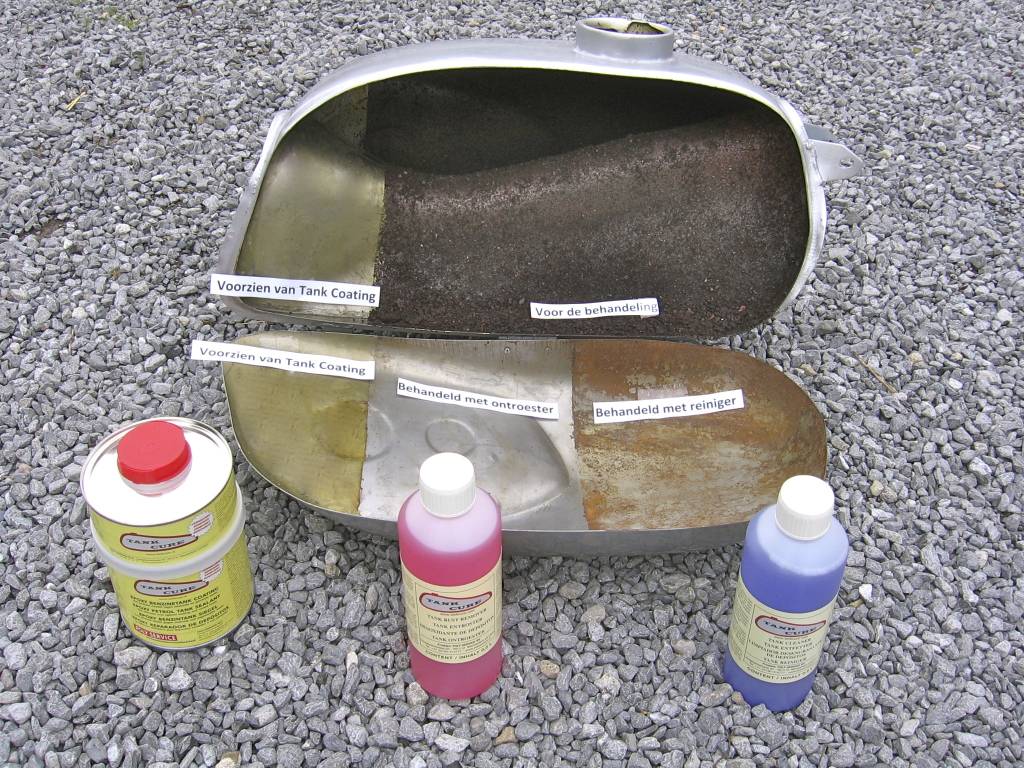
If you want to make sure your tank is super sealed and rid of any leftover rust or old sealer then Tank Cure Epoxy Remover is right for you.
Apply this remover to the tank for added protection and an even better result with the gas tank sealer.
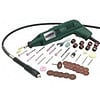
Step 2: Choose the Right Supplies
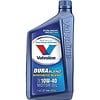
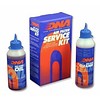
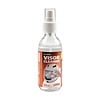
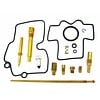
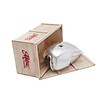
There are many brands and types of gas tank sealers, rust removers, and cleaners to choose from when it comes to gas tanks, so why not get an option that makes it easiest for you! TANK CURE Fuel Tank Treatment Kit comes with all three key materials that will make this process a breeze.
Step 3: Apply Duct Tape to Any Big Leaks
This first step is optional for those of you whose gas tanks are in decent shape, but for those who are not so lucky it's a good idea to place duct tape over any areas that will leak to avoid losing some fluid.
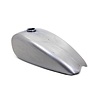
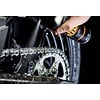
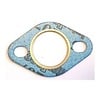
Step 4: Clean the Inside of the Tank
Begin by removing the tank from the bike and screwing it open. Depending on the type of cleaner being used you may want to make a 1:1 mixture of the tank cleaner fluid and warm water or use the fluid on its own.
Pour the liquid into the tank and slosh it around for 45-60 minutes to get rid of any impurities, debris, or grease.
Allow the cleaning solution to sit in the tank for several hours while continuing to shake regularly.
If you have a very rusty tank feel free to put some nuts and bolts in your tank while sloshing to help release some of the rust.
Step 5: Rinse out the Tank with Water
Dispose of the cleaning fluid and rinse out the tank. Be sure to get any excess fluid out!
Step 6: Apply Rust Remover
This step ensures that any stubborn rust will be kicked out and gives the tank a nice adhesive foundation for the sealer to stick on to.
Begin by placing the funnel in the fuel tank opening and emptying the rust remover container into the tank.
Shake the tank for about 20 minutes to evenly distribute the liquid and then let it sit for several hours and shake occasionally.
Step 7: Rinse & Dry
Thoroughly rinse the tank out with water and dry overnight. Make sure the tank is fully dry before continuing to the next step.
If you're unsure of the tank's dryness use a blow dryer with a fresh filter to dry out the tank and ensure there's no dust.
Step 8: Prepare to Apply Gas Tank Sealer
It is recommended to use rubber gloves or any other protective hand wear while applying the gas tank sealer.
When using Tank Cure Sealer components A and B need to be mixed together before applying the sealer.
Pry the sealer open and stir to get out any air bubbles.
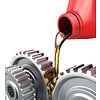
Step 9: Apply Gas Tank Sealer
Use the funnel to pour the recommended amount of sealer into the gas tank.
Rotate the tank several times so the sealer evenly coats all sides and don’t forget to make sure all the cracks and crevices get covered!
Take care to not leave the sealer in for too long or it can clog up screw holes and other small areas that need to be accessible.
Step 10: Dry & Drip
Remove all plugs from tank openings to empty any excess gas tank sealer from the tank and place a drip tray under the tank's opening to catch any leftovers while the tank dries.
Let the tank dry for 96 hours or the recommended time for your sealer.
If you have a tank with a flat surface that may be hard to drain use a hydraulic plunger to drain out any excess sealer.
Step 11: Celebrate!
Congrats, now you have a fully sealed gas tank and can go for that joy ride!